Have you ever dropped a bath bomb into water and watched it fizz, bubble, and disappear? It’s fun to watch, but have you ever stopped to wonder why it happens?
That’s something we focus on throughout our Family Unit Studies. Every hands-on activity is paired with simple, kid-friendly explanations that help children understand what’s happening and why.
Today, I’m sharing the Make A Bath Bomb activity from our Exploring Chemistry Unit Study. As children mix simple household ingredients and create their own bath bombs, they’ll also discover how a chemical reaction creates all of those exciting bubbles. They’ll also learn the difference between a physical and a chemical change through an experiment they can see, touch, and enjoy.
It’s a hands-on, creative way to spark curiosity about chemistry!
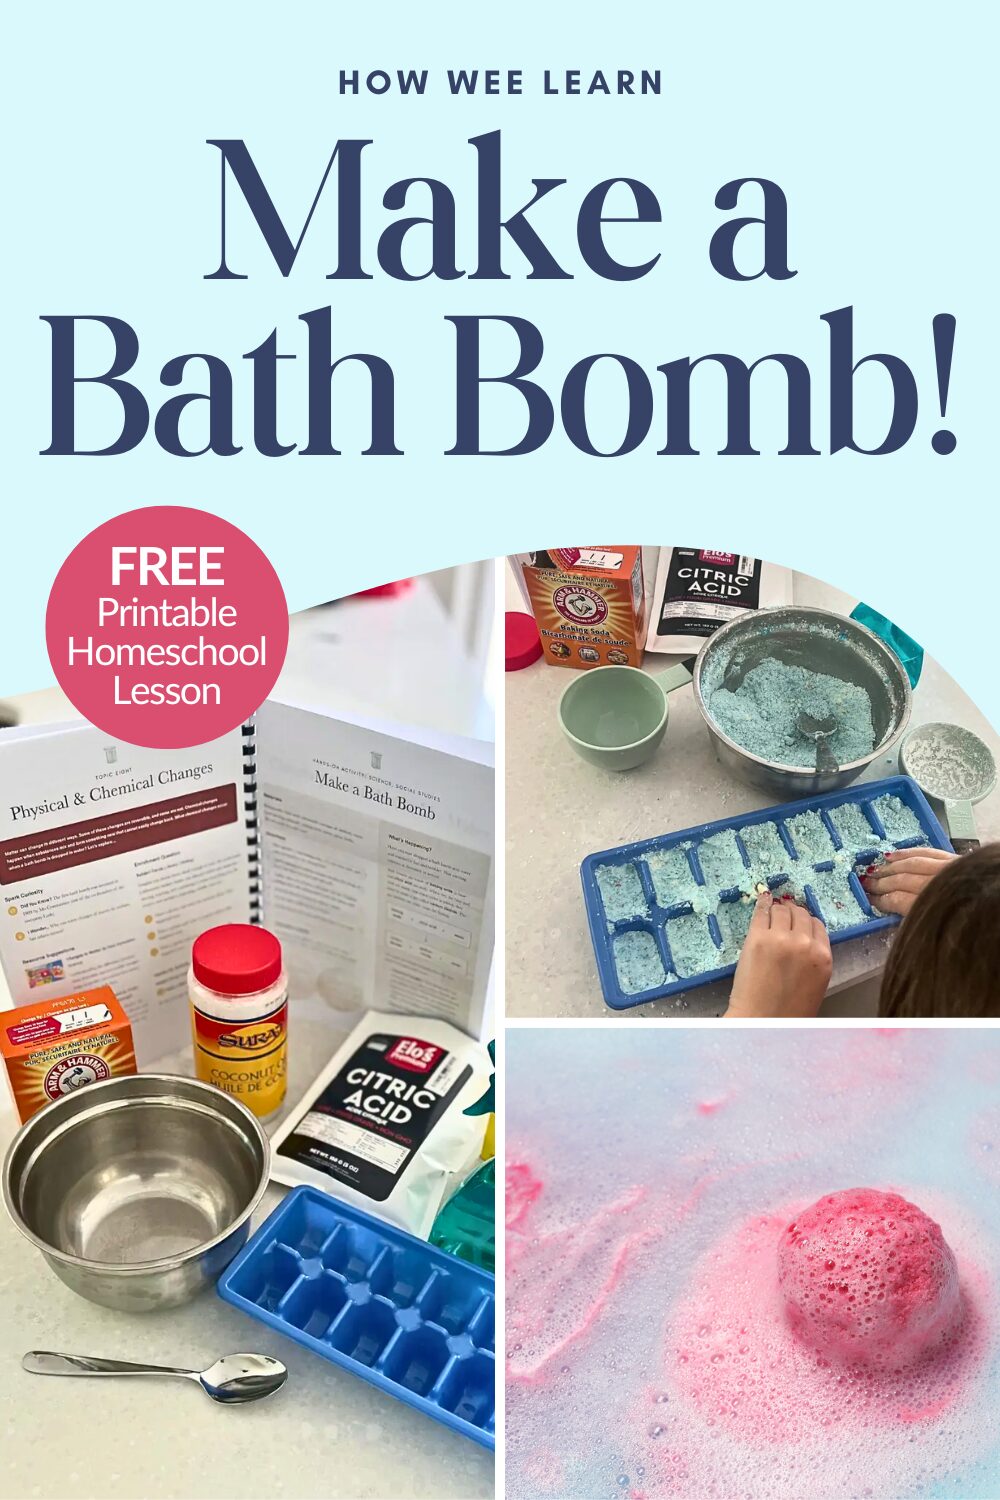
Make a Bath Bomb
Did you know that each and every one of our Family Unit Studies includes: Geography, History, Science, Social Studies, Music, Art, Health, Literacy, and Math?
Well, they do! You can feel confident knowing you’re covering all of the core subject areas through hands-on activities that brings each topic to life.
The activity I’m sharing today focuses on science. As children make their own bath bombs, they’ll observe an exciting chemical reaction and, more importantly, discover why it happens. With clear, kid-friendly explanations alongside the hands-on activity, children build a deeper understanding of chemistry while having fun creating something they can use and enjoy.
Enter your email address below to receive your free printable Make a Bath Bomb activity and start exploring chemistry together!

Let’s Go!
Start by gathering your materials:
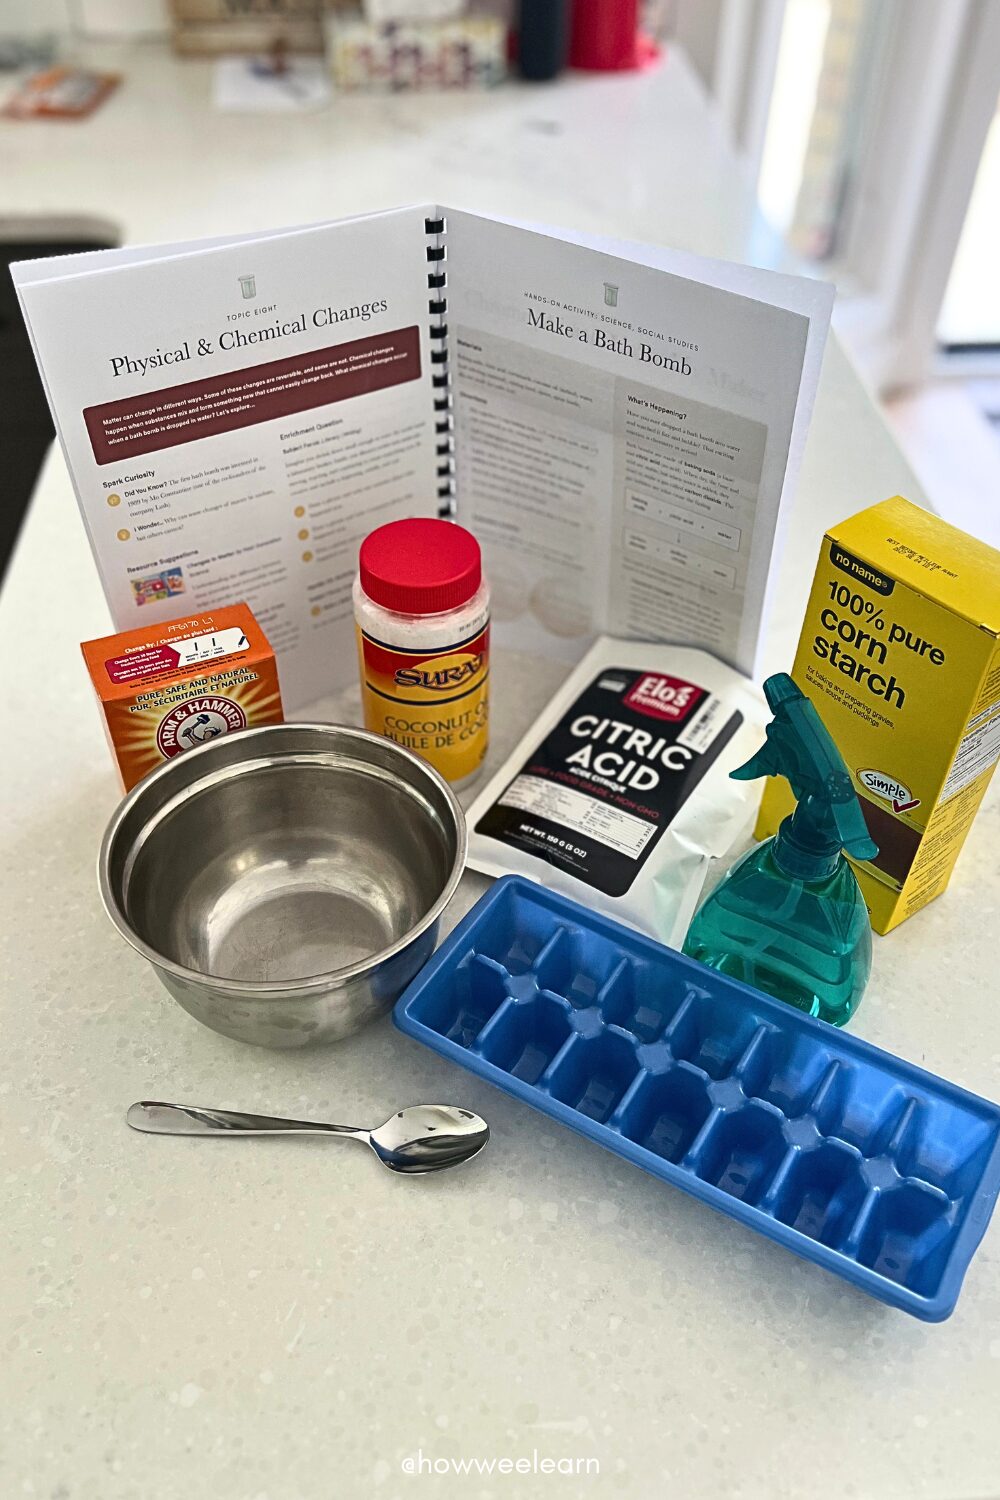
- 1 cup baking soda
- 1/2 cup citric acid
- 1/2 corn starch
- 2 tbsp melted coconut oil
- water
- mixing bowl
- spoon
- spray bottle
- silicone mold (or ice cube tray)
Begin by mixing 1 cup of baking soda, 1/2 cup of citric acid, and 1/2 cup of cornstarch together in a mixing bowl until everything is well combined.
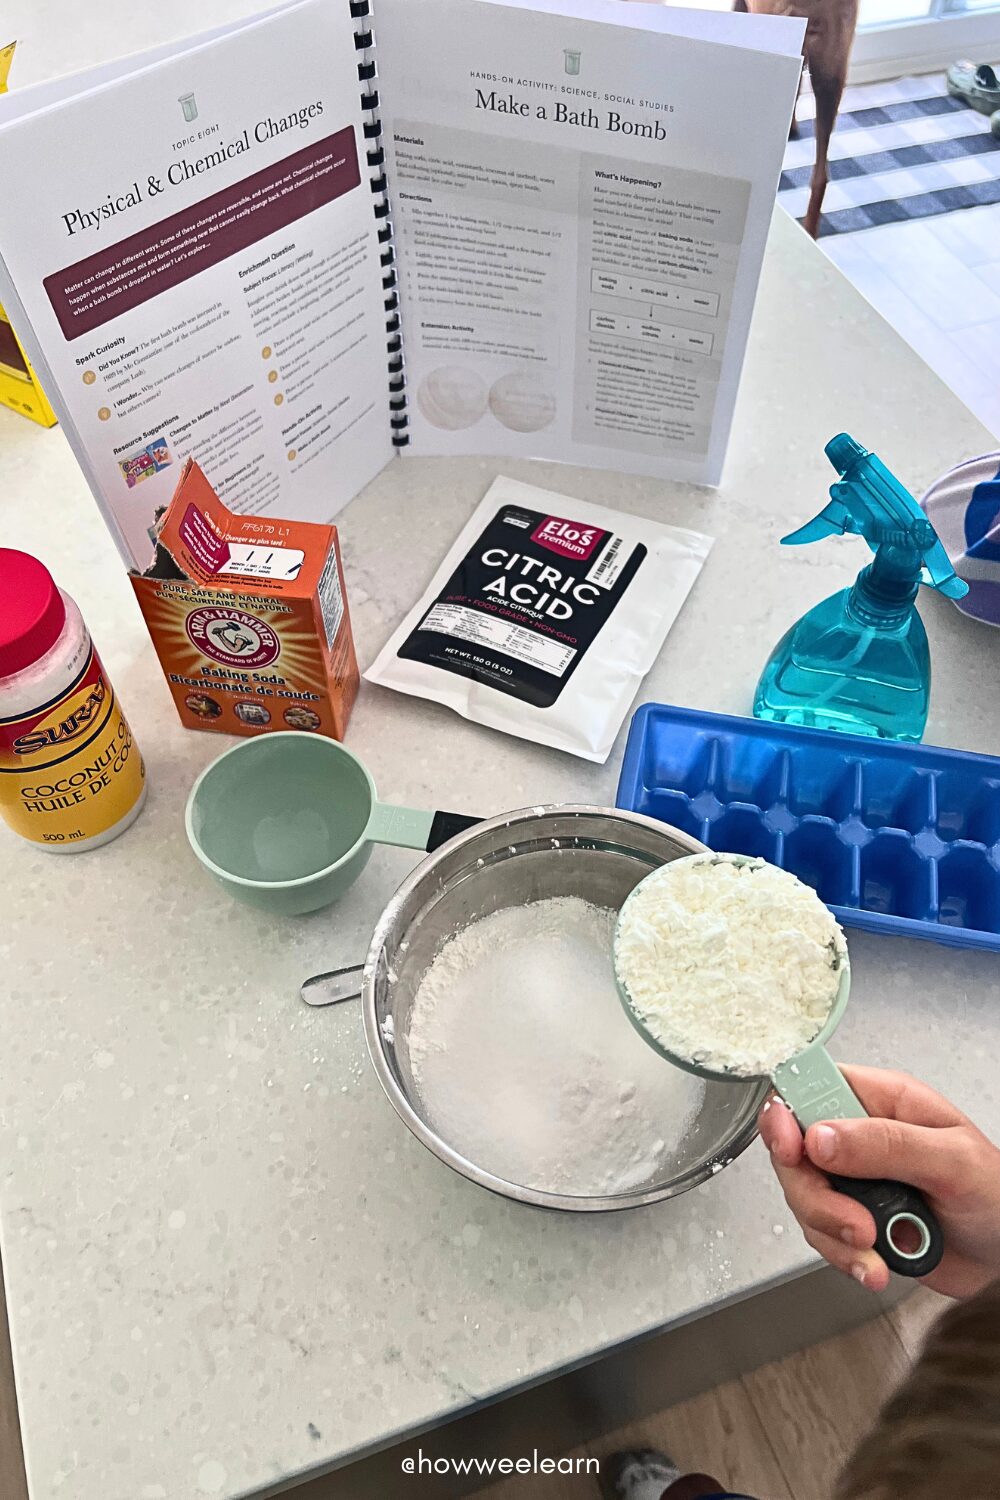
Next, add 2 tablespoons of melted coconut oil and a few drops of food coloring (optional). Stir everything together until the color is evenly mixed throughout.
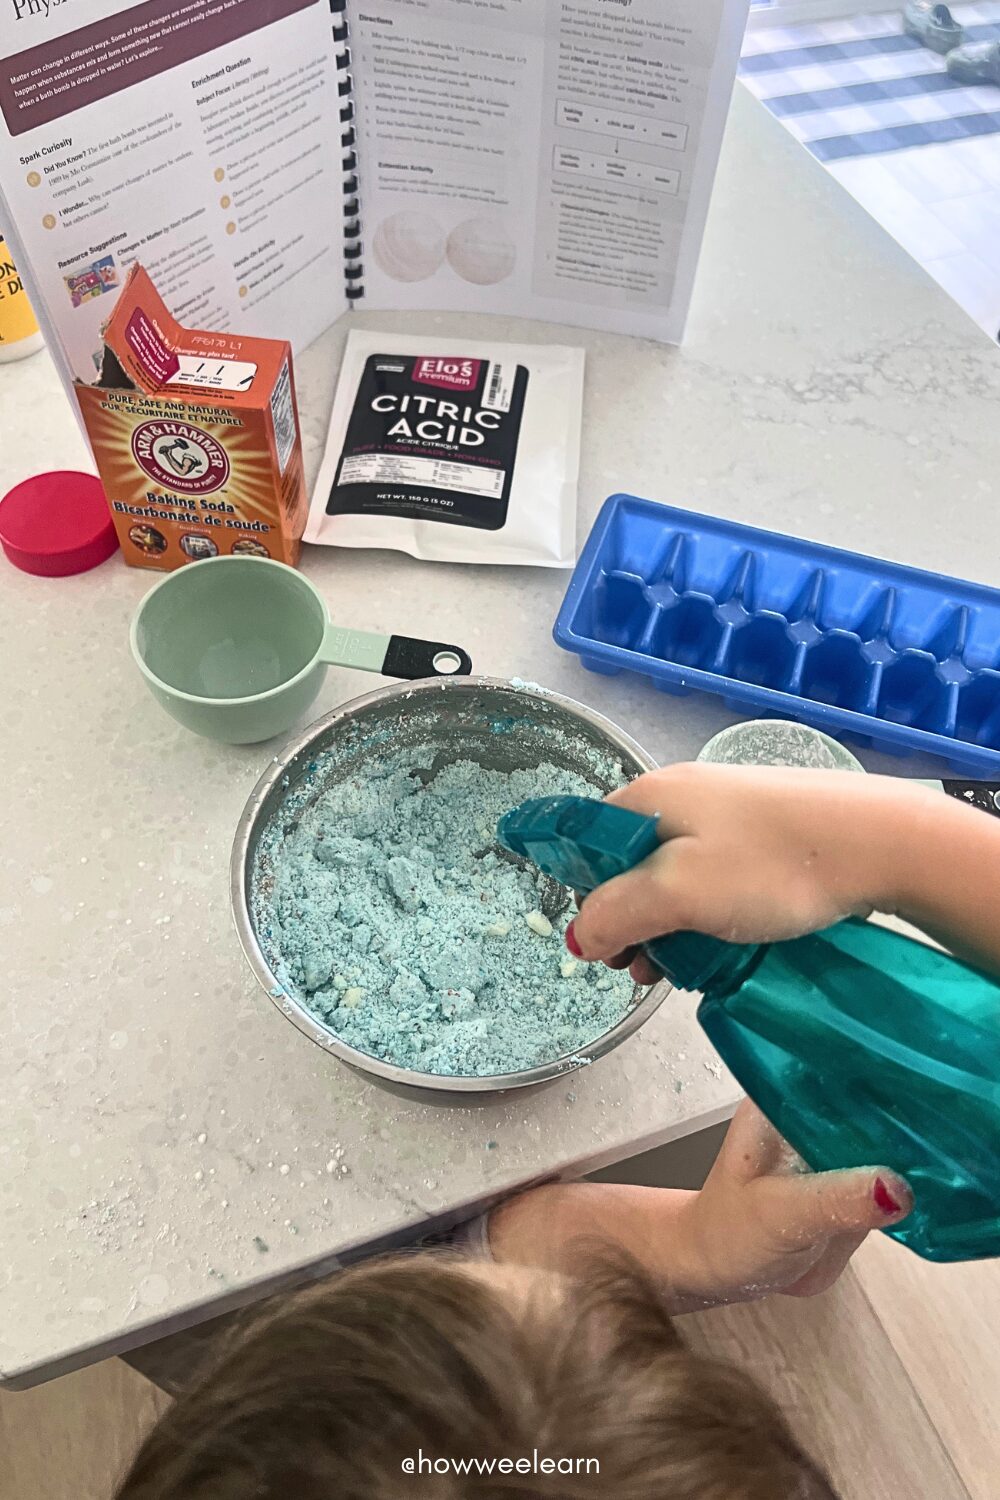
Now it’s time to add the water. Lightly spray the mixture with water and stir. Continue adding small amounts of water until the mixture feels like damp sand and holds together when pressed. Be careful not to add too much water at once.
Firmly press the mixture into your silicone molds (an ice cube tray works well, too!), packing it tightly so the bath bombs will hold their shape.
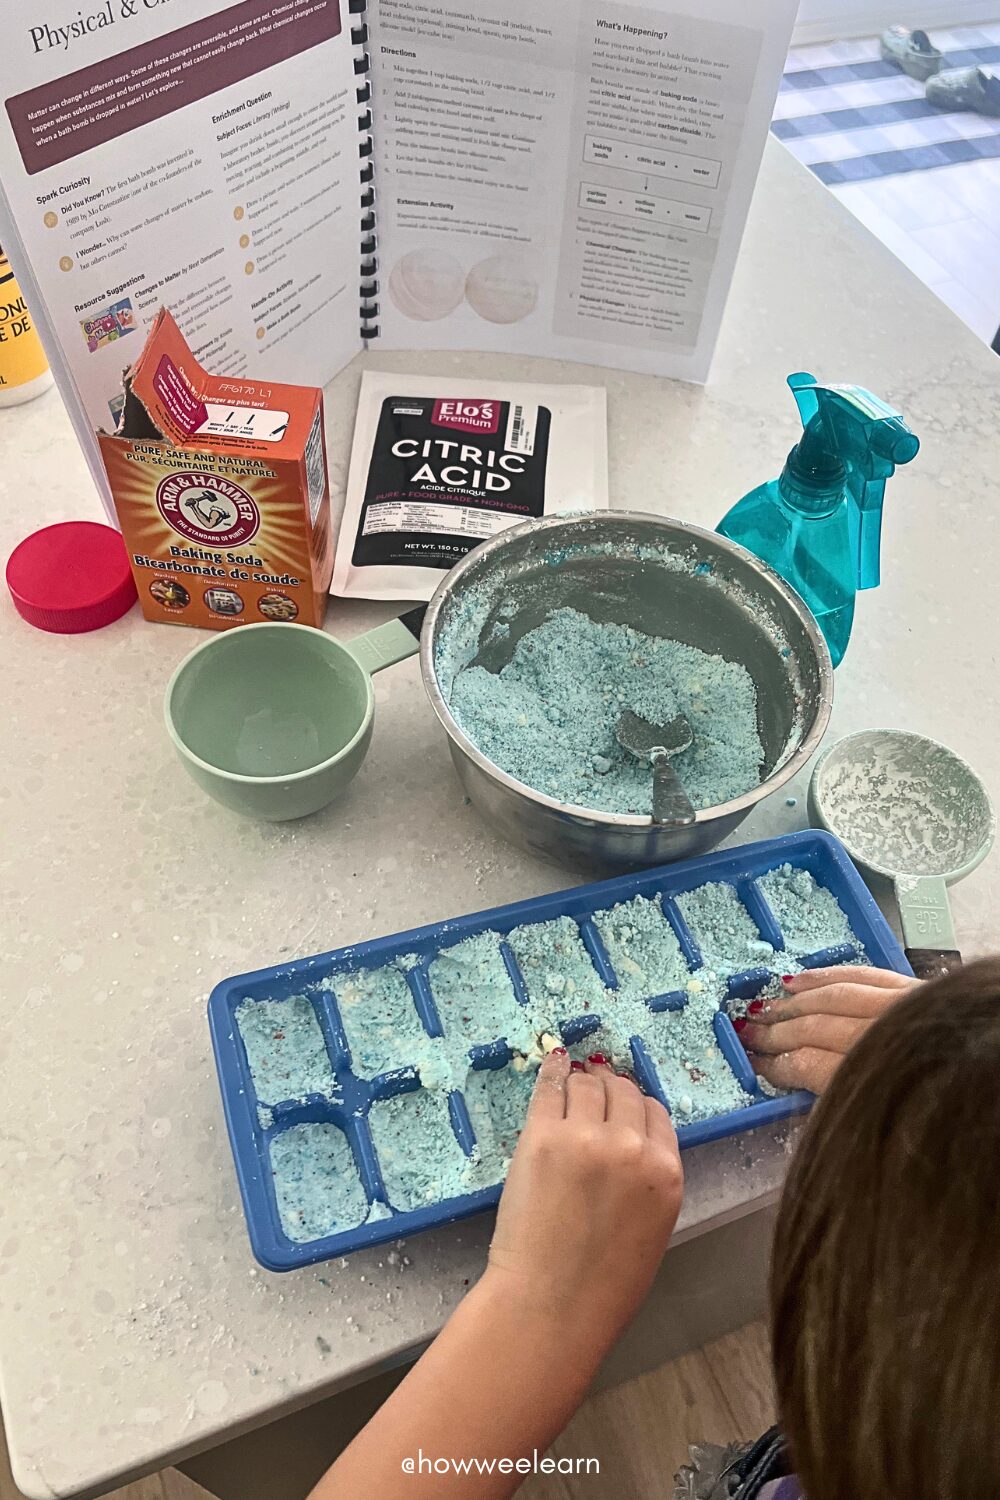
Leave the bath bombs to dry for 24 hours before removing them from the molds. Once they are dry, gently remove the bath bombs from the molds, and they’re ready to enjoy!
When you’re ready for the best part, drop one into a tub of water and watch what happens!
But wait… why do bath bombs fizz and bubble? Let’s take a closer look at the science behind the reaction!
What’s Happening?
Your bath bomb fizzed because you created a chemical reaction!
Before the bath bomb was dropped into water, the baking soda (a base) and citric acid (an acid) simply sat together as dry powders. But once the bath bomb was placed in water, everything changed. The water dissolved the ingredients, allowing them to react with one another.
As the reaction took place, a gas called carbon dioxide was produced. Those tiny bubbles racing to the surface? That’s carbon dioxide escaping into the air, creating all of the fizzing and bubbling that makes bath bombs so much fun to watch.
During this reaction, two different types of changes are taking place:
- Chemical Change: The baking soda and citric acid react to form carbon dioxide gas and sodium citrate.
- Physical Changes: The bath bomb breaks into smaller pieces, dissolves in the water, and the colors spread throughout the bathtub.
One more fascinating fact: this reaction is endothermic, which means it absorbs heat from its surroundings. If you place your hand in the water where the bath bomb is fizzing, you may notice the water feels slightly cooler as the reaction takes place. How neat is that!
💡Did You Know?
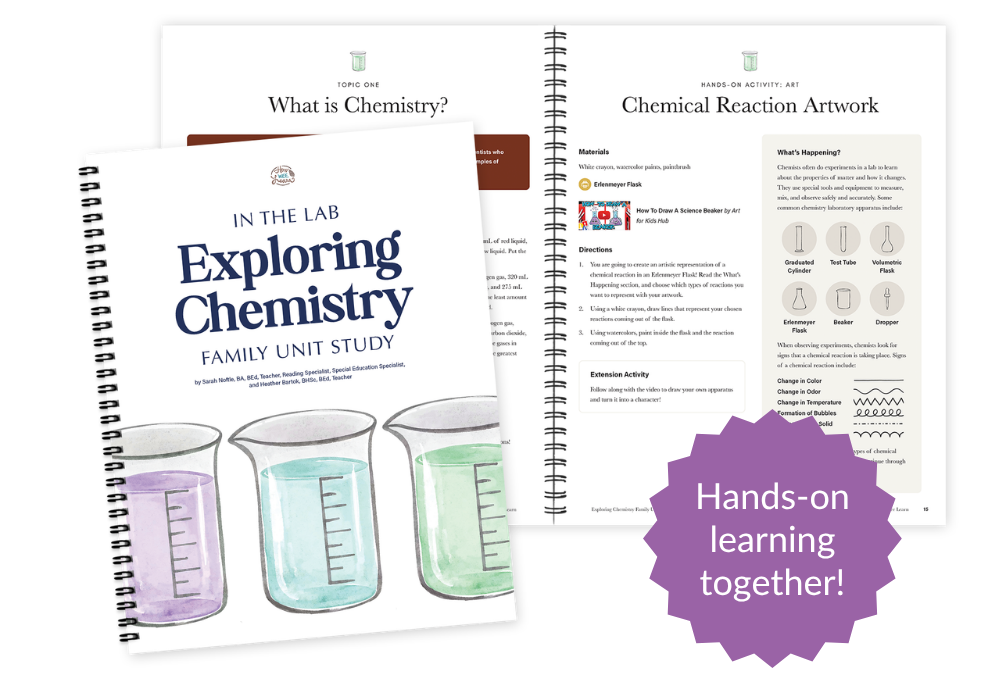
Every hands-on activity in our Family Unit Studies includes a “What’s Happening?” section filled with kid-friendly explanations that help children understand the ideas behind the activity.
We don’t stop at the fun part! Whether children are creating, building, experimenting, or exploring, they’ll also find out why the activity works and how it connects to the bigger ideas they’re learning.
It’s one of my favorite ways to turn curiosity into learning that sticks!
Keep Exploring Chemistry
Some of the best learning begins with a simple question: “Why?”
When children mix ingredients, make observations, and then explore what’s happening, science becomes more than something they memorize—it becomes something they experience. Those moments of curiosity often spark questions, conversations, and discoveries that stick with them long after the activity is finished.
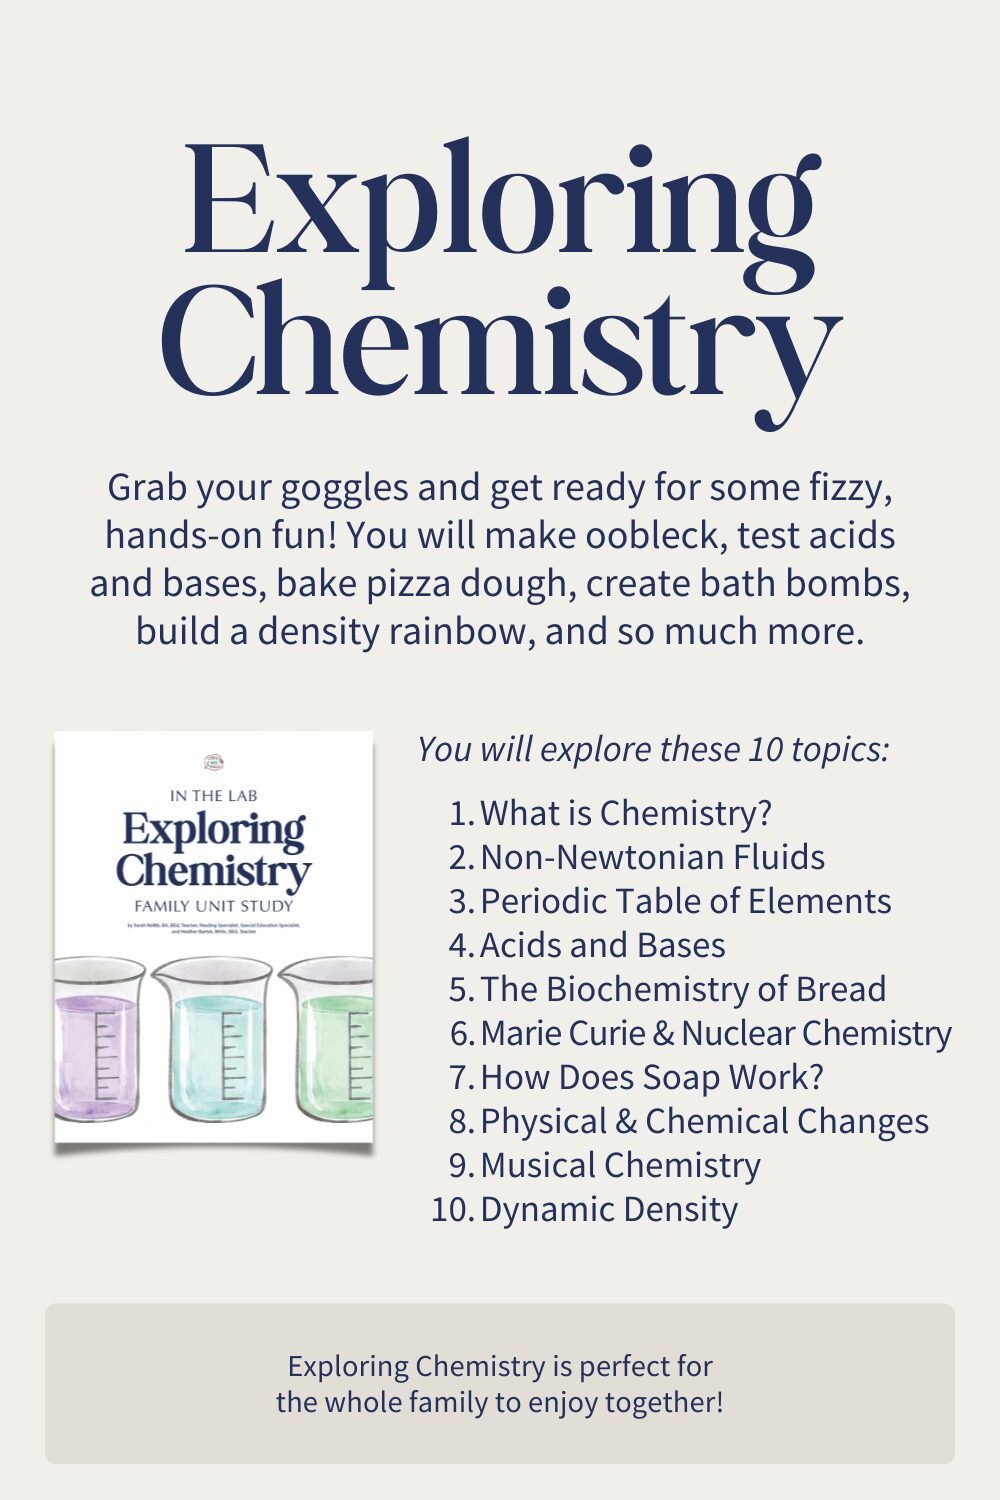
If your family enjoyed making these fizzing bath bombs, you’ll love our Exploring Chemistry Family Unit Study. It’s packed with hands-on activities, creative projects, and kid-friendly explanations that help children uncover the “why” behind what they’re learning.
Head over to the How Wee Learn Shop to learn more!
Exploring Chemistry Family Unit Study
https://shop.howweelearn.com/products/family-unit-study-exploring-chemistry
 |
 |
Thanks so much for reading, friend!
xo
Sarah


Leave a Reply