We are not big pumpkin carvers around here which might come as a surprise to some. We are all about celebrating the holidays and tend to overdo most of them. We definitely celebrate Halloween and enjoy lots of fun crafts and squeeze all the memories out of that special day.
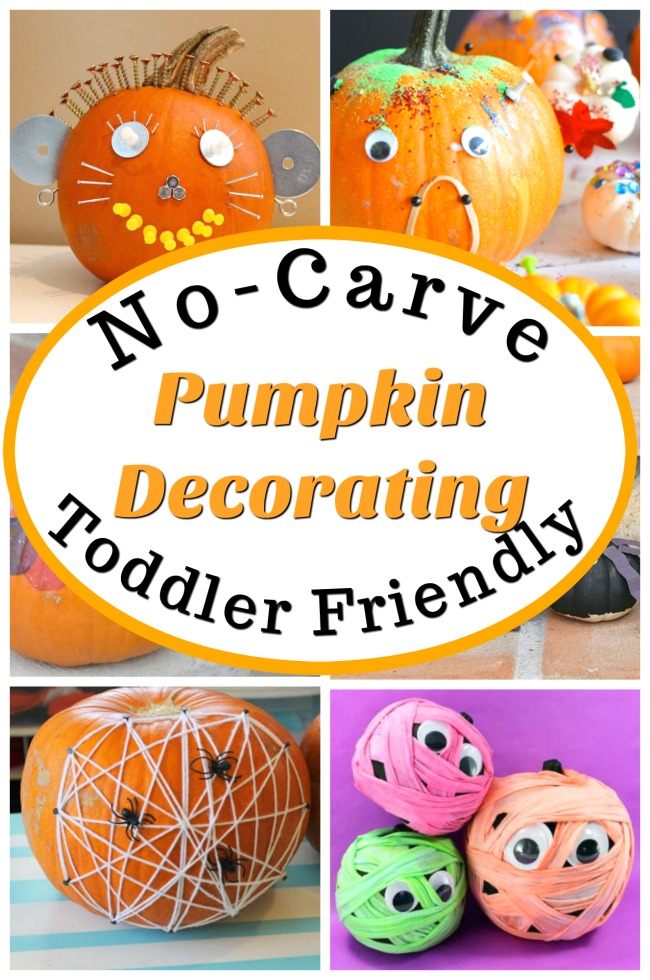
But we prefer no-carve pumpkin options. Perhaps it is because I have so many little ones, but I just don’t feel comfortable with my children using knives to carve—to me, it feels like an accident waiting to happen. Instead, we try lots of no-carve ideas each year.
This no-carve pumpkin decorating idea is actually from my homeschool program for kindergarten and is found in the pumpkin unit study of that program. That Kindergarten at Home session is full of fun ways to play and learn with and about pumpkins and seeds. I shared another activity from this session the other day—Making 10 with Pumpkin Seeds.
If you have a preschooler or Kindergarten aged child between 3 – 6 years old, please check out Kindergarten at Home!
This no carve pumpkin decorating idea for preschoolers is great for creativity, strengthening hands, and fine motor skill development as well.
And it is just as easy as can be!
Have your little one help you to hollow out a pumpkin. We like to do this outside to help minimize the mess. This is a great sensory experience for preschoolers. Let them reach into that pumpkin and pull out all the goopy and stringy pulp and the slimy seeds.

This is a great opportunity for building vocabulary within your child. Be sure to set those pumpkin seeds aside for roasting or for using as math manipulatives!
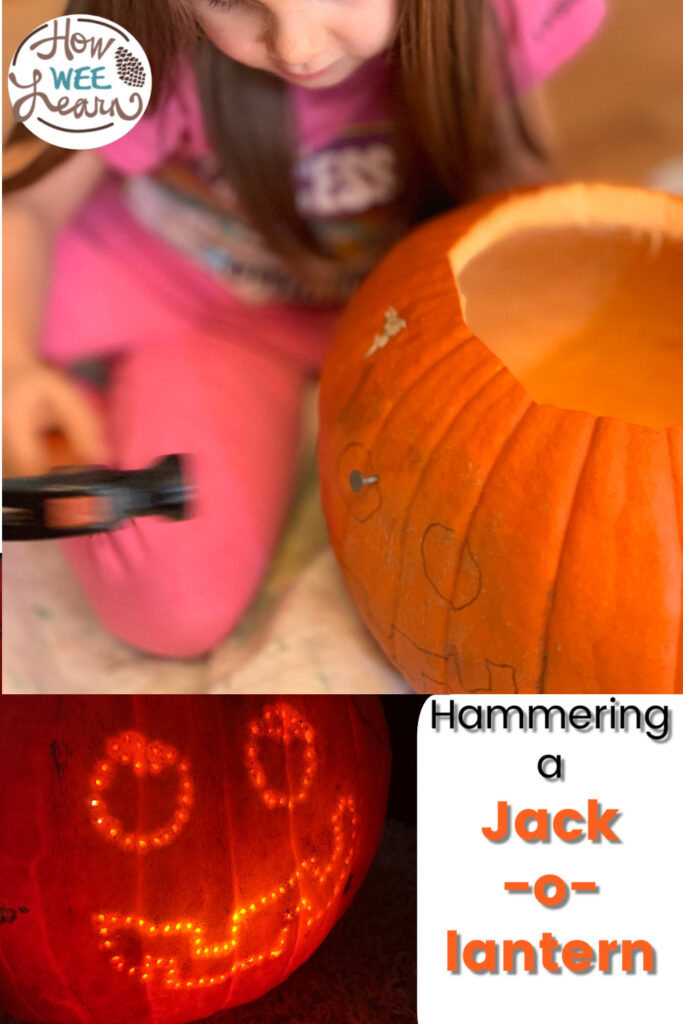
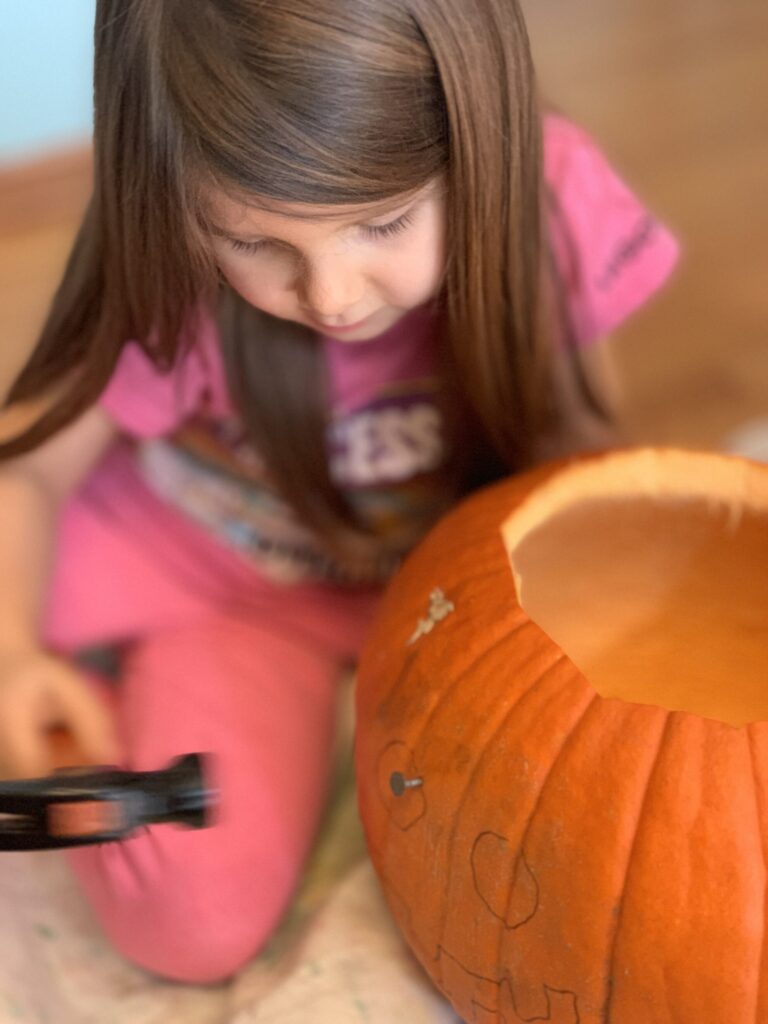
Once the pumpkin is hollow, help your child decide on a simple face to draw. A big smiling mouth and two big eyes will be nice and easy to hammer.
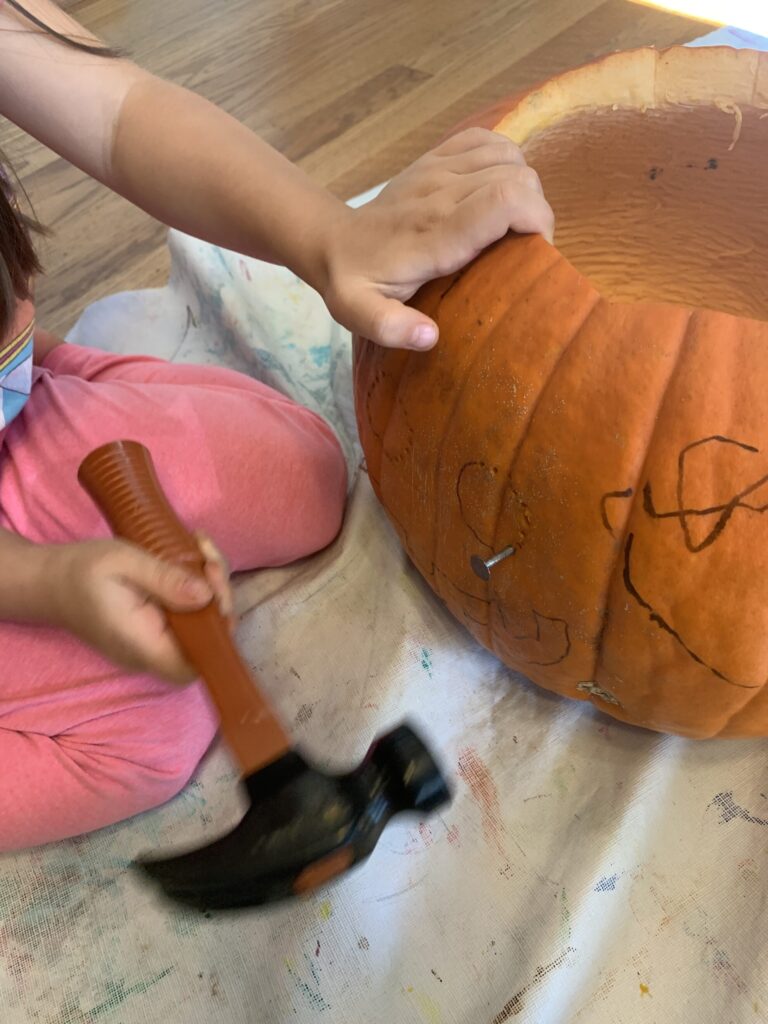
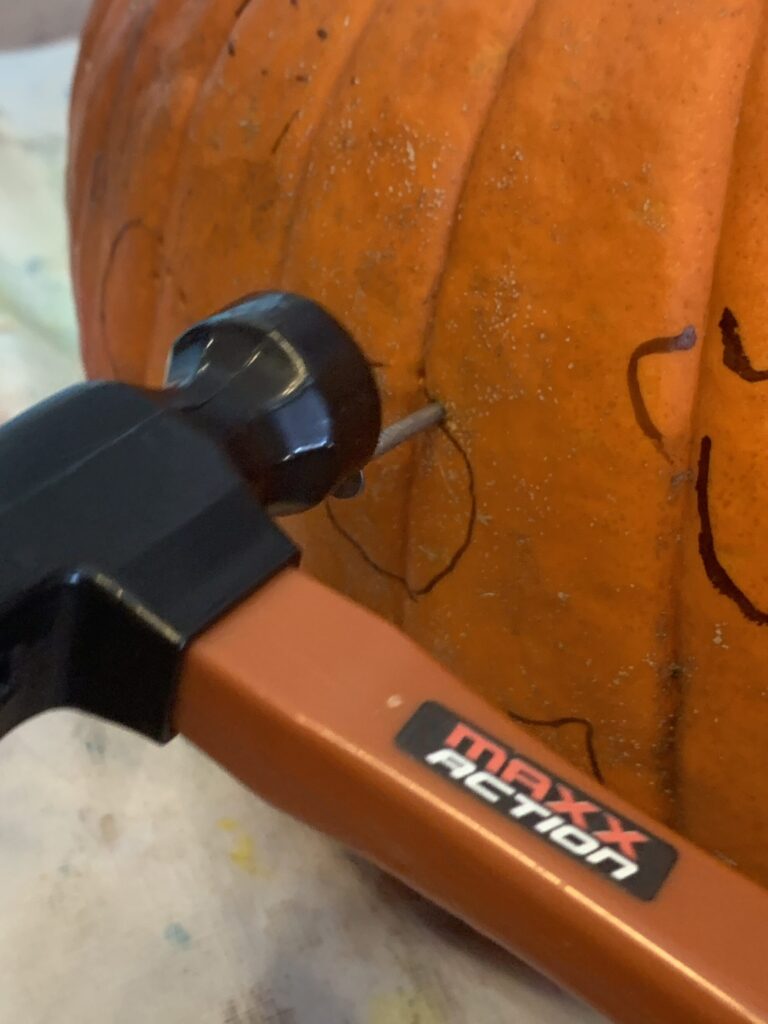
Now, give your child a few nails and a small hammer. Even toy hammers work well for this activity. This is a great activity for children just beginning to learn to use a hammer, as the nail can be pressed into the pumpkin flesh and held into place, keeping little fingers away from the hammering.
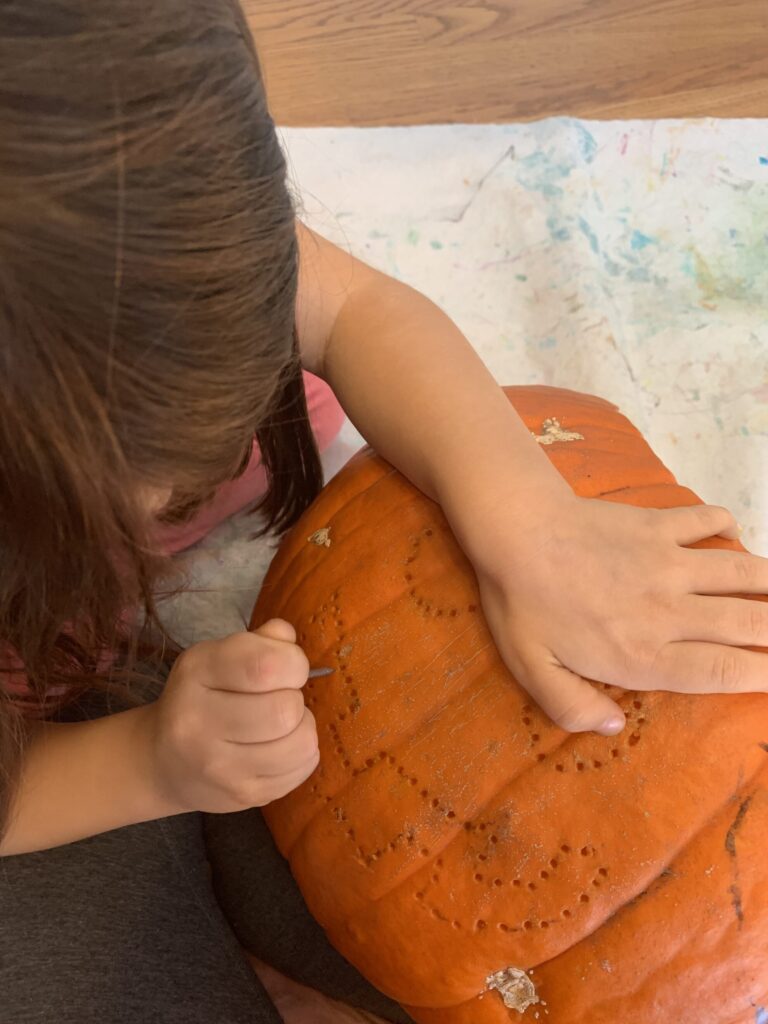
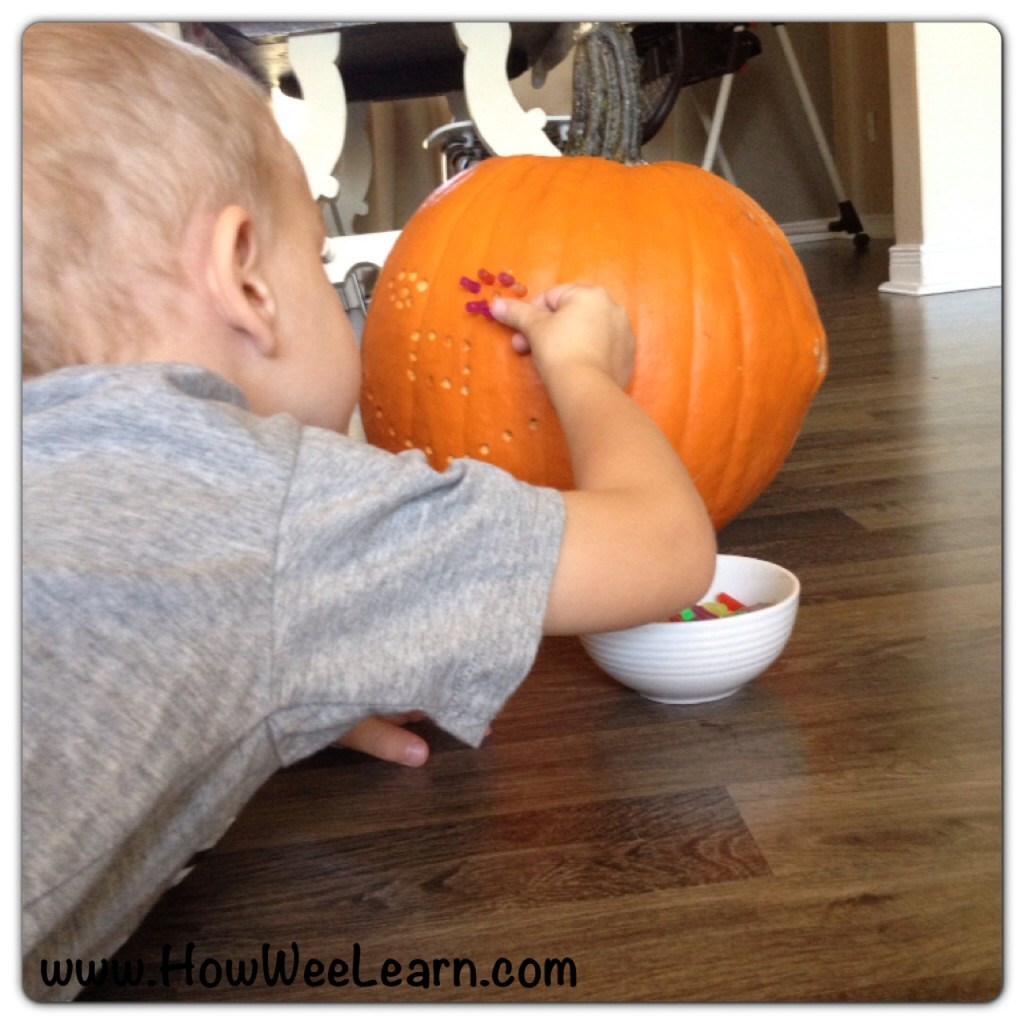
Have your child hammer a nail into the lines she has drawn on the pumpkin. She will feel it “give” as it goes all the way through the pumpkin. Then, have her pull it out using her fingers or gently using the end of the hammer. If it is tight, have her wiggle the nail back and forth a little first widening the hole. It will come out nice and easily.
Have her hammer the nail all along the lines she has drawn for the pumpkin’s face.
When complete, pop a candle or small light into the pumpkin and admire her beautiful work!

This no carve pumpkin is so much fun for kids of all ages to make. I hope it becomes a Halloween tradition with you and your little ones!
For more fun and engaging activities like this, check out Kindergarten at Home!
https://shop.howweelearn.com/pages/kindergarten-at-home
Thank you so much for reading, sweet friend.
xo
Sarah
You might also like:
Perfect Pumpkin Carving Ideas for ALL Ages

Leave a Reply