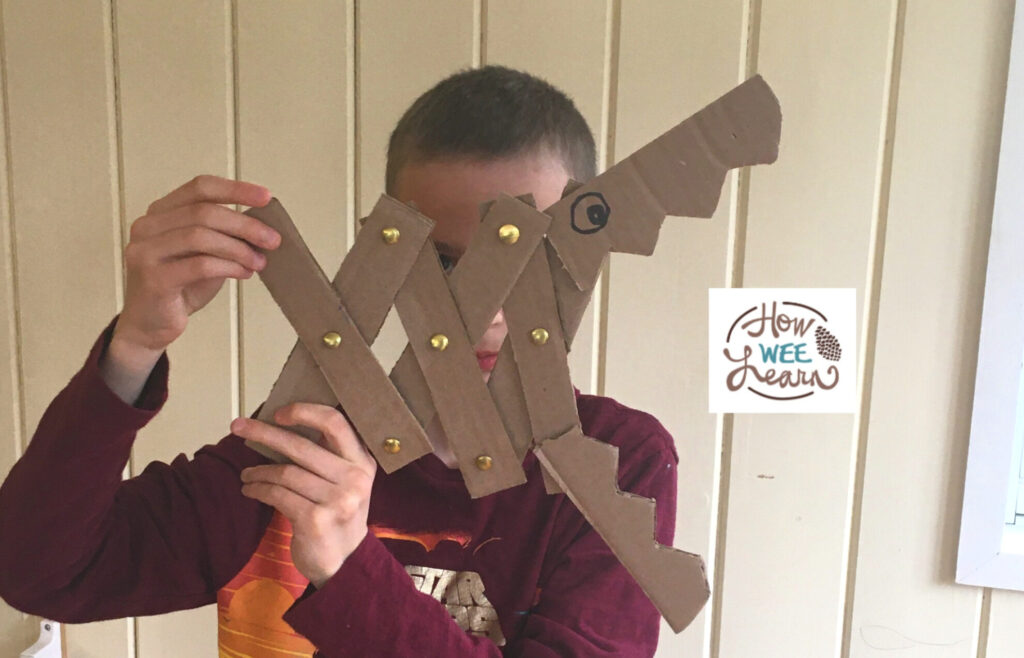
Day 2 of my daily writing challenge and things are getting FIRED UP already! Well, I guess not fired up – perhaps just fierce. A bit dragon-like …. dragon craft like …
A dragon craft. We made a dragon craft is all that I am trying to say …

I was on Pinterest and looking for simple fun activities I could engage my boys in during our afternoon creating time (I shared with you yesterday our new daily homeschool rhythm – turns out it was overly ambitious, I am going to go back to my power of 3 — 3 activities a week, not every day. I want to enjoy this time after all).
I found this neat craft using only cardboard and brass fasteners (that is my Amazon link in case you are wondering what those are. I am an Amazon affiliate which means I receive a small commission should you purchase something through my link, through no added cost to you.).
I clicked through the picture on Pinterest, but unfortunately it was just the picture – no blog post! The picture was fairly descriptive so I figured we would give it a go.
We did, and they worked out great! The boys loved making them and today they have LOVED playing with them.
A fun craft, full of learning, AND great imaginative play after? That is a big win in my books.
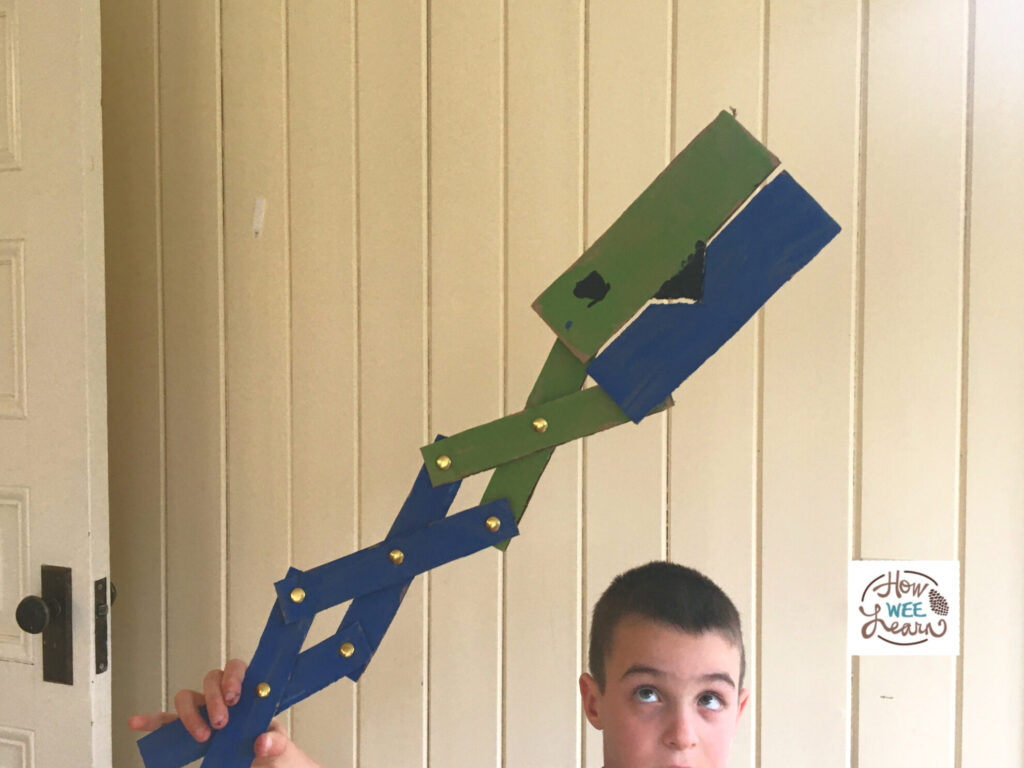
To make these cardboard dragons we used 6 strips of cardboard (I used an Amazon box – any nice sturdy cardboard will work) and 7 brass fasteners.

We cut the 6 strips of cardboard about 1 inch wide and 6 inches long. We also used some cardboard to create the head shape – one rectangular piece with teeth for the top, and one for the bottom.
![]()
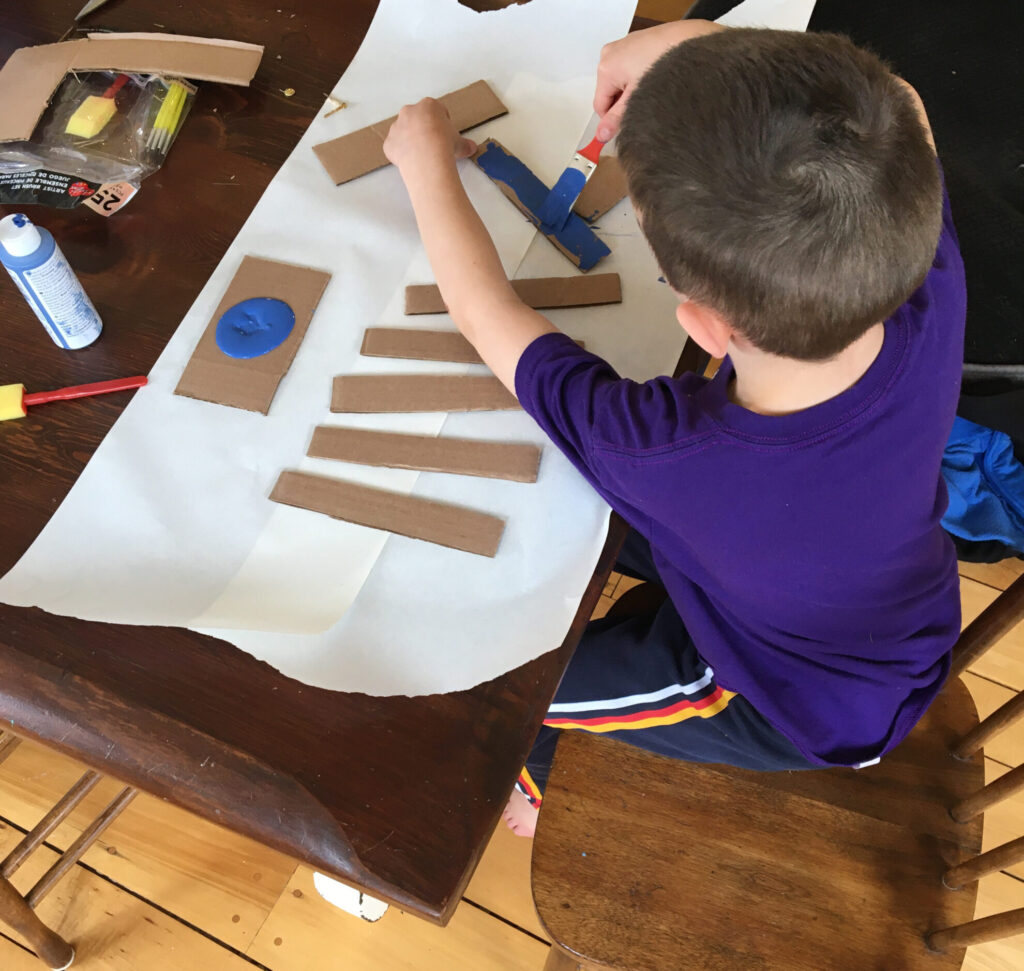
Next, we painted the cardboard. One of my boys decided he did not want to paint – which the OLD me would have had an issue with. Why? Well, that was the PLAN! But, lucky for him, after 18 years as a Mama I have learned to let go and relax a wee bit more. No paint today? No problem (well, truthfully I did ask him twice if he was sure).
BUT, one little one stuck to the PLAN and painted
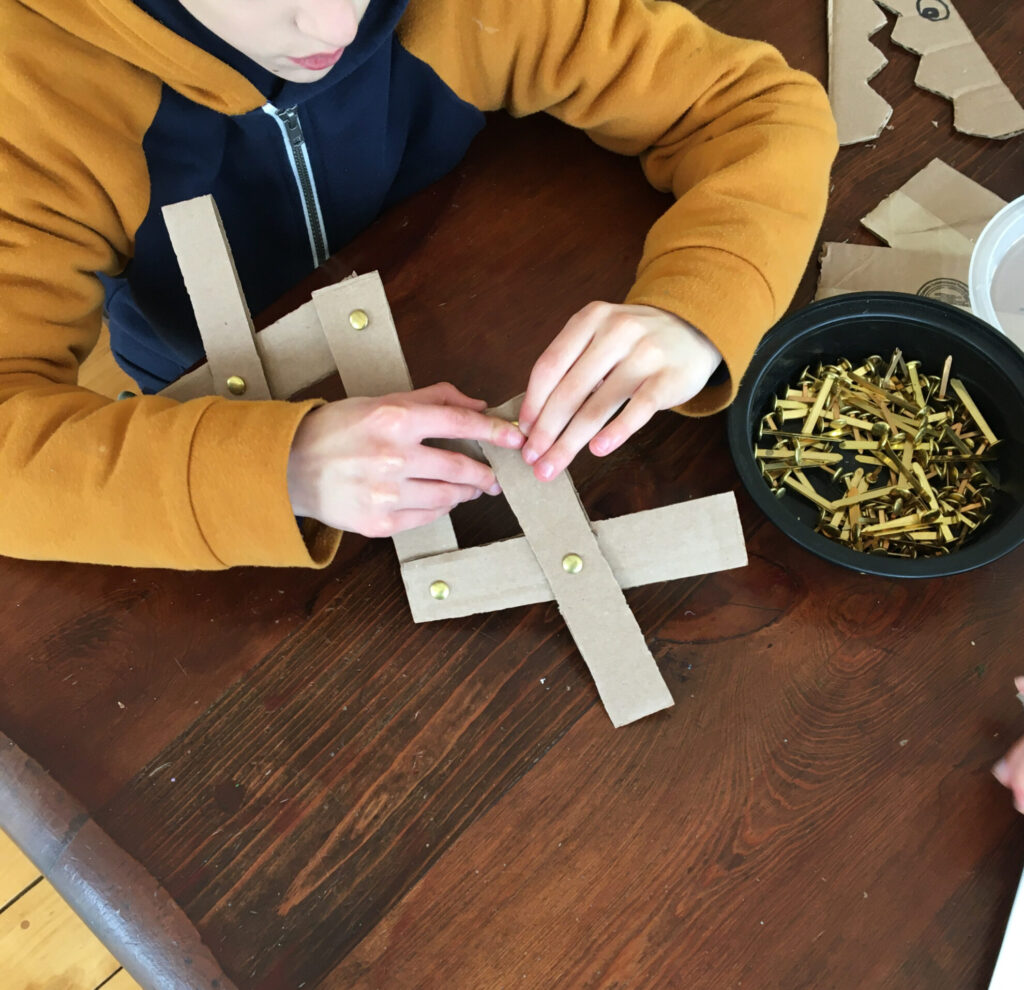
After the paint was dry we laid the cardboard strips down so we could pop in the brass fasteners. I thought we would have to puncture the cardboard first with scissors or a knife, but the fasteners actually just slid right in.
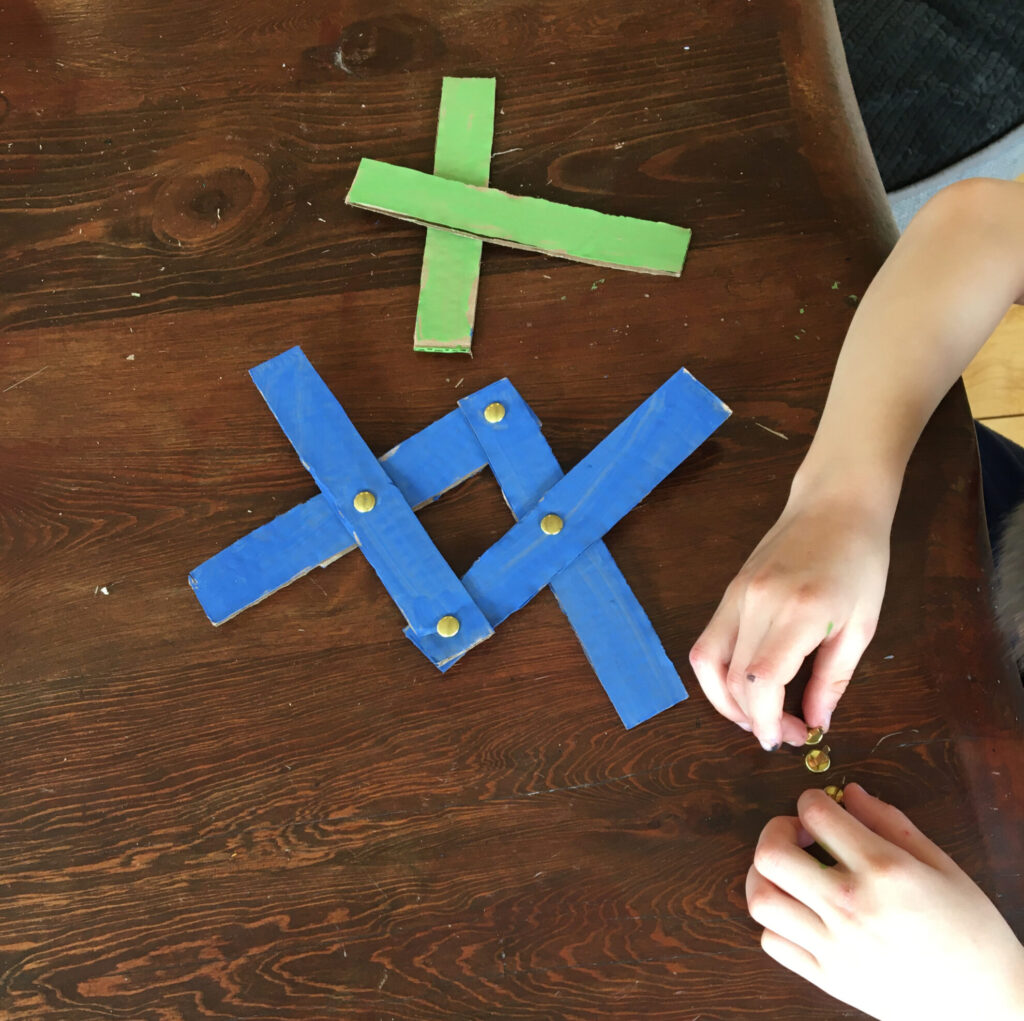
We laid down the 3 bottom cardboard strips first, all angled from bottom left to top right. Then we laid the top strips over top, angled from top left to bottom right. We just estimated the middle of each cardboard strip and popped the fasteners in accordingly. It turned out just fine. If you wanted to be extra precise, you could measure to fine the exact middle.
Similarly we estimated an equal distance from the end of each cardboard strip to put the fasteners in – but for added precision (and some great math too) you could measure the distance.
Once the brass fasteners were in, we added the dragon’s head. This was a bit fussy. We moved the ‘body’ to the long outstretched position and placed the head on the dragon so the mouth would be shut, gluing it with white glue (since we couldn’t locate our glue gun).
Once this was dry, we were set!
One of my little guys (the non-painter) wanted to do this all on his own his own way. The OLD me would have really encouraged him to do it ‘properly’, you know, as PLANNED and all. BUT, I now see the value in him trying things like this all on his own. The problem solving, the critical thinking, the … gulp … possibility of failure. It is all wonderful.
The kids have been loving playing with these little guys today. Turns out they are strong enough to pick up socks of the floor and deliver them to laundry baskets!
I hope this idea is a fun one for you and your little ones as well. I will be back tomorrow with more goings on to share – you can count on it as that is the PLAN (and we all know how I feel about plans)
Thank you so much for reading – I hope you are staying healthy and feeling loved.
xo
Sarah

Leave a Reply