Over the summer holidays, my only child finally got to see his cousin after months of not being able to visit with family. He was thrilled to have a playmate, and it was exciting to explore how my preschooler’s activities could be scaled to dynamically engage a seven-year-old. His cousin is deeply interested in arts and crafts, while my preschooler is motivated by physical exploration. This color mixing activity explores rock painting and stacking, making it perfect for small children as well as grade school kids.
In this calming craft, your child will exercise problem solving and fine motor skills, while learning color terminology and exploring gravity and balance.
Supplies for Color Mixing Activity
- Rocks
- White Paint, Black Paint, and Color Paint
- Paint Brushes and water cups
- Napkins of cloths
- A surface that is paint friendly, like a drop cloth, a yard, or a craft table
- Optional: Hot Glue
Terminology:
- Hue
- Tint
- Shade
- Cairn
Step 1: Color Mixing
Let your child collect rocks from your yard or around the neighbourhood. Rocks can also be purchased online or from a crafts store. Ideally, flat rocks work best, but my preschooler is a free spirit who prefers big and irregularly shaped ones.
Aim for at least three rocks per child, or more if they want to try different colors or a chance to paint expressively. Acrylic paint will adhere to cleaned rocks, while tempura paint will wash off easily.
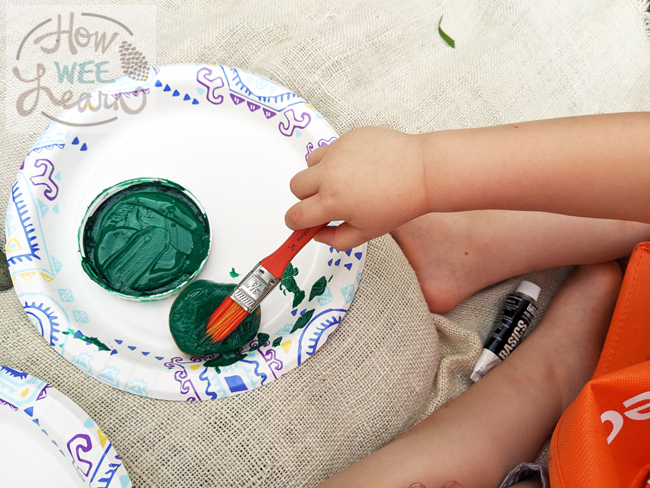
- Let your child select a color from the rainbow that they want to use (Red, Orange, Yellow, Green, Blue, Indigo, Violet), and pour the paint onto a paper plate or mixing tray. Ask your child to paint the first rock all over in the un-mixed color, also called the hue.
- Using a paintbrush, your child will mix some of the hue with white, creating a tint. They will paint their second rock in the tinted paint.
- After cleaning the paintbrush in water, your child will mix the main hue with black, creating a shade. They will paint the third rock in the shade paint mixture.
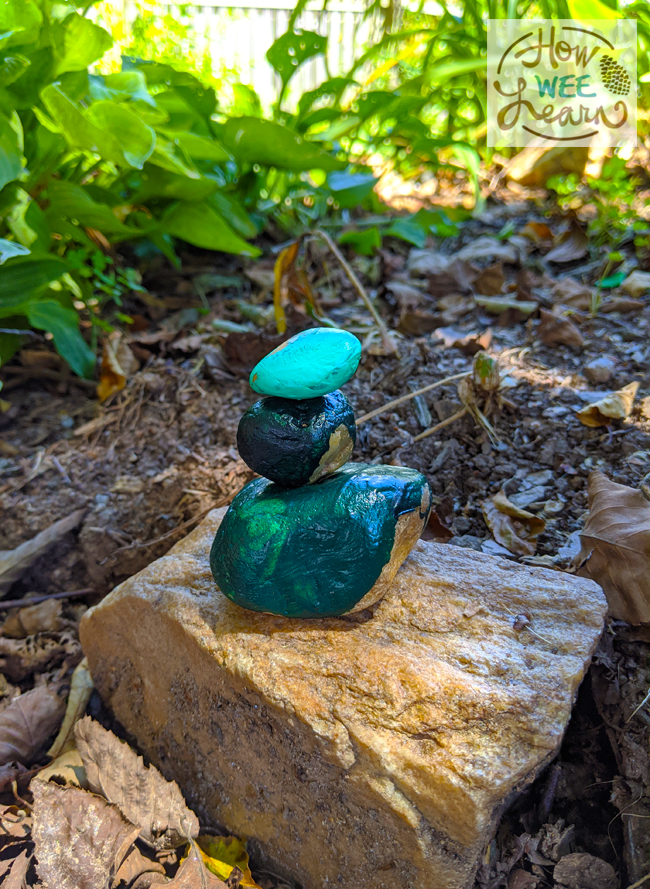
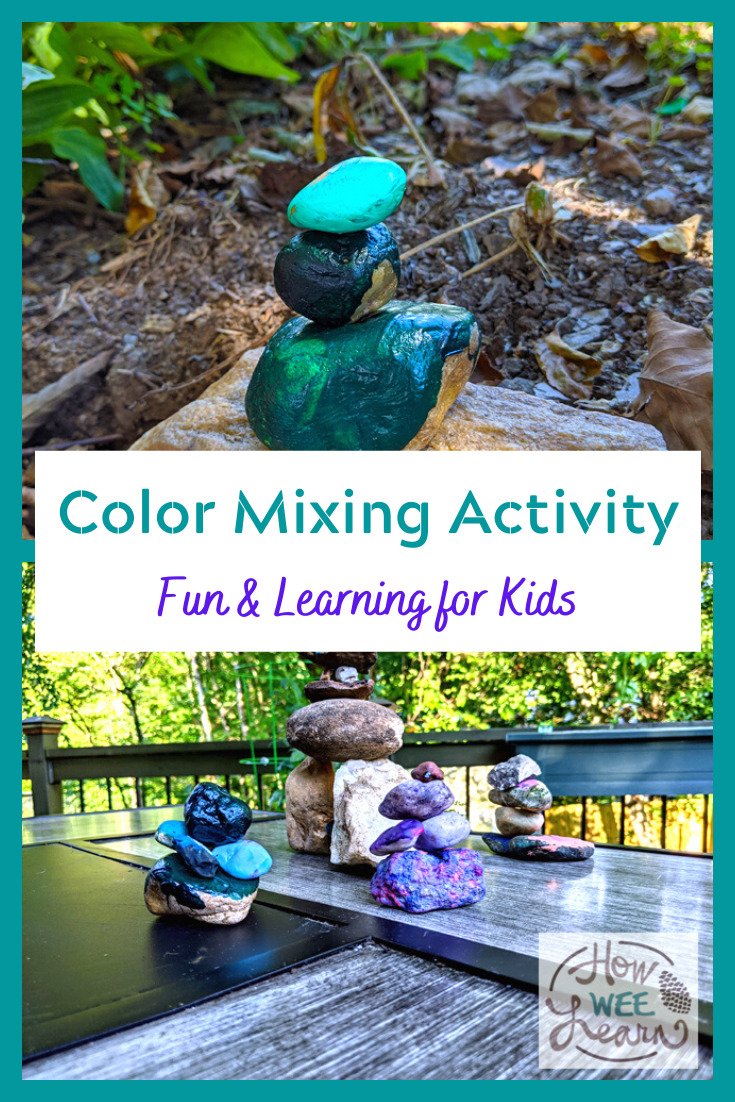
My child chose green, and ended up with a pure green rock, a light green rock (the tint), and a dark green rock (the shade).
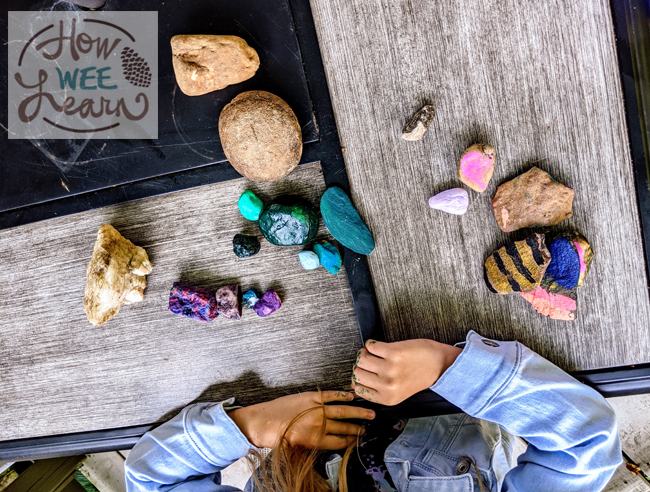
- The remaining rocks can be painted however your child likes. They can explore more tints and shades of other hues, or play with patterns. The point of the extra rocks will be to give your child creative freedom after the structured activity is complete.
Step 2: Rock Balancing and Sculptures
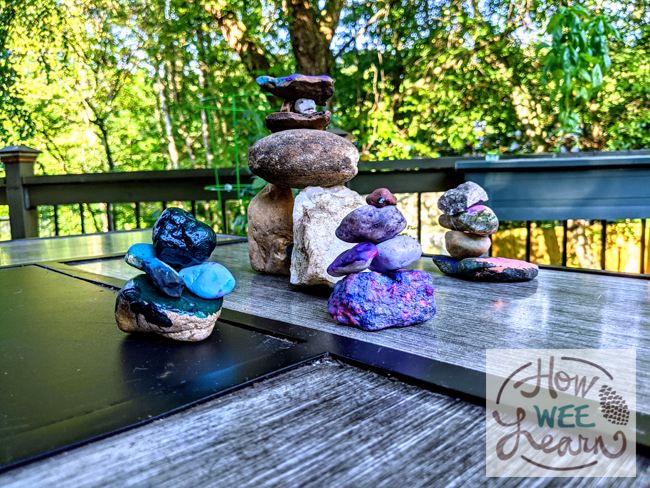
- Once the rocks are dry, you can encourage your child to stack rocks, creating a cairn. Cairns have been used worldwide in ancient cultures through today. They can be found along trails, indicating that you are moving in the correct direction.
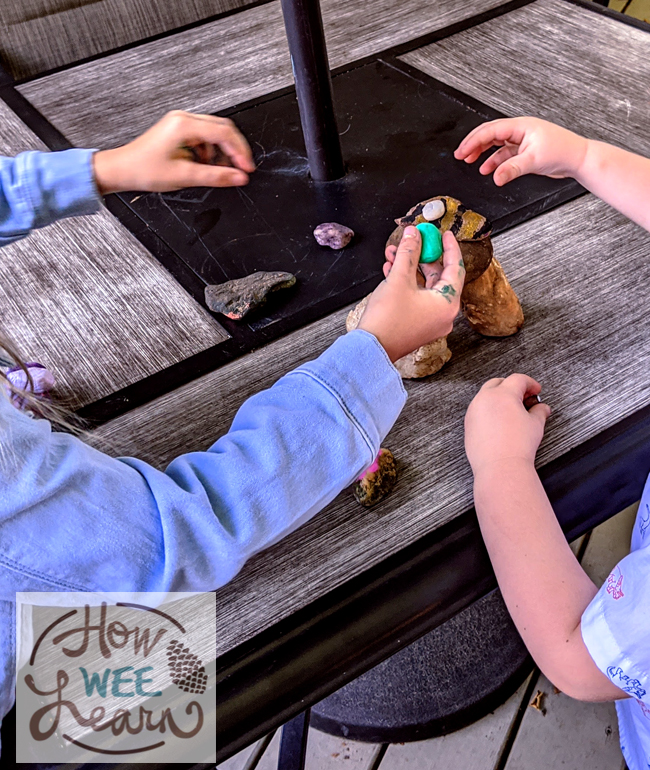
Creating the cairn, or rock tower (using the terminology that your child will respond to best), will allow your child to use their fine motor skills. They can explore balance while offsetting irregular shapes and angles.
- Once your child has mastered the cairn, they can graduate to rock sculptures. Your child will build up and balance the rocks in different ways instead of just stacking straight up. Encourage your child to approach their sculpture from different sides, which will result in three-dimensional creative exploration.
As my child and his cousin played with stacking rocks, it was surprisingly quiet, as they focused on figuring out the best rock placements. Upon further research, I discovered that rock stacking and sculptures are often meditative practices.
Step 3: Gluing the Color Mixing Rock Structures
Lastly, if the rock sculpture is something your child wants to keep, the delicately balanced rocks won’t remain intact. Your child can re-create her or his sculpture on a movable base (like a slab of wood) with hot glue applied at each balanced rock. While I wanted our sculptures to be temporary so that we could re-purpose our materials or play with balancing again during quiet time, you will know if your child will appreciate a more permanent artwork.
While my preschooler was engaged in this color mixing activity, his second grade cousin was so deeply invested that she continued to restack the rocks throughout her visit. With a scalable difficulty, I was thrilled to see how effective and relaxing it was for multiple children with a wide age gap.
Based in Maryland, Amy is a nature-enthusiast who loves hiking, reading, and creating. With a MFA in painting and university teaching experience, she loves combining visual art and nature to create crafty and play-based learning experiences for her preschool-aged son. Extra crafts and fine art can be found on Facebook and Instagram @amyfixart or at www.amyfixart.com.
You might also like:

Leave a Reply