When my now 11 year old daughter was very little, she absolutely loved forts. It didn’t really matter what they were made of – elaborate with sheets, blankets, and Christmas lights … or as simple as a box. It was something about having a place of her own. A small, cozy spot that only she would fit. Sammy, at the age of 4 is still very much in the midst of his fort love – and with Benjamin coming to the ripe old age of 18 months, he too is entering this magical time. So I thought it time to do a post on AMAZING DIY Kids Forts!
As you can imagine, and have likely experienced yourself, the more you do something the more mundane it can become — that is unless you spice it up a bit. I am not one for mundane, and my 3 wild ones are quite like their Mama on this. So we have had some fun and practice making and creating DIY kids forts … for coming up on 10 years now.
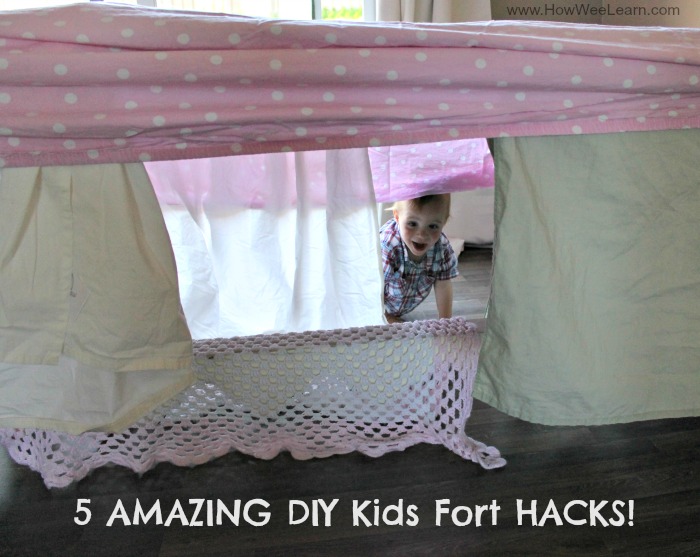
Here are my top 5 DIY Kids Fort Hacks:
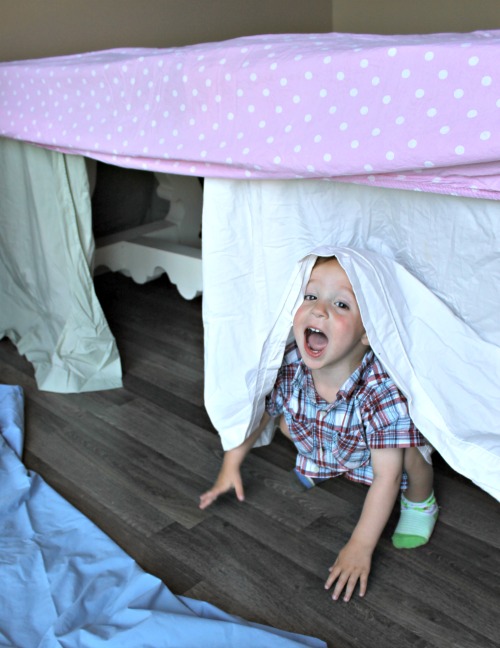
1. Use a Fitted Sheet Over a Table. This is our go to DIY kids fort. We throw a few twin size sheets over a table to make ‘walls’ and then pop a fitted sheet (either twin or double, depending on the size of the table) to hold them in place – this works like a charm! I cannot tell you how many times our fort, “FELL DOWN AGAIN!!!!” before I stumbled upon this gem.
2. Use a Tarp and Secure with a Stick. Our go to outdoor fort is throwing a tarp over a piece of rope. Given the dilemma mentioned above (of my wild running boys) the tarp would fall of a lot. I saw this neat tip on Pinterest, and traced it to The Chive. Using a stick, secure the rope through the hole in the tarp – a creative and simple way to save your fort (and sanity) from rambunctious little ones.
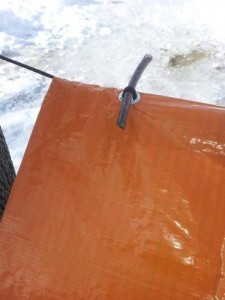
(Picture: The Chive)
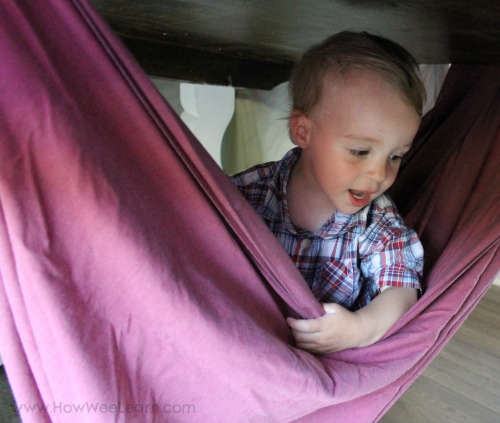
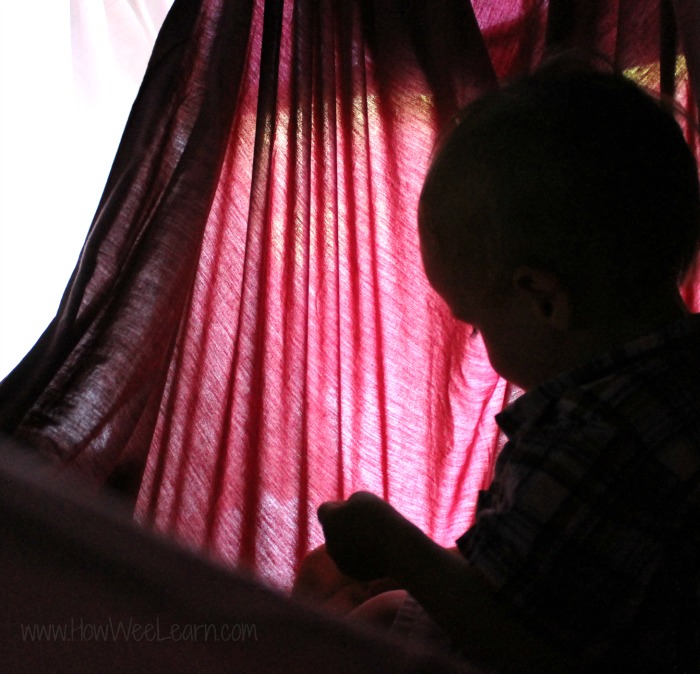
3. Add some levels. Perhaps it is just my youngest two, as my daughter never seemed to have this trouble – and I am not throwing the whole gender card on the table here – just saying – my youngest two are boys, and any fort we seem to make turns into a race track. In and out, in and out, round and back, through again, until (inevitably) crash. One way I have found to help this a bit is by adding ‘levels’ so to speak. Giving them something to climb and explore, burning that energy and need to move. I stumbled upon this hammock idea via Pinterest, but unfortunately it was only a picture. We tied up a sheet around the table before placing our fitted sheet over top and it made such a lovely cozy area for my little guys to climb into and explore.

4. Add Lights. Our World Of Us shows how they added lights to their box play fort. We have done this a few times, and it is always a very big hit! Also neat for an outside fort, or truthfully – to add to absolutely any fort. Just ask my kids.
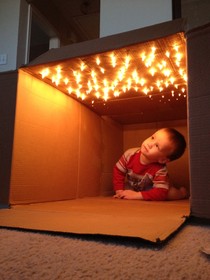
(Picture: Our World of Us)
5. Be Prepared to Leave it Up. The dilemma with using our kitchen table as our main fort making station, is that it is our kitchen table. It is kind of an important aspect to our day. Making a fort in my little guys closet, or outside under a tarp is ideal because we can leave it up for as long as my kids would like. w e can add to it, or change it, and they can seek comfort and quiet in it whenever they like.
So there you have a few of the tips and tricks I have learned throughout my time as a fort-making-Mama. I will add to this list over the years ahead, as my time in this roll is still in its prime – and I feel so very happy about that. I really do love these fort making years.
Anything I can do to provide a little comfort and security to my child’s big world I most certainly will. Even if it means we occasionally eat dinner in a kitchen table fort.

Thank you, I just love your fitted sheet idea. We also like to make windows that close [eg fabric flaps, or flaps in cardboard boxes], and to use a periscope to spy on the ‘enemy’ [Mum]. Of course, we also eat all our snacks in dens too.
My tip for large cardboard box forts: cut out openings – very carefully- with a bread knife- just saw the shape out neatly. This is more fun if the kids design the openings for you to cut out- just use a dark felt pen. Openings are much sturdier if they are curved and have no right angles, because it is these corners that start to tear.
Another favorite accessory is the driving/ flying console: lots of bottle tops, dials etc [Star Trek style] glued on to a piece of card or thin sheet of wood. It doesn’t matter if it is simple, the kids have great imaginations. I guess you could add lights too…
What great ideas Elaine. Love the idea of adding bottle tops for dials! My kids would love that. And the tip for cutting with a serrated knife is wonderful. Thank you for taking the time to comment!