This week, I have been sharing an in-depth look at my outdoor-inspired resource, Nature School: Connect, Learn, and Play Outside. Nature School uses things like rocks, sticks, leaves, flowers, dirt, and sand to help teach your preschooler all sorts of skills through playing outside. Today, I’m going to share one of the Nature School activities that uses sticks—how to make a fairy door!
Let’s get back into nature and enjoy all the wonderful things it has to offer.
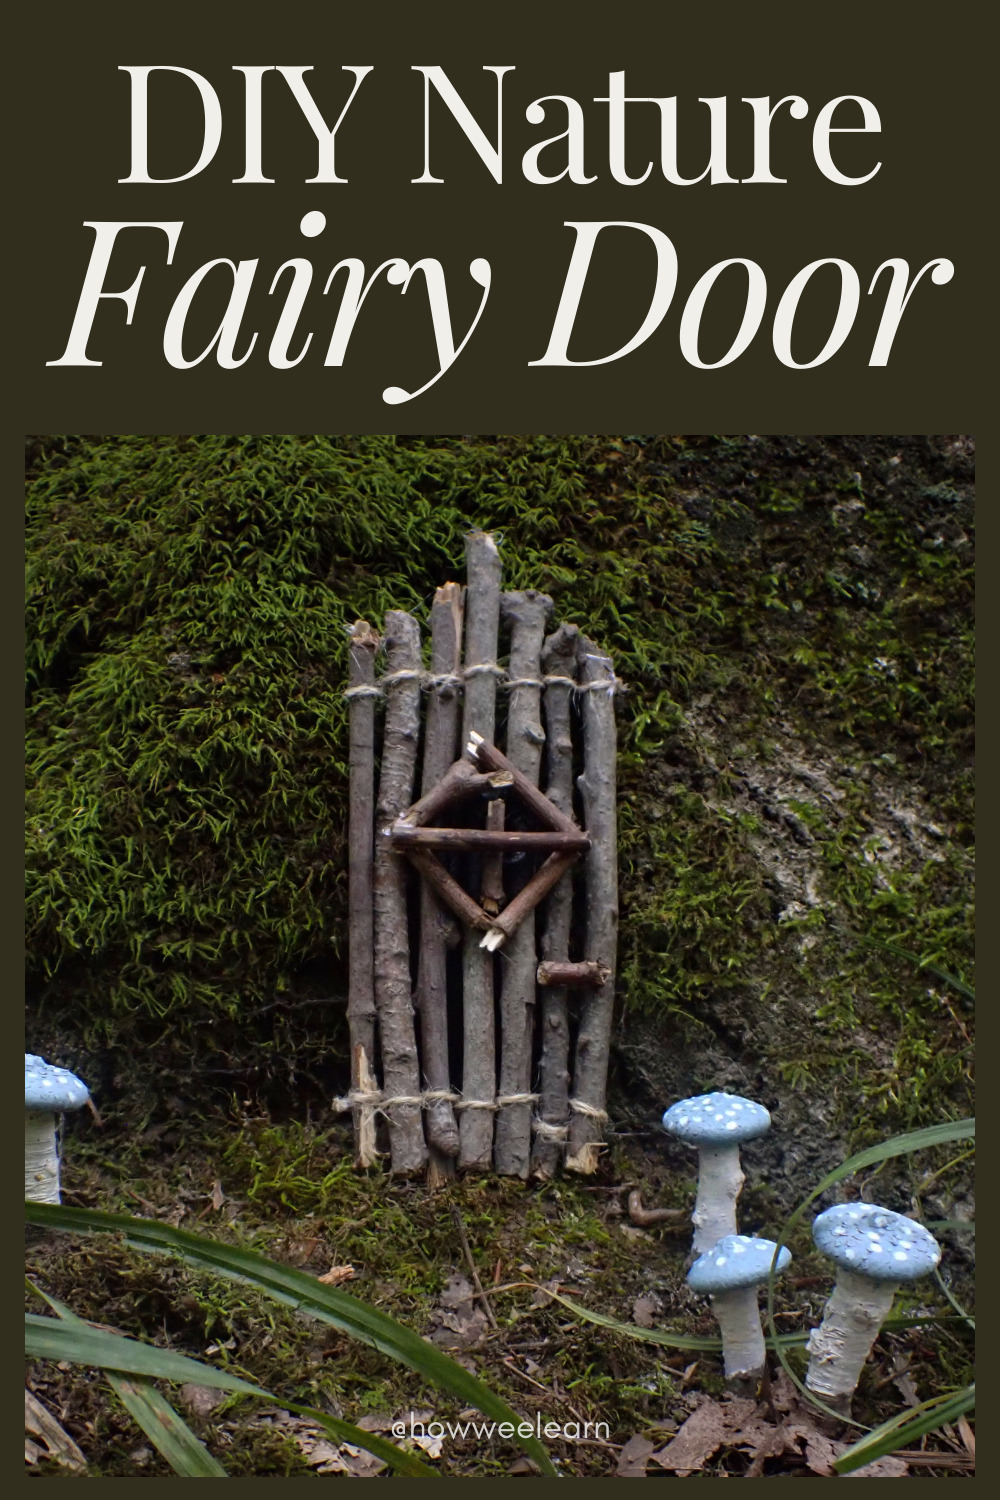
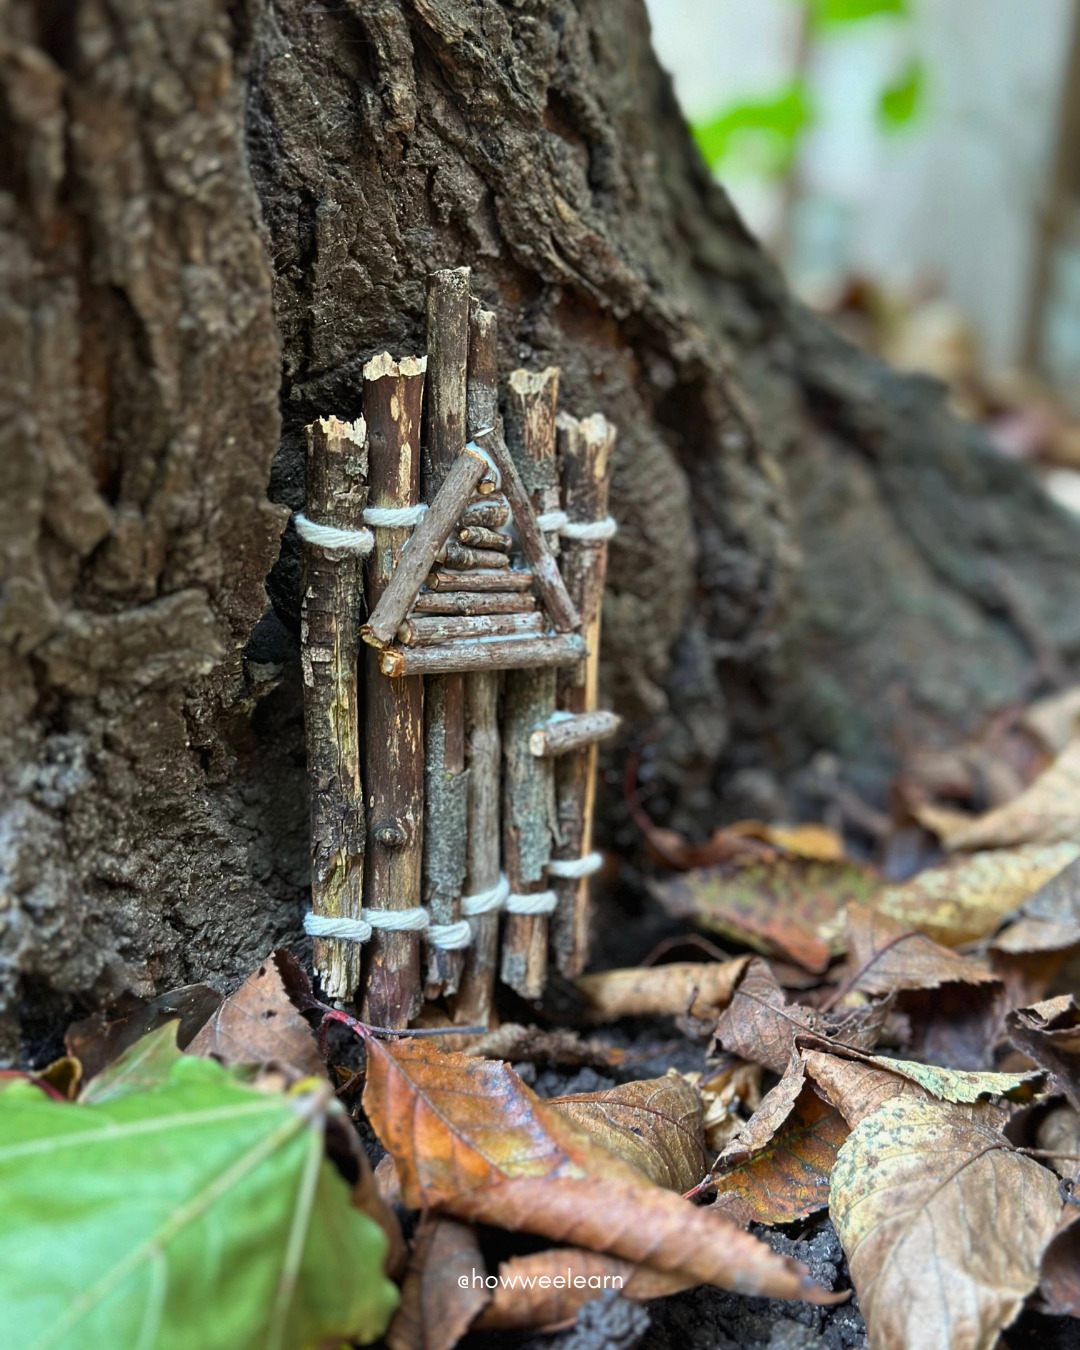
How to Make a Fairy Door
Did you know that countless studies have shown how important it is to spend time in nature? Nature is essential for children’s physical, mental, and emotional well-being. It ignites their creativity while fostering a sense of mindfulness. Childhood is a time for magic and to let imaginations run wild!
Today, I’m going to show you how easy it is to create a beautiful fairy door with a few sticks and some string, perfect for imaginative play with a touch of magic.
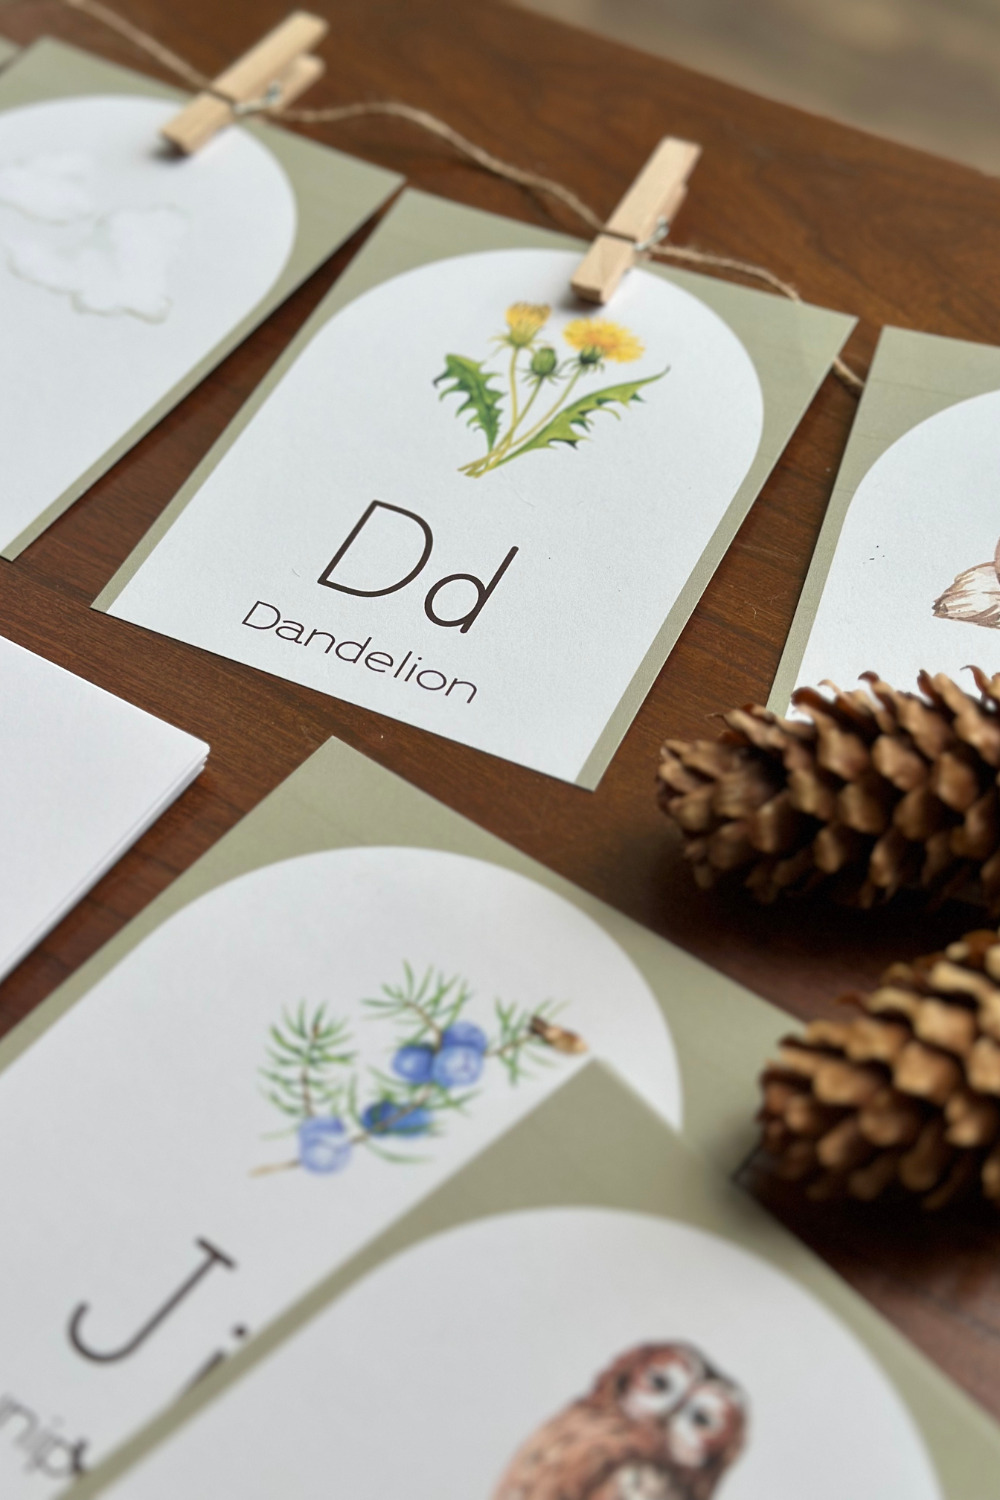
Want to take a peek inside? Grab these FREE Printable Toadstool Counting Cards, which also includes a sample of Nature School, right here:
Materials
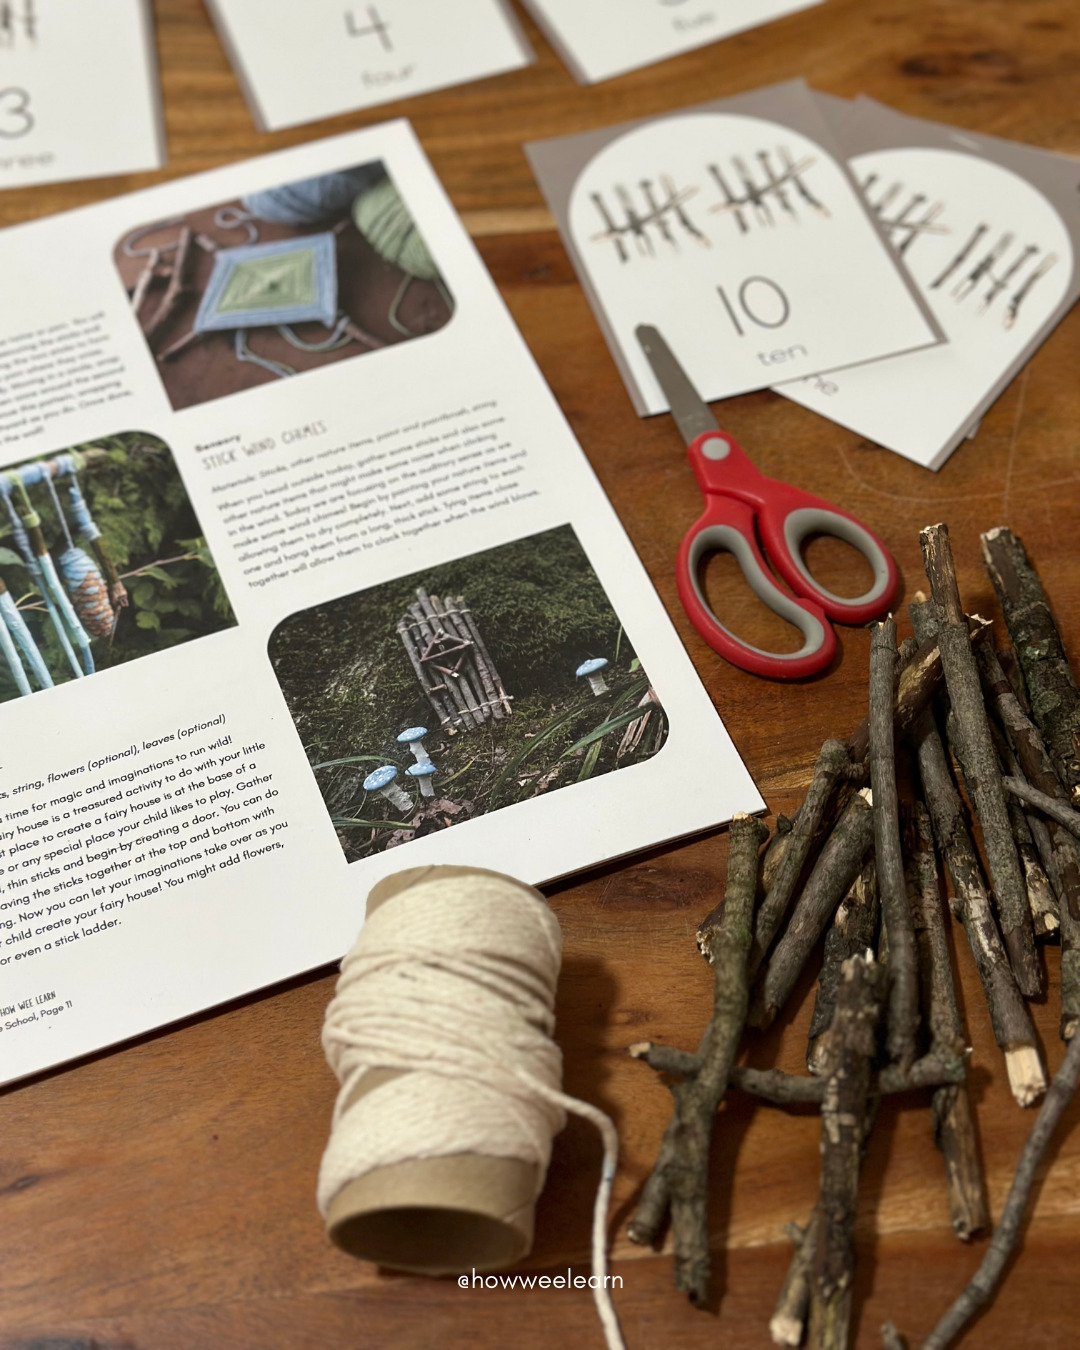
Let’s make a fairy door! For this craft, you will need:
- Sticks
- String
- Scissors
Optionally, you might also want to use:
- White glue or a hot glue gun (to add a handle or other little decorations)
- Parchment paper (to catch dripping glue and prevent the fairy door from sticking to your table, not that I’m speaking from experience or anything…)
- Paint and paintbrushes
- Ribbon or other decorations
- Hair dryer (to speed up glue and paint drying)

How to Assemble Your Fairy Door
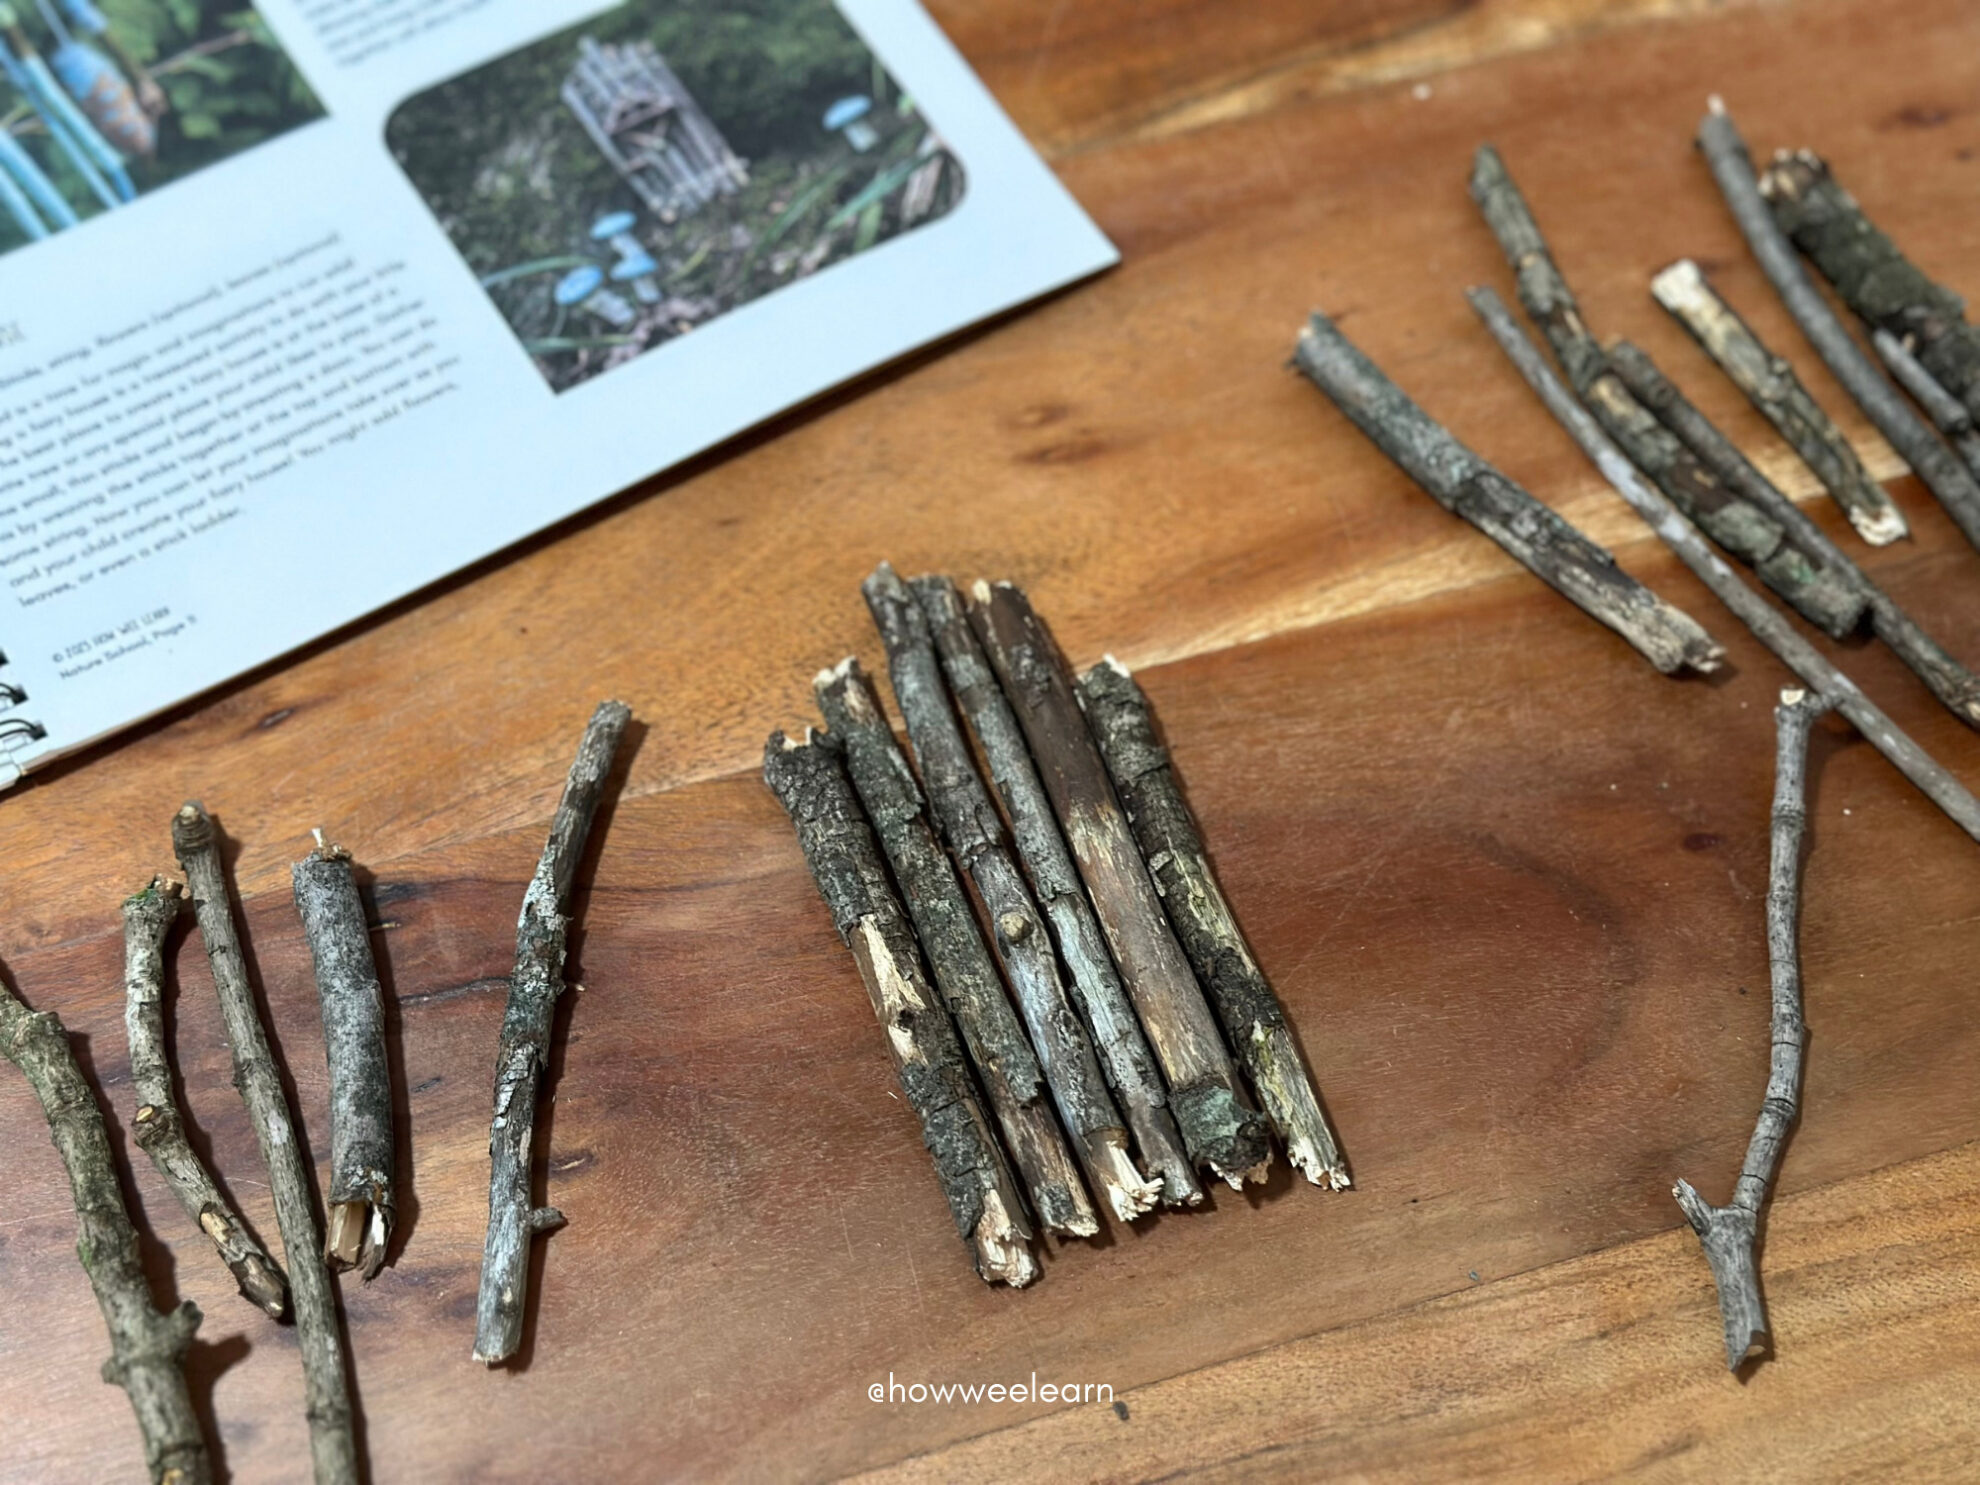
You can start by heading outside to gather some small, straight sticks. Depending on their thickness, you can snap the sticks to length by hand or use scissors to cut them. Next, pick out your favorites and arrange them into a little door!
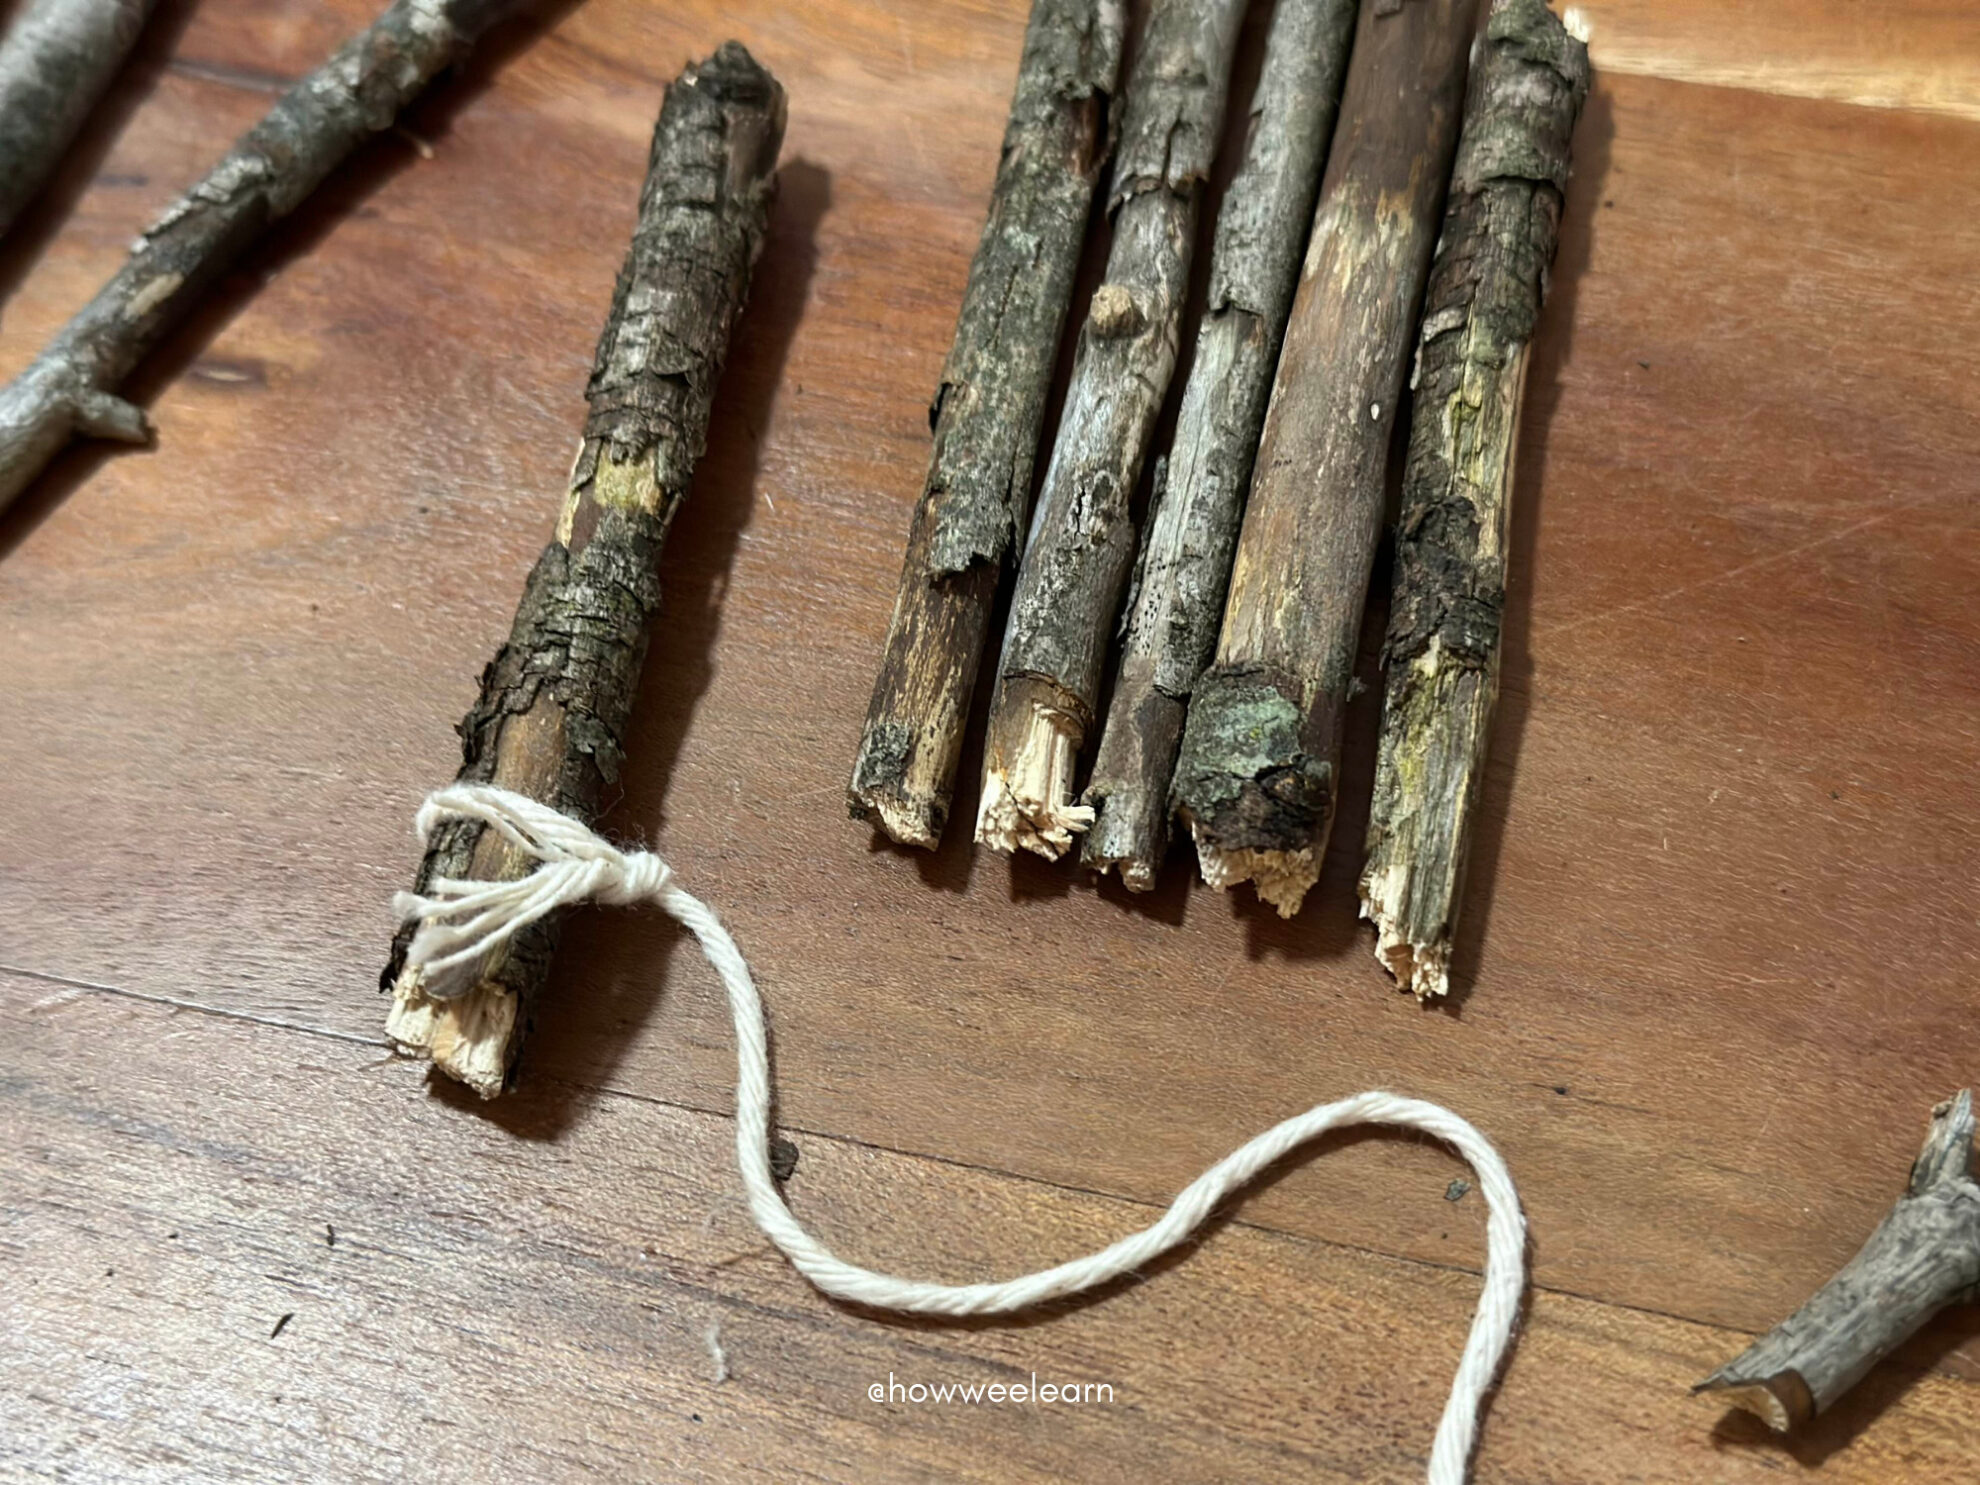
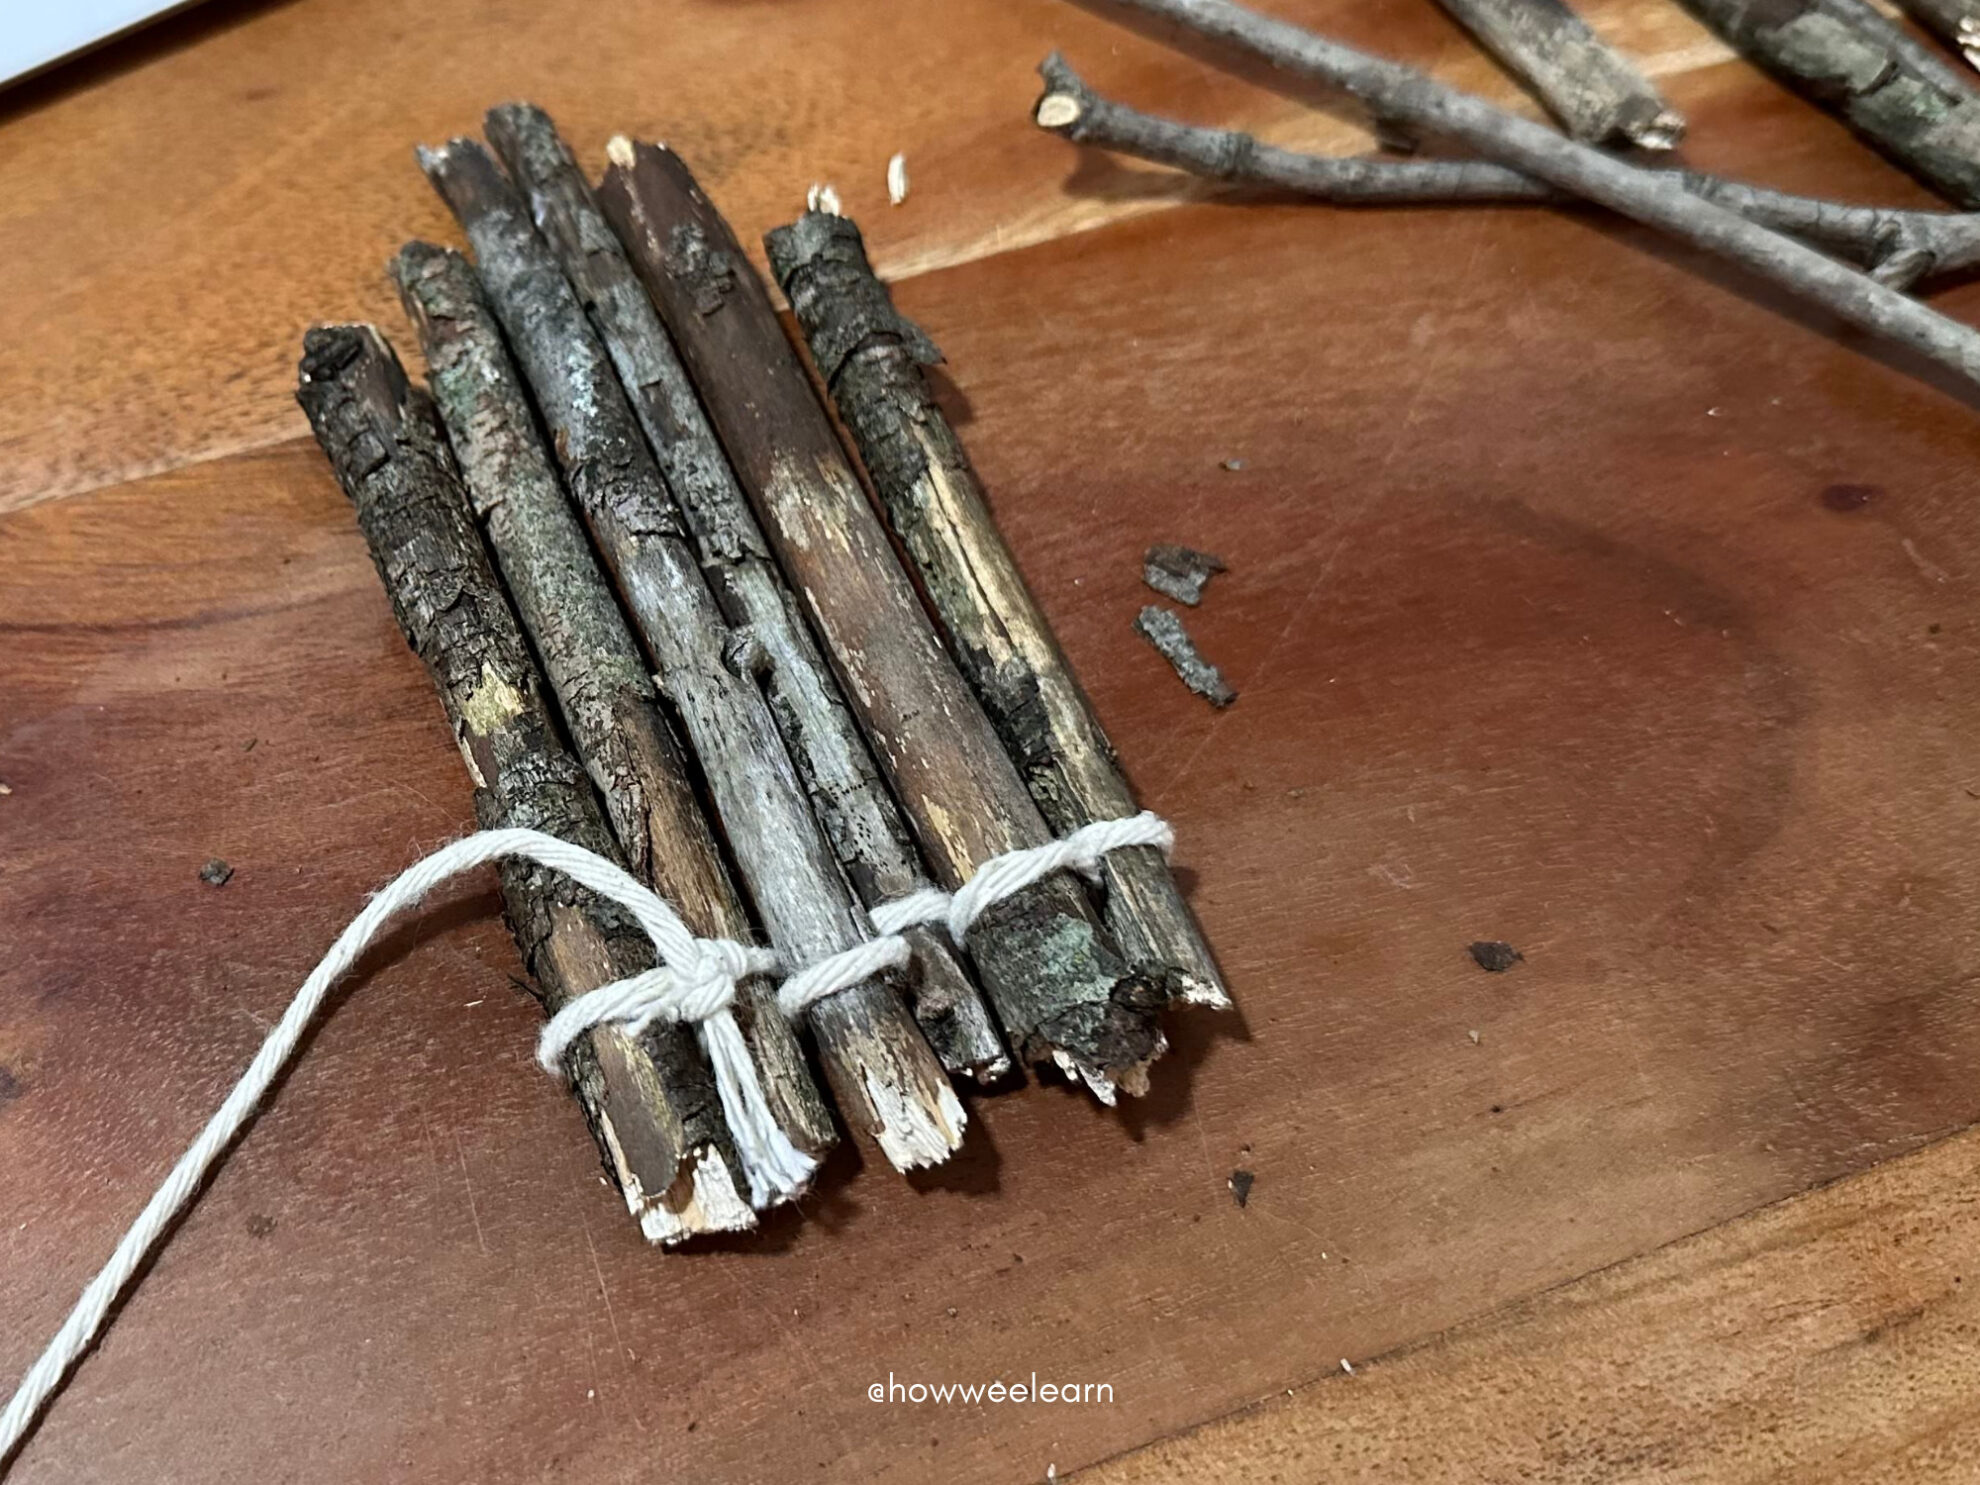
To secure the sticks together, we’re going to weave some string around them.
You can tie a piece of string around the bottom of the first stick to help hold it in place. Now, weave the string over and under the sticks until you reach the last stick, then weave over and under back to the first stick and tie it off.
 |
 |
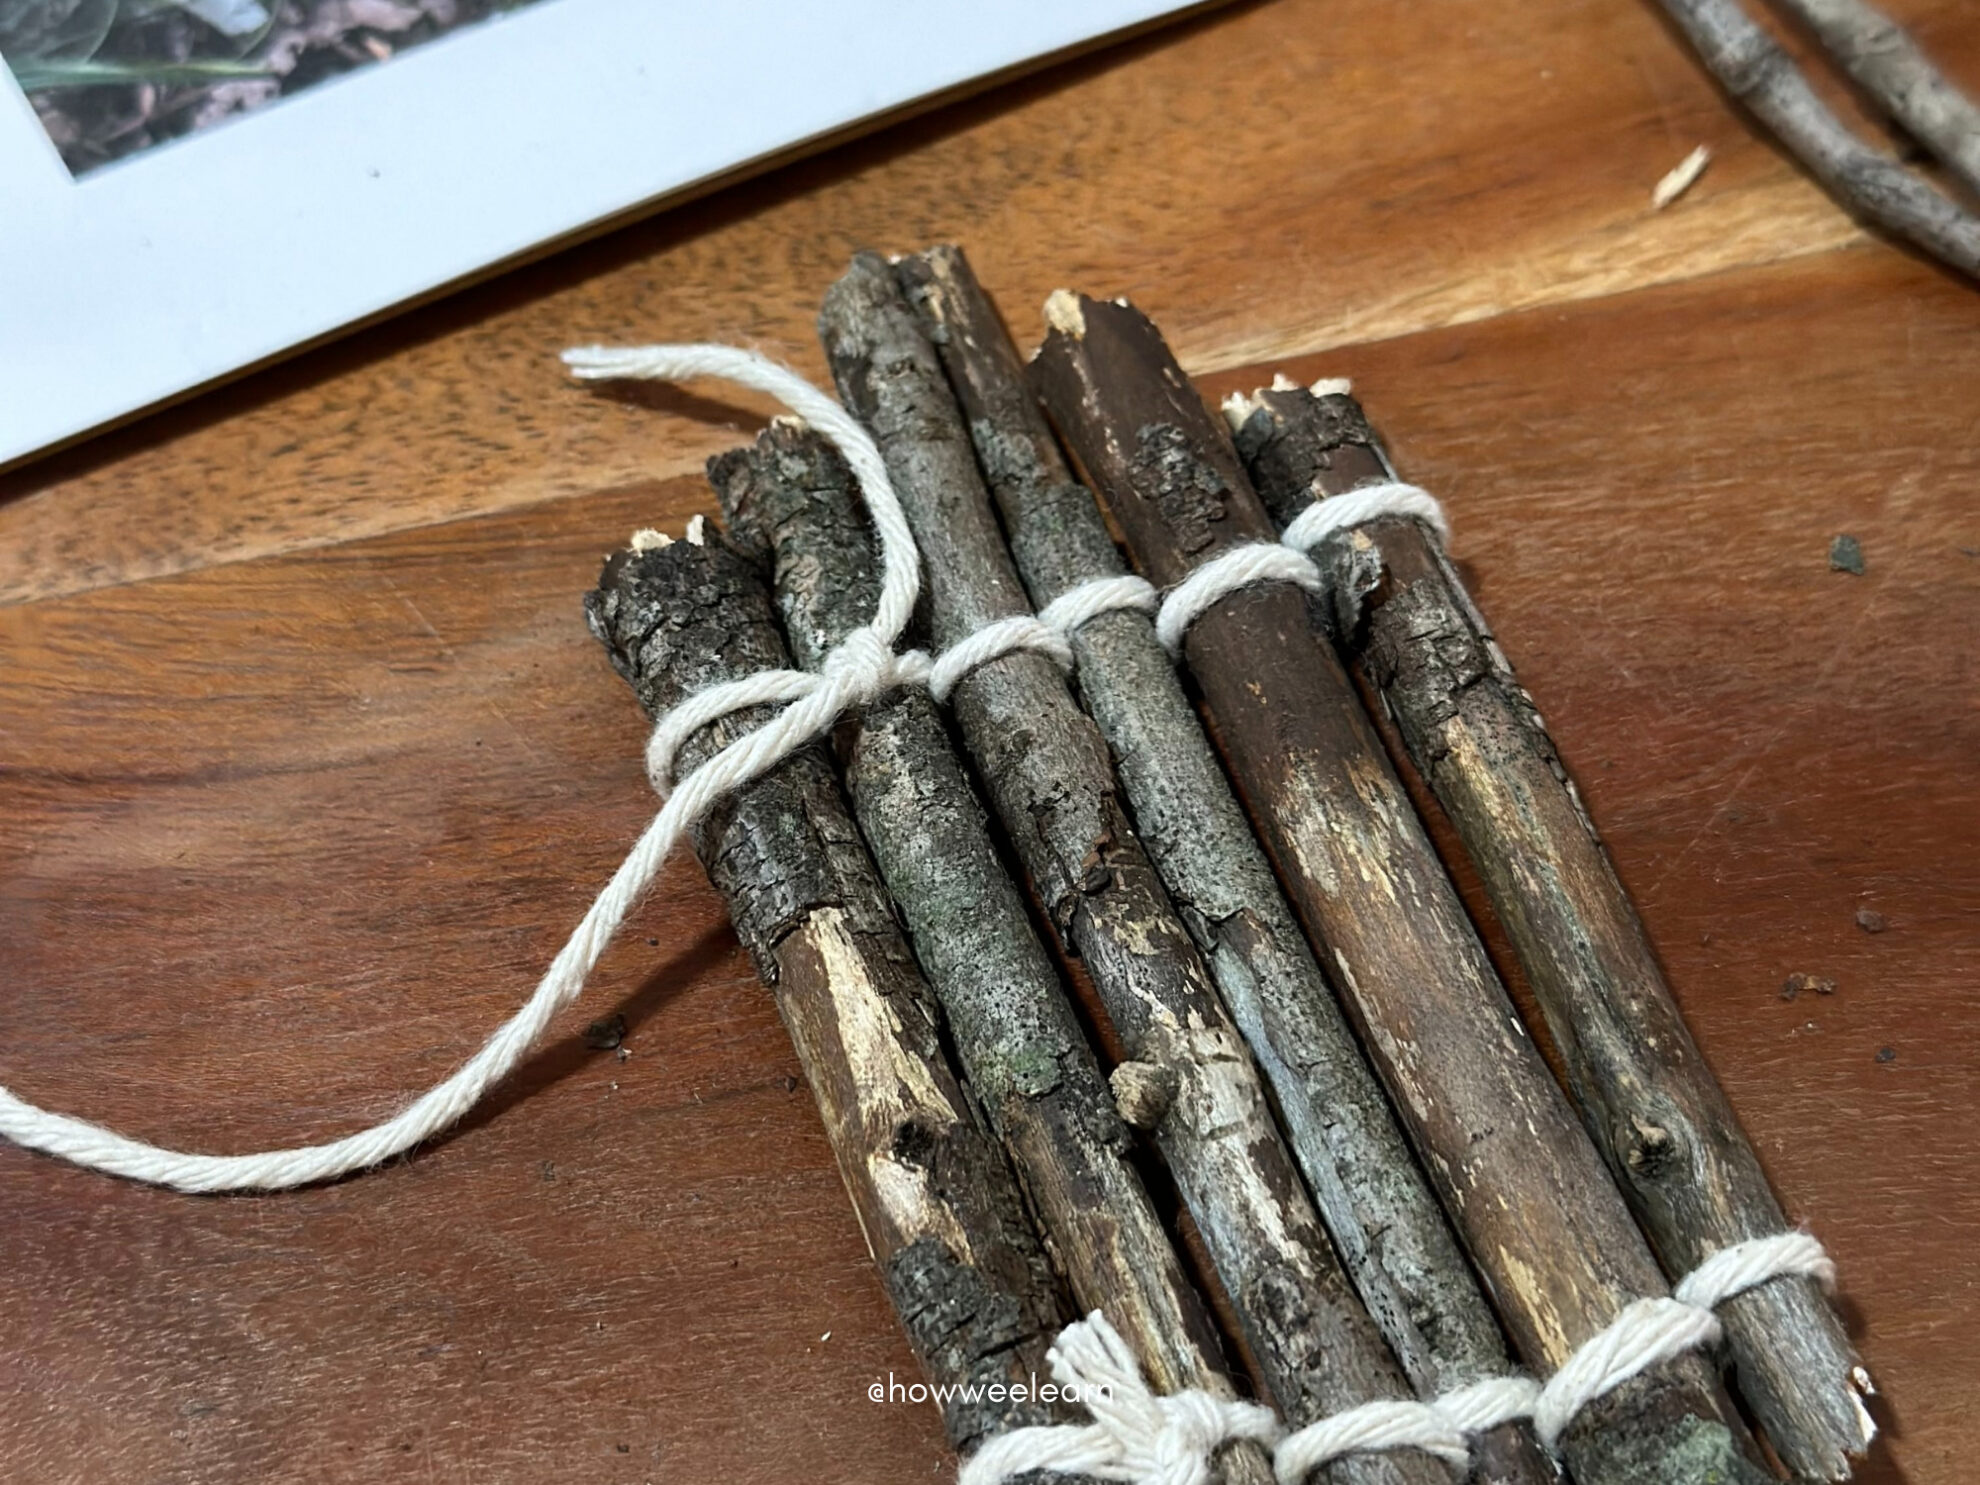
Next, do the same at the top—weaving a piece of string over and under the sticks to secure them together.
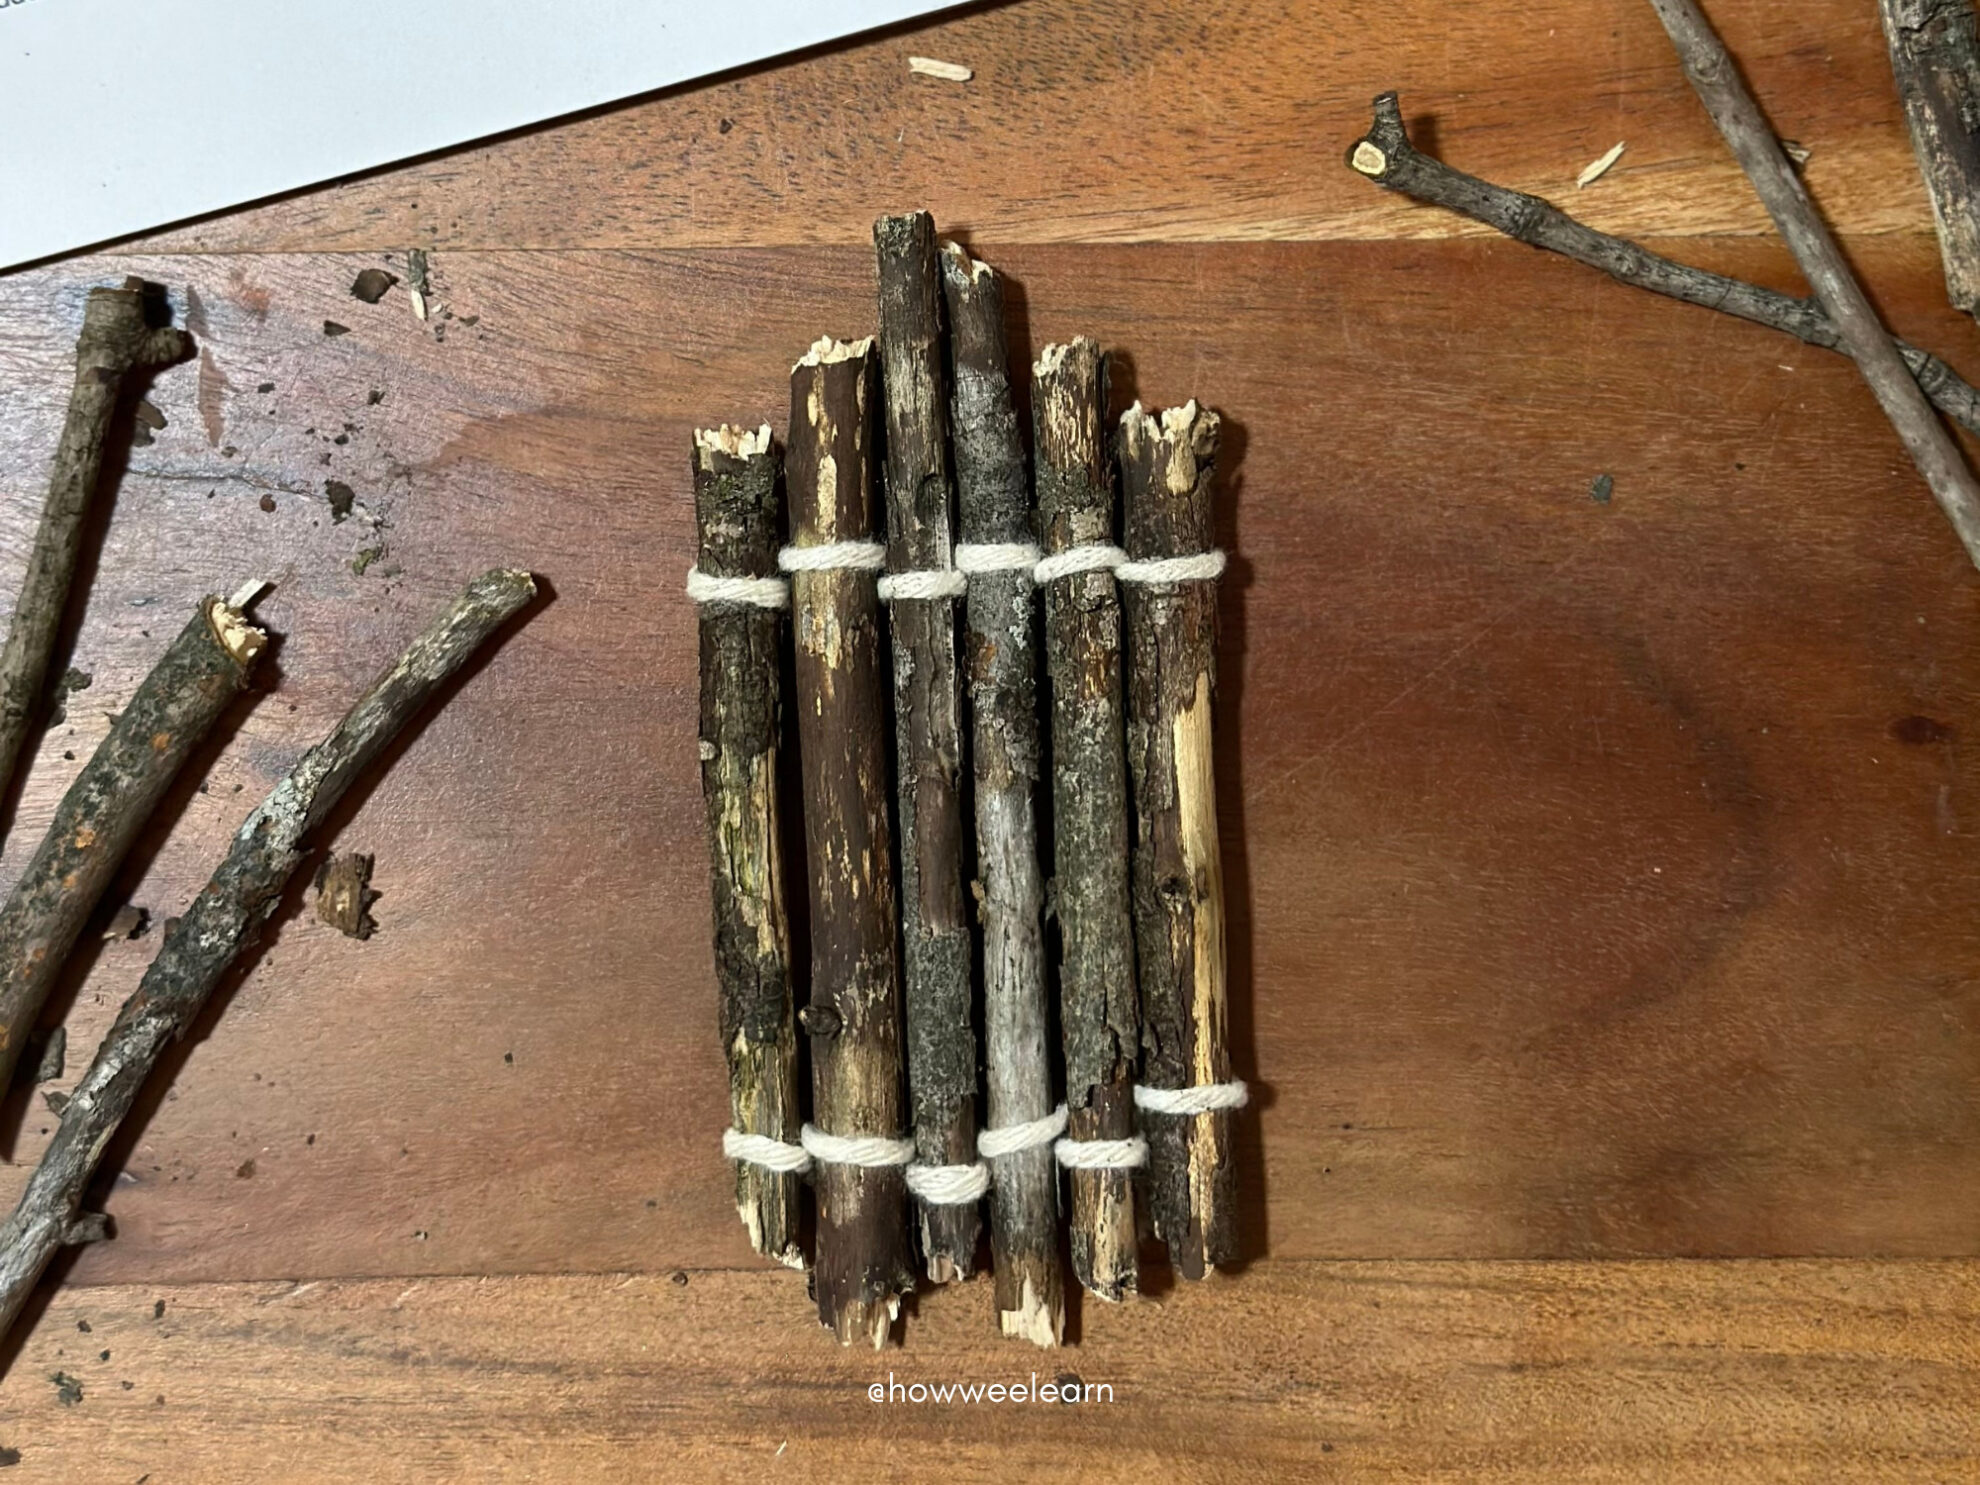
Trim the strings, then flip your fairy door over and admire your excellent work—it looks beautiful!!
 |
 |
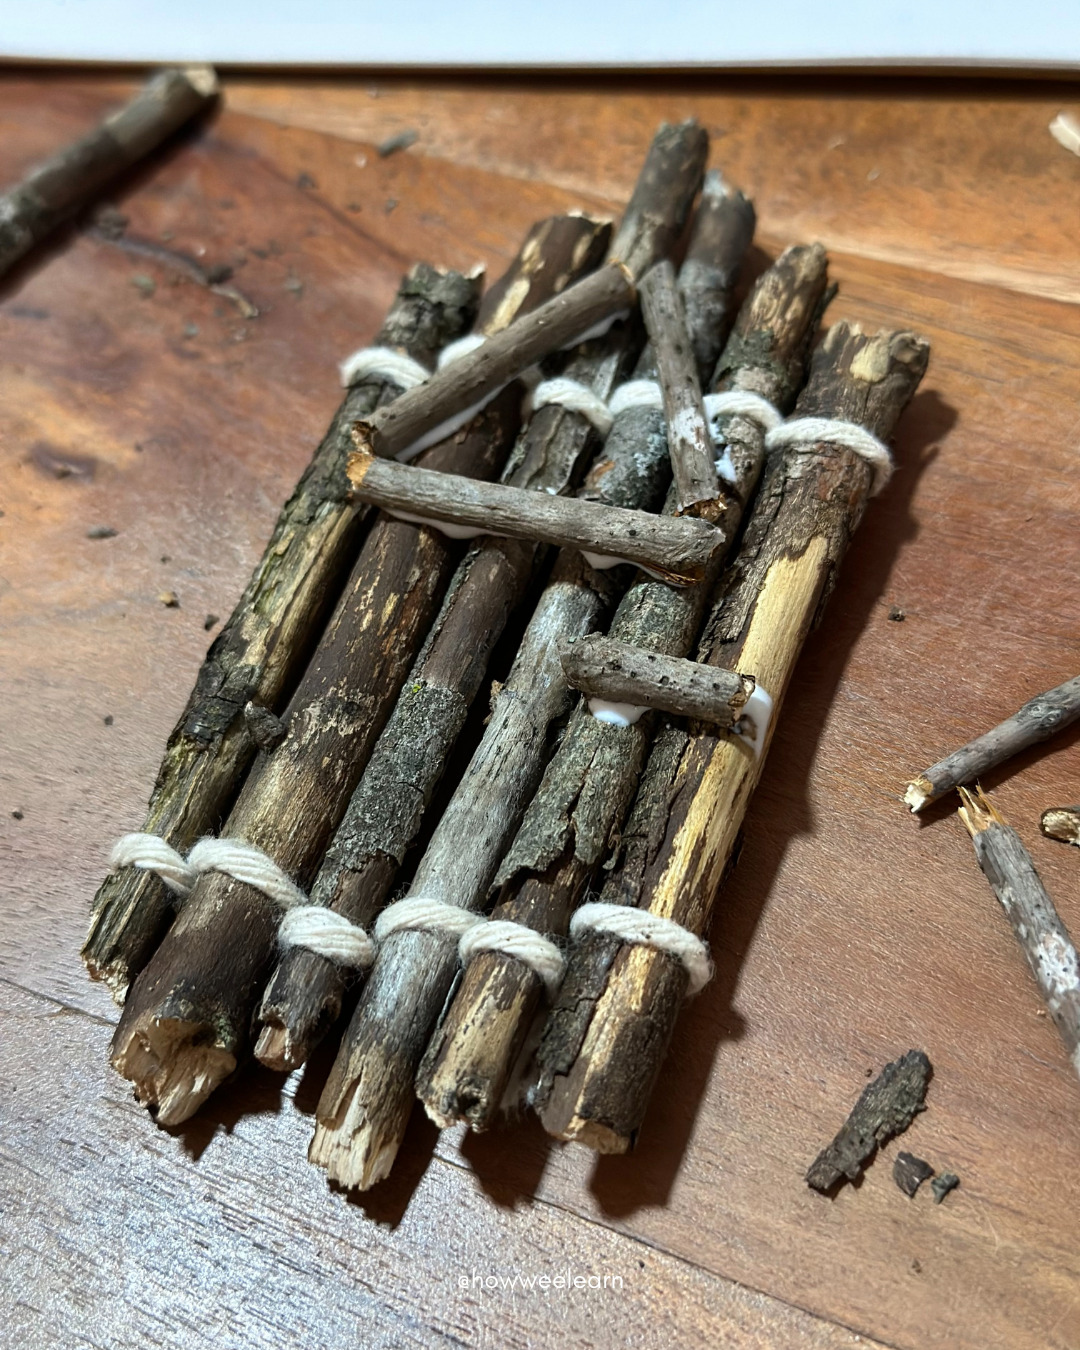
From here, you can get creative with adding little accents to your door, perhaps a handle or a window. We used white glue to secure ours, and it held beautifully.
I do suggest putting a piece of parchment paper under your fairy door while gluing, though. We may or may not have had ours partially dry and adhere to the table as the glue dripped through the cracks between the sticks… Whoops!
Once you’re all done decorating your door, it’s time to take it outside and find a lovely home for your fairy!
Let your imagination take over as you and your child create a beautiful little home. You might add some flowers, a pebble pathway, or tiny toadstools made from sticks and acorn caps. Maybe your child will get super creative and start their own fairy garden!
Fairy Door Extension Activity
You can leave your fairy door au natural, or you might choose to paint and decorate it, perhaps even turning it into an ornament to hang on a Christmas tree or from your child’s bedroom door handle!
To decorate your door, bring out the paints, ribbon, pompoms, or any other items that could be used to decorate your fairy door. How cute would some little pompoms glued together into a tiny fairy wreath be?!
We decided the triangle on our fairy door looked a lot like a Christmas tree, so we painted it green and turned ours into an adorable Christmas ornament.

I hope you and your little one enjoyed creating your fairy door together!
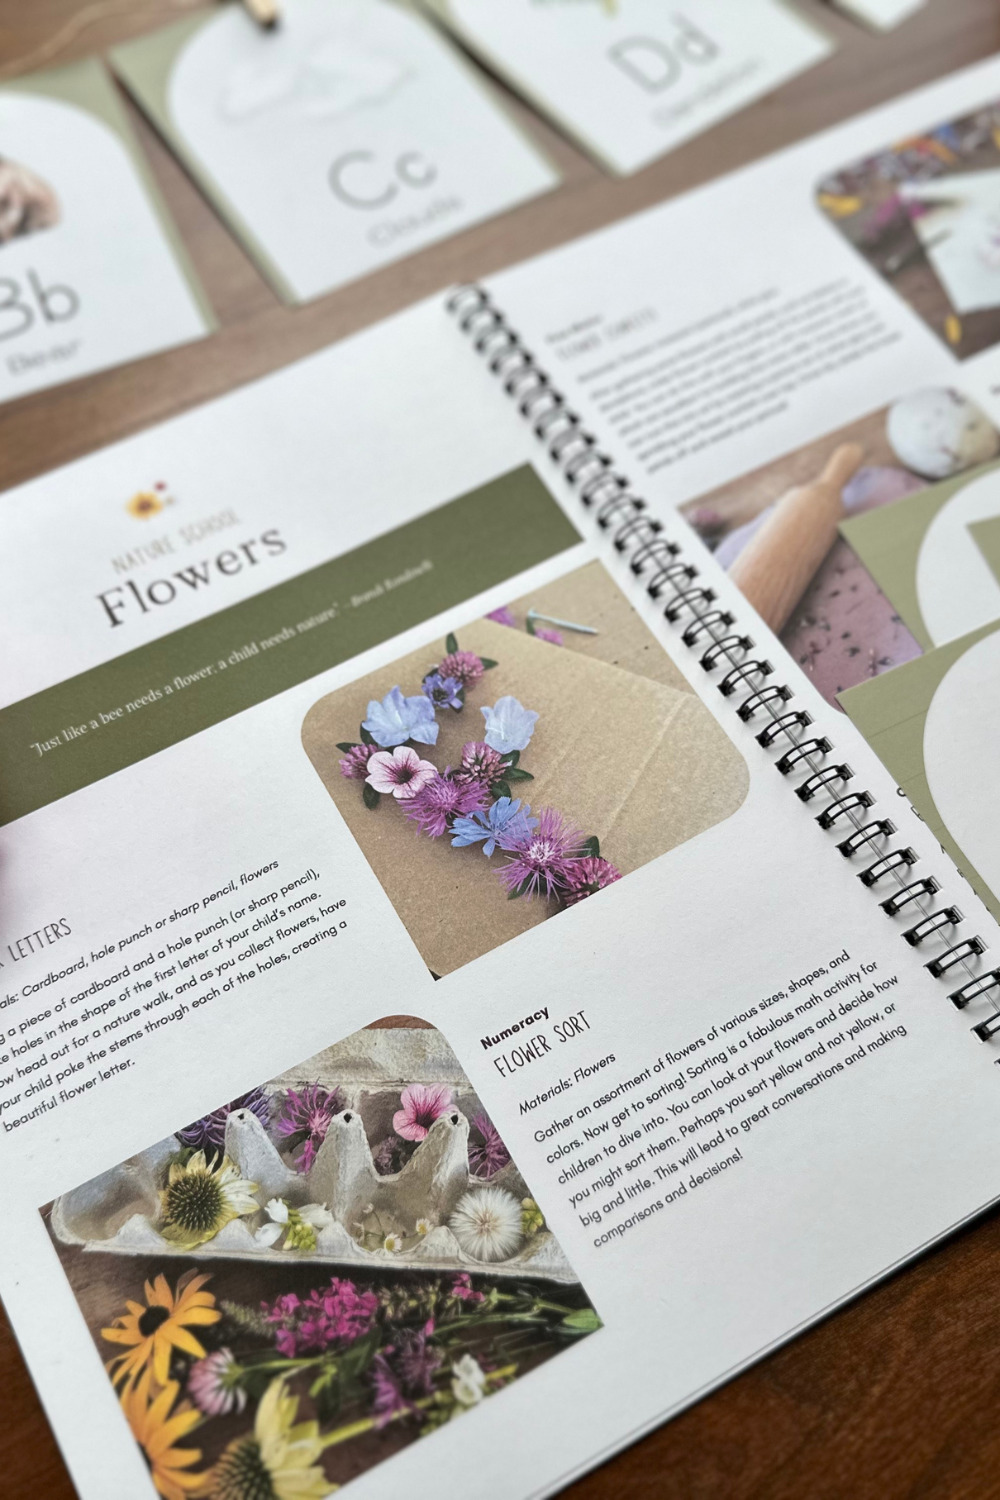
If you enjoy connecting, playing, and learning with your little one in nature, you’ll love Nature School! Nature School is your outdoor learning companion. In it, you’ll find simple ways to incorporate literacy, numeracy, fine motor development, sensory play, and crafting into your time outdoors.
Take a peek and get your copy of Nature School right here: https://shop.howweelearn.com/products/natureschool
 |
 |
 |
Thank you so much for reading and crafting along with me, my friend!
xo
Sarah

Leave a Reply