This holiday season is going to be a huge adventure for my family. We are in the middle of a big move to another state, and I have been on the lookout for low-stress activities to help create stability and excitement for my preschooler. This finger painting paper plate craft for Christmas was perfect! I love that set-up only took a few minutes using materials I already owned, and it also encourages material and fine motor exploration.
Before we get into it, be sure to get your FREE Sample from Christmas School! It includes the topic all about reindeer and some beautiful watercolor vocabulary cards as well. Grab the sample below, and if you love it—which I know you will!—you can get the full version right here: https://shop.howweelearn.com/products/christmas-school
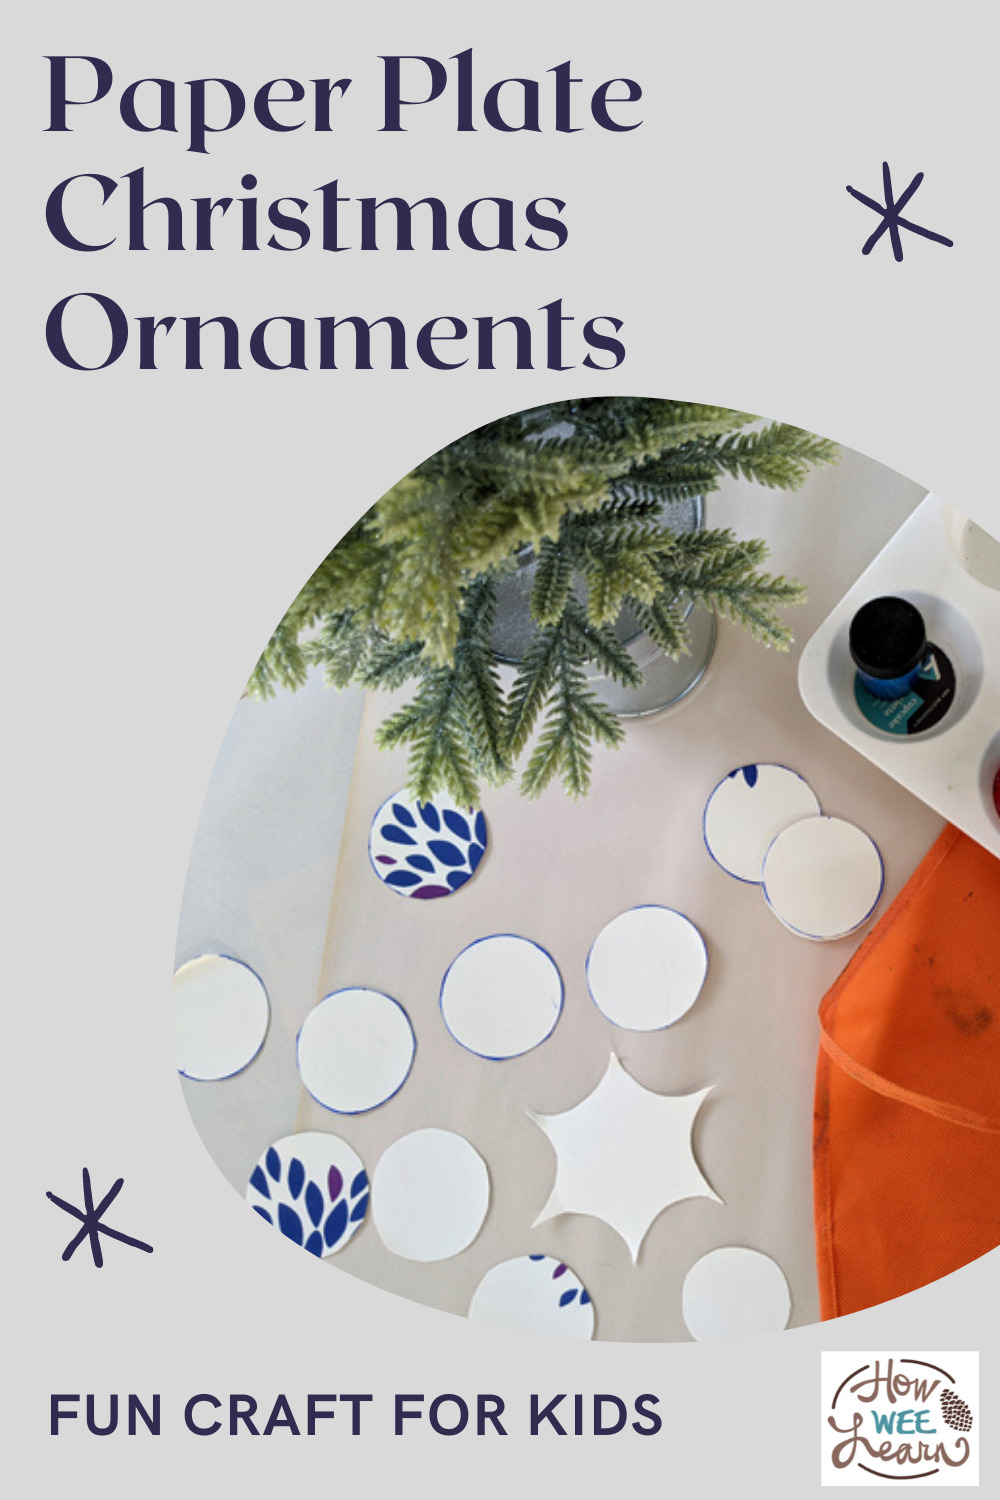
Paper Plate Craft for Christmas
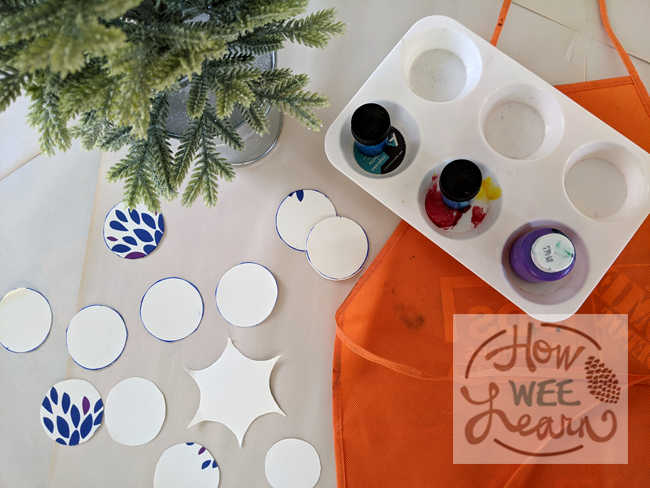
Materials
- Finger Paints
- Paper Plates
- Paper Clips, Ribbon or String
- Scissors
The Set-Up
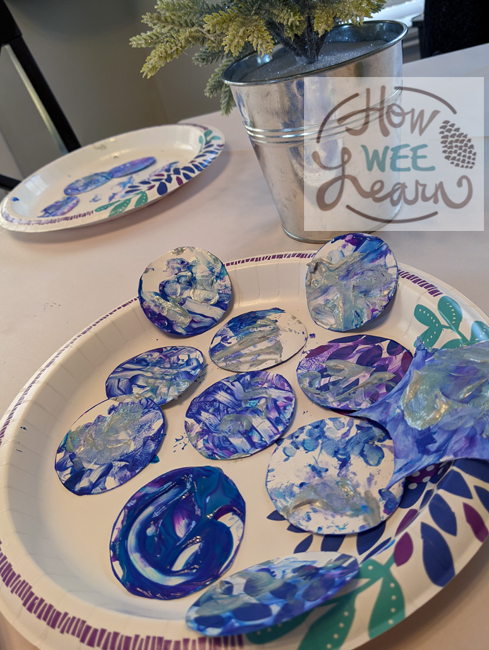
I prepared the space by laying down scrap paper to protect my table and then also prepared the paper plates in advance. Tl do this, I traced the circular bottom of a candle repeatedly on the plates until they were filled with circles. Next, I cut out the circles to create our round ornaments.
A fun alternative idea would be to trace holiday cookie cutters on the plates to create a variety of ornament shapes. You could also cut the paper plates into a spiral, and let them ribbon through the tree.
Next, I staged an invitation to play by setting the paints out next to the pre-cut shapes. I placed the tree we were decorating within view, and then placed my kid’s painting apron on the back of a chair nearby. The next morning when he saw the set-up, he was impatiently excited to get started.
Finger Painting Fun:
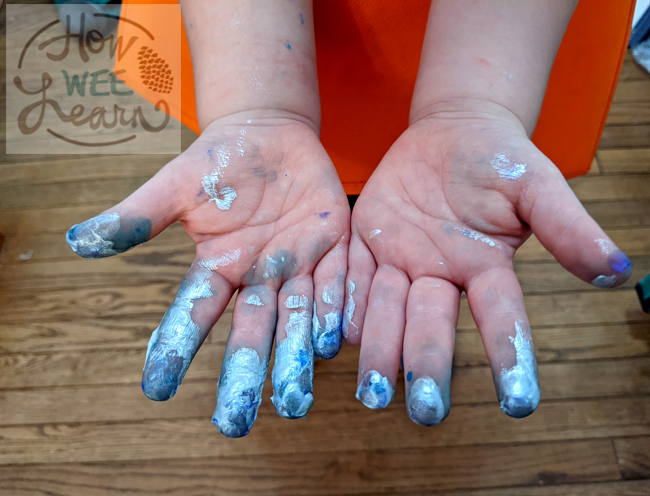
We turned on some holiday music, my preschooler aproned up, and he began pouring paints into his tray. The finger painting began timidly, with his fingertips creating small smudges on the ornaments, but quickly became expressive and exploratory as he applied big globs of paint, twisted colors together, and created patterns with recessed impressions in the paint.
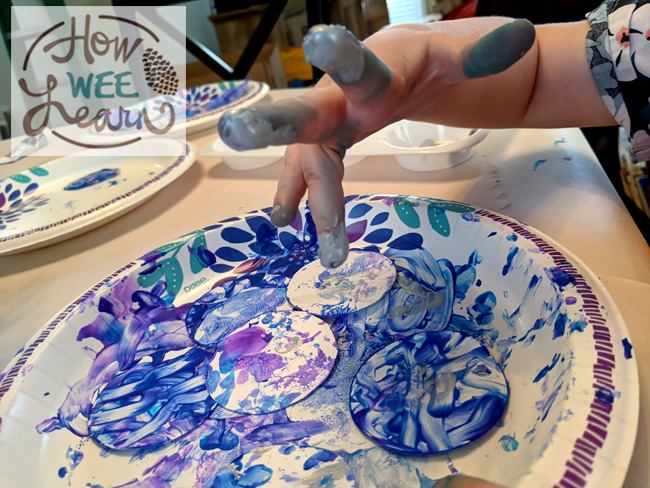

A tip to avoid muddy colors is to stick with either all warm or all cool colors for the first paint application. Reserve any additional colors for after the first layer dries. My kid started with two blues and a purple for his first application. After naptime, he added metallic silver to the mix.
During my preschooler’s painting session, I was able to step away, start breakfast, and re-join him with a hot coffee. Not only did I feel like I was able to bond with my preschooler, but I also was able to provide space and let him create and explore independently.
Making the Paper Plate Christmas Ornaments
Once dried, I cut a hole in each ornament and bent silver paper clips to create a triangle shaped hanger. Threading the ornaments with twine would also work well. My preschooler was tasked with helping me hang the ornaments, presenting an opportunity to continue developing his fine motor skills and concentration. Once done, he was able to experience the satisfaction of a completed project, which helps boost confidence.
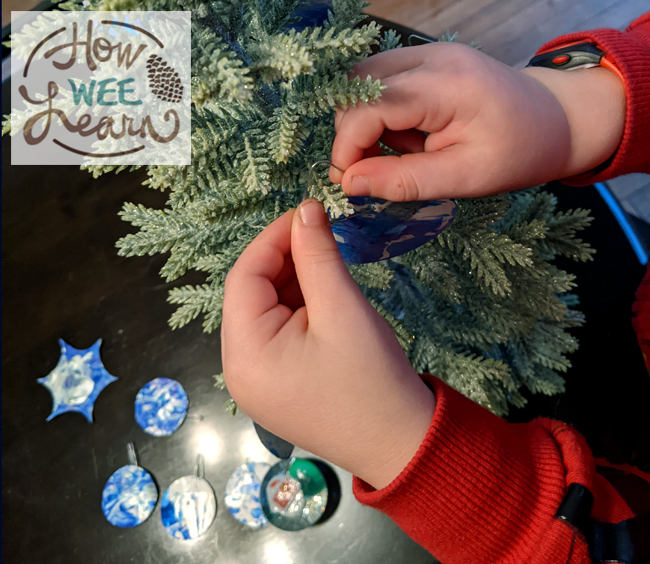
This paper plate craft will hang on our mini-tree in temporary housing this Christmas. In addition to the finger-painted ornaments being easy, fun, and educational, they also gave my preschooler a positive memory and a sense of stability when he needed it most. I hope that this paper plate craft for Christmas helps you create beautiful and fun memories with your children this holiday season!
Based in Maryland, Amy is a nature-enthusiast who loves hiking, reading, and creating. With a MFA in painting and university teaching experience, she loves combining visual art and nature to create crafty and play-based learning experiences for her preschool-aged son. Extra crafts and fine art can be found on Facebook and Instagram @amyfixart or at www.amyfixart.com.

You might also like:

Leave a Reply