When it comes to teaching letters and sounds, I should really be saying ‘sounds then letters,’ because teaching sounds actually comes first!
The ability to hear and manipulate sounds is called Phonological Awareness, and it is the first step in teaching a child to read. In fact, phonological awareness is even more important for later reading success than knowing the letters of the alphabet!
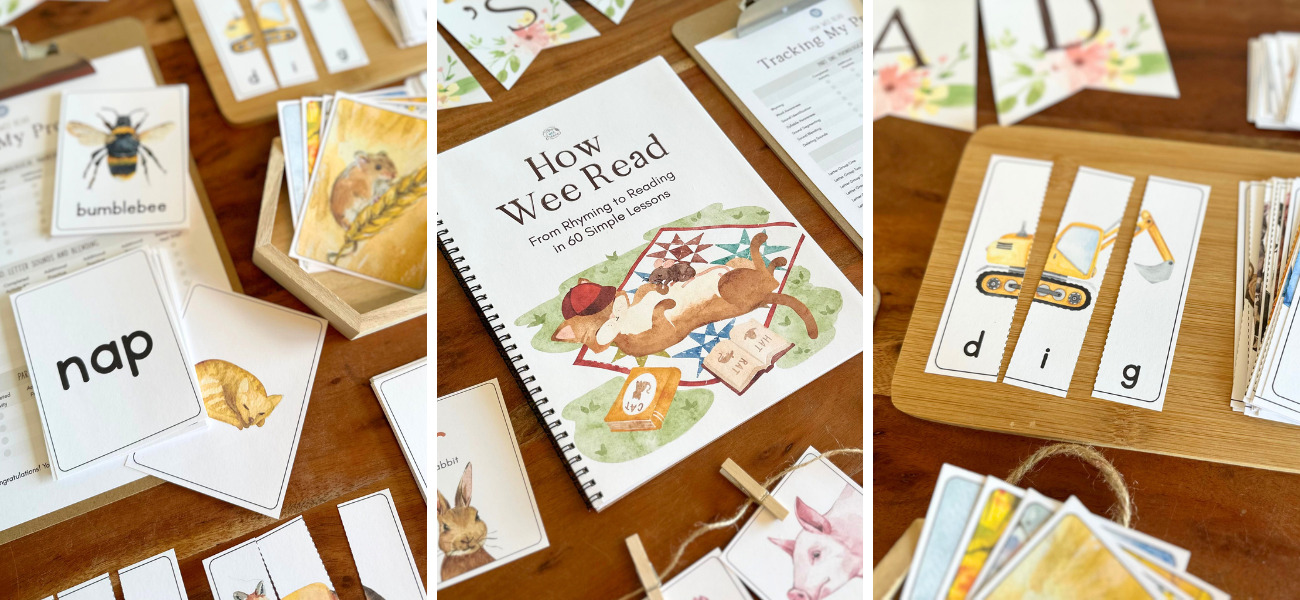
This is exactly how I start my learn-to-read program, How Wee Read—with Phonological Awareness. By starting at the very beginning, I was able to ensure that any child will have success when being taught to read for the first time, and any struggling reader could go back to the beginning and relearn each step to catch whatever skill is lacking.
How Wee Read covers it all. From rhyming to reading in 60 sequential, simple, and beautiful lessons:
- Step One: Phonological Awareness (7 lessons)
- Step Two: Letters, Sounds, and Blending (12 lessons)
- Step Three: Special Rules (5 lessons)
- Step Four: Familiar Readers (36 lessons)
Today, I would like to share with you a printable and some activities to help you teach your little one their letters and sounds.
For the activities, you’ll need these Letter and Sound Cards. You can get your copy, as well as a sample of How Wee Read, right here:
Phonological Awareness
Remember those Phonological Awareness skills I mentioned earlier? These are the seven skills your little one needs to know before introducing letters:
- Rhyming
- Word Awareness
- Sound Identification
- Syllable Awareness
- Sound Segmenting
- Sound Blending
- Deleting Sounds
I won’t go into too much detail in this post, but you can read all about Phonological Awareness and why it is so important right here: https://www.howweelearn.com/what-is-phonological-awareness-and-how-do-i-teach-it/
Once your child has mastered those seven skills, they are ready to start matching sounds with the letters that make them.
I originally created the Letter and Sound Cards to be used at this stage—when your child is starting to match sounds with letters—but they also work perfectly for practicing sound identification (the third Phonological Awareness skill). I will give you a few ideas for practicing sound identification with these cards under the More Ways to Play heading below.
Letters, Sounds, and Blending
Once your little one has a solid understanding of phonological awareness, they are ready to start matching those sounds with letters! So they will learn that the /s/ sound is made by the letter S, the /a/ sound is made by the letter A, and the /t/ sound is made by the letter T.
You’ll notice that I didn’t use ABC as my example above, which was very intentional. When we teach letters and sounds to children, we do so in small groupings and in a very specific order:
- s, a, t, i, p, n
- c, k, e, h, r
- m, d, g, o
- l, f, b, q, u
- j, z, w
- v, y, x
By teaching the letters in this manner, children are able to begin forming words very quickly. After learning the first six letters, kids can make words in the “at,” “an,” “it,” “ip,” “ap,” and “in” word families, like sat, pat, nap, and tin. Amazing!
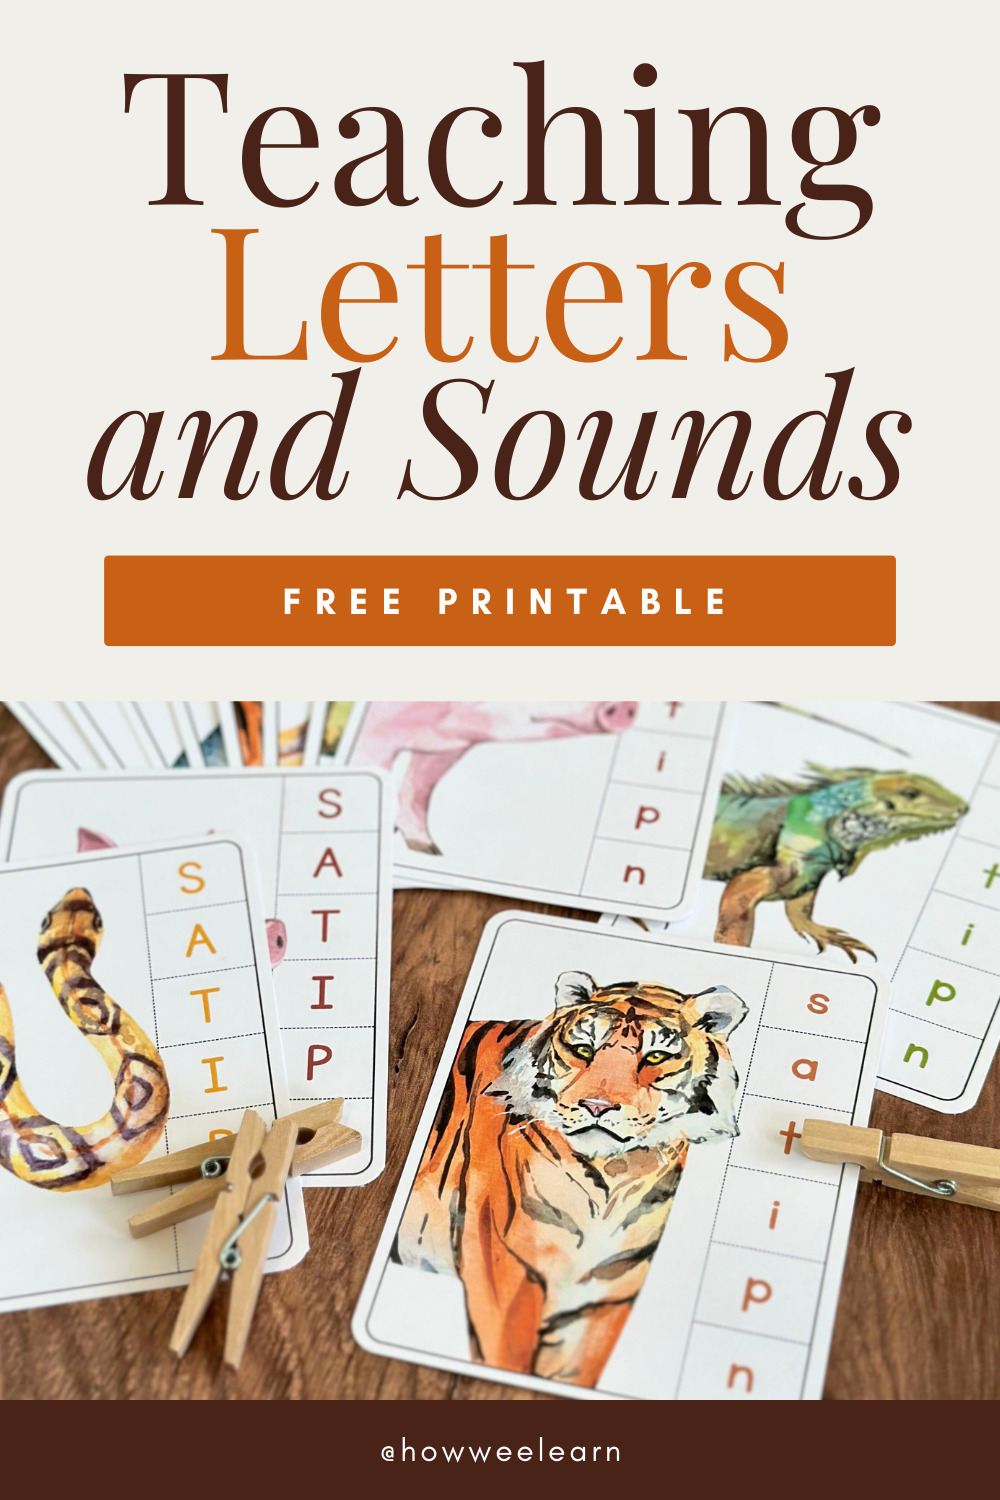
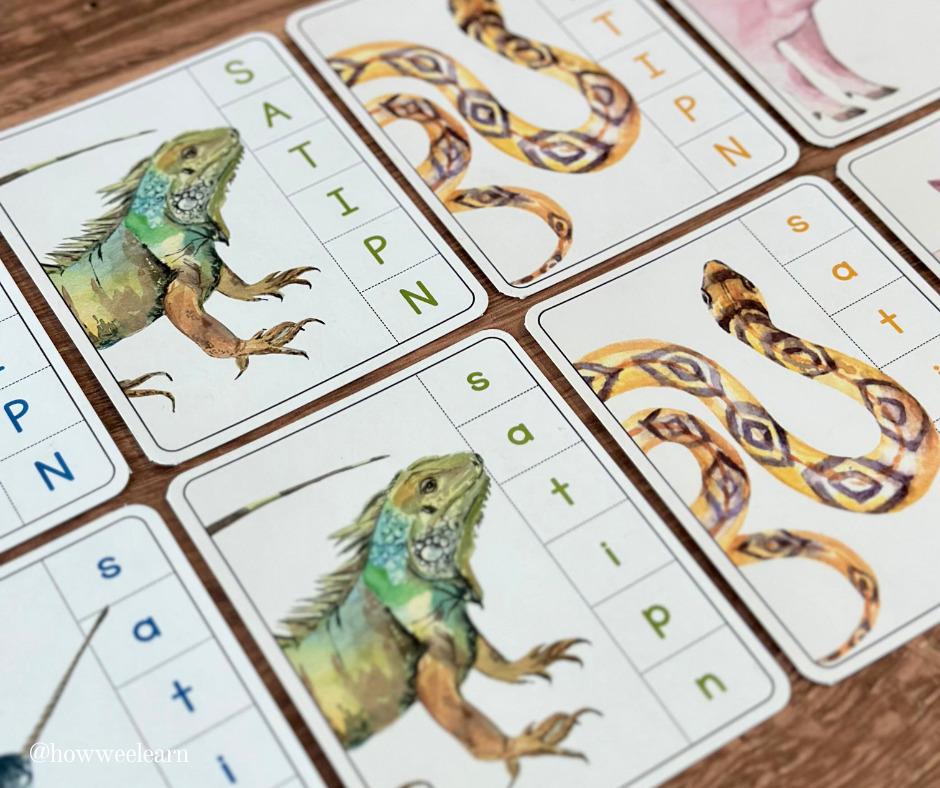
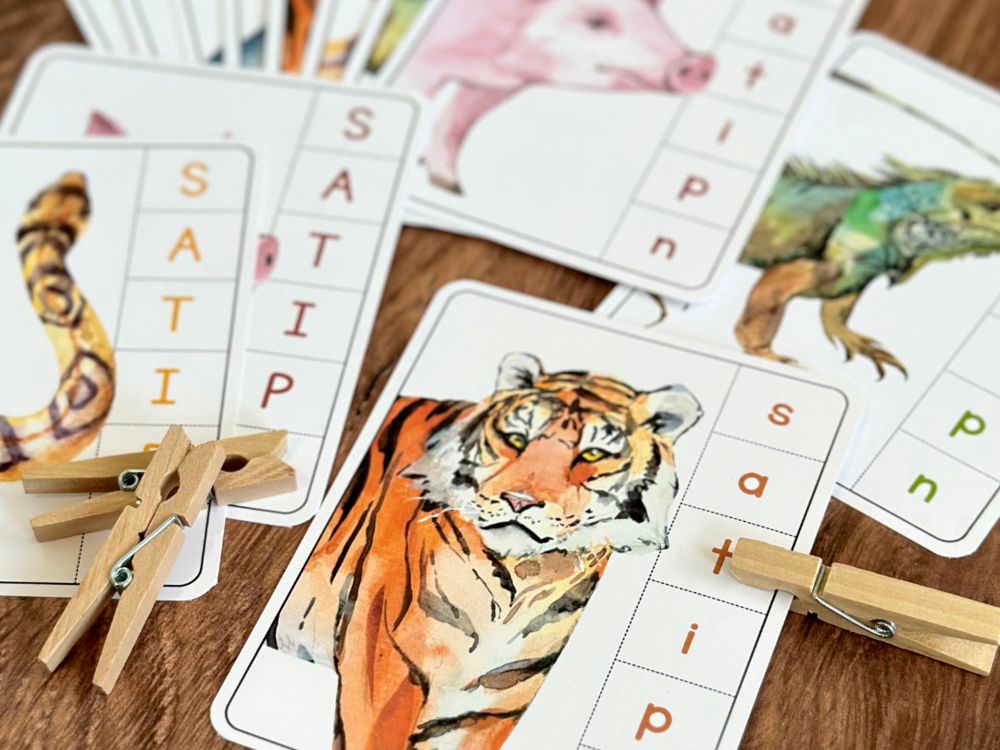
Your Letter and Sound Cards include the first letter grouping. Each card has a picture of an animal and the letters s, a, t, i, p, and n along the side.
You’ll notice that both uppercase and lowercase versions are included. While opinion is divided over whether you should teach uppercase or lowercase letters first, personally, I like to start with lowercase.
You can read all about that big debate right here, but in a nutshell, I recommend teaching the first grouping of letters in lowercase, then, when your child is comfortable with them, introduce the matching uppercase letters.
Alright, now let’s get into how to learn and play with the Letter and Sound Cards!
Learn and Play with the Letters and Sounds Cards
First things first, I suggest printing the cards on cardstock or gluing them to cardboard so they are sturdy for little hands. Once they are printed and cut out, it’s time to play!
Letter Clothespin Clip
For this activity, take one of the cards and say the animal name aloud. For example, while looking at the tiger card, you could say, “This is a tiger. Let’s find out which letter ‘tiger’ starts with!” Pointing to the letters along the side of the card, say, “That’s the letter S, and it makes the /s/ sound. Does ‘tiger’ start with /s/?”
And your brilliant child will say, “No!!!”
Continue down the letters until you reach the T and say, “That’s the letter T, and it makes the /t/ sound. Does ‘tiger’ start with /t/? T…t…t…tiger! Yes! Tiger starts with the letter T!” Your child would then clip a clothespin on the letter T.
Depending on how much exposure your little one has had to letters and sounds so far, if any, you can work with them, modeling the letter names and sounds. But with some practice, they will master that first letter grouping and will be able to confidently say, “That’s a tiger and ‘tiger’ starts with the letter T! T…t…t… tiger!”
Woohoo!!
Once your child is comfortable with all of the lowercase letters, you can bring out the uppercase letters. Go nice and slow, and have fun playing with the letters and sounds!
More Ways to Play with the Letters and Sounds Cards
There are so many ways you could play with these cards! Below are a few ideas for you. With each of these activities, you could modify it to practice sound identification alone or practice matching the sounds and the letter names.
Scavenger Hunt
For this scavenger hunt, place the cards face up on the floor, then have your child search the house to find something that begins with the same sound as each animal. So, your child might find a sock and place it on the snake card, then an apple for the alligator, a toy for the tiger, and so on.
When first teaching vowels, you can focus solely on the short sound. So for the letter A, your little one would be looking for something that starts with the /a/ sound, as in alligator or apple, and the /i/ sound, as in iguana or igloo.
Hide & Seek
Hide the cards in a room and have your child find each one. When they find a card, have your child call out the sound and letter name.
You could also have them pretend to be that animal as they search for the next card! My kids always loved this variation, slithering like a snake or using their hands to chomp like an alligator as they search for the next card.
Hallway Practice
If you have a hallway in your home, perhaps leading to a bedroom, tape the cards on the wall in the hallway. Each time you walk down the hall, say the animal name, then say the beginning letter sound while touching the correct letter.
Letters and Sounds on the Stairs
Tape the cards to the back risers of your stairs, one card per stair. Now get a rolled-up pair of socks, call out a letter, and have your little one try to throw the socks so they land on the stairs with that letter animal. If you’re just working on sound identification, simply call out a sound instead of a letter!
Matching Game
These cards also work wonderfully for a matching game. Lay them facedown on a table and flip over two at a time. If you get a match, say the beginning letter sound and name, then you get to keep those cards!
I hope you found this information helpful and your little one enjoys playing with the letter and sound cards!
Teaching our little ones to read can feel daunting, but it doesn’t have to be! In How Wee Read, I walk you through everything, step-by-step, in 60 simple activities.
For absolutely everything you need to teach your child to read—from rhyming to reading—check out How Wee Read:
https://shop.howweelearn.com/
Thank you so much for reading, sweet friend!
xo
Sarah
