When I very first started blogging (8 years ago now, yikes), I would get so excited to share my ideas! I would actually lose sleep because I was so excited for my blog post to go out to you in the morning. I just knew you and yours would love it.
Well, you would think that 8 years later this excitement would have worn off a bit — but my friends, I am SO EXCITED to share today’s blog post with you. I believe you and yours are going to love it!!!
Today I bring you …
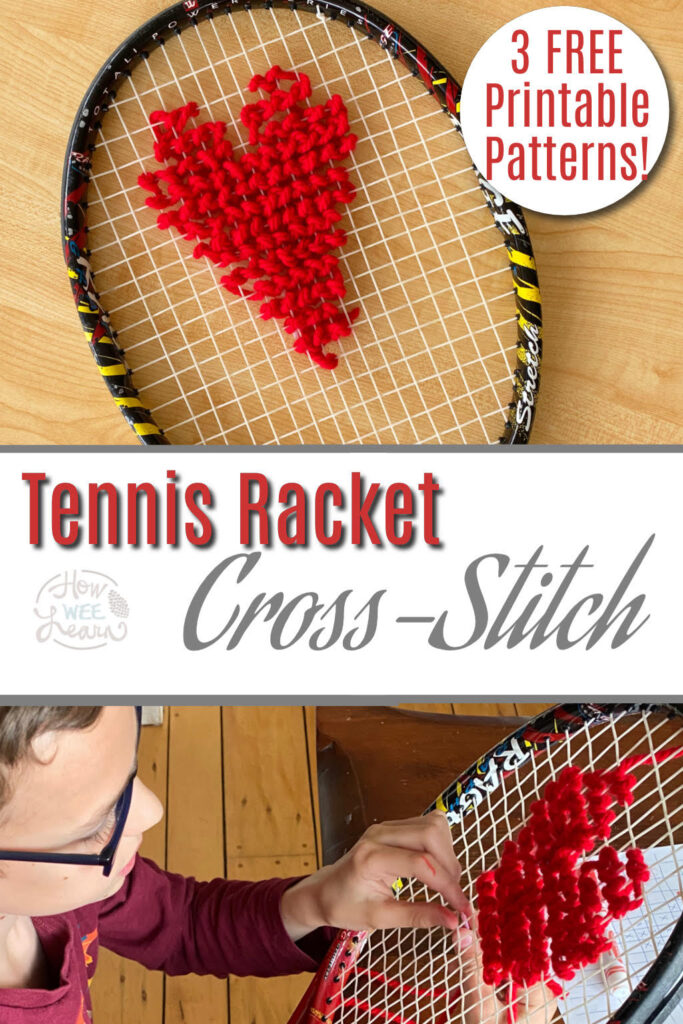
Tennis Racket Cross-Stitch!
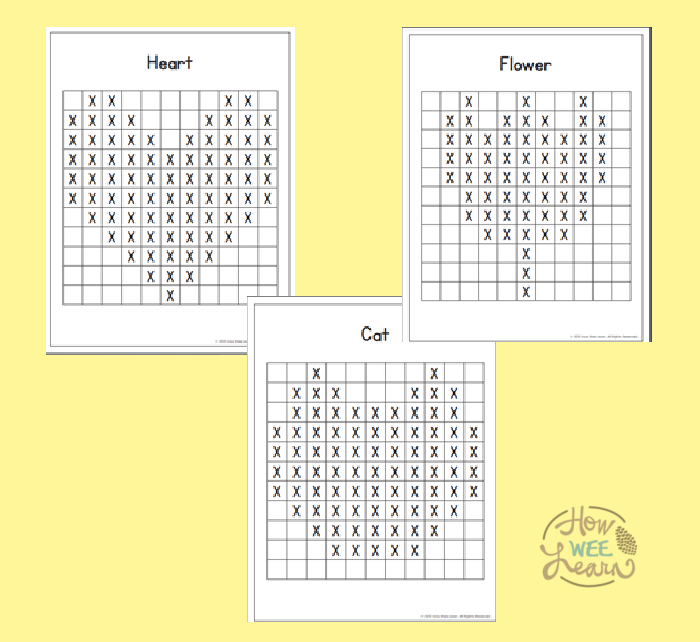
And, because this blog has matured slightly, I even have 3 free printable patterns for you as well. What is that? This blog of mine is aging just like a fine wine? Why yes, thank you, I do think so!
Alright, enough with the nostalgia and fine wine talk – let’s get to this awesome kids activity.
The boys and I have taken an interest in tennis lately. Well, the boys have anyways, Norah and I are the spectators for the most part. All that time staring at tennis rackets got me thinking about how else they could be used.
Clearly my mind went to crafts.
One look at that grid pattern in the racket and I knew it would be perfect for weaving. And this is how it went down …
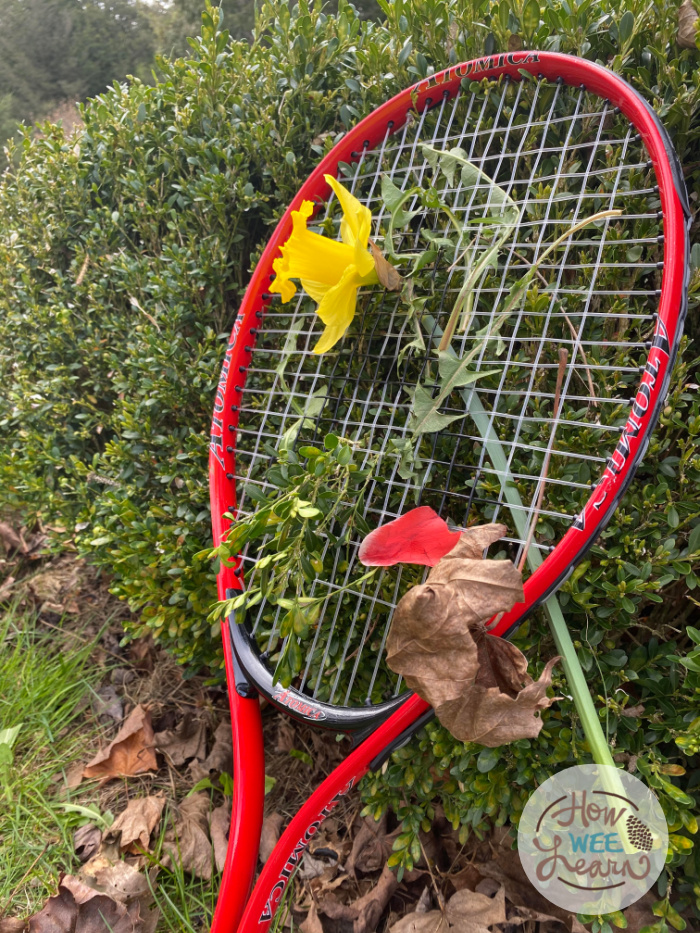
Norah and I started weaving nature items as we were watching the boys play tennis. The perfect activity for my 2 year old.
Later, Ben and I started weaving with yarn in the tennis racket. We took a long piece of yarn, wrapped some tape around the tip to make a point, and he weaved in and out creating a design. This was the perfect activity for young children.
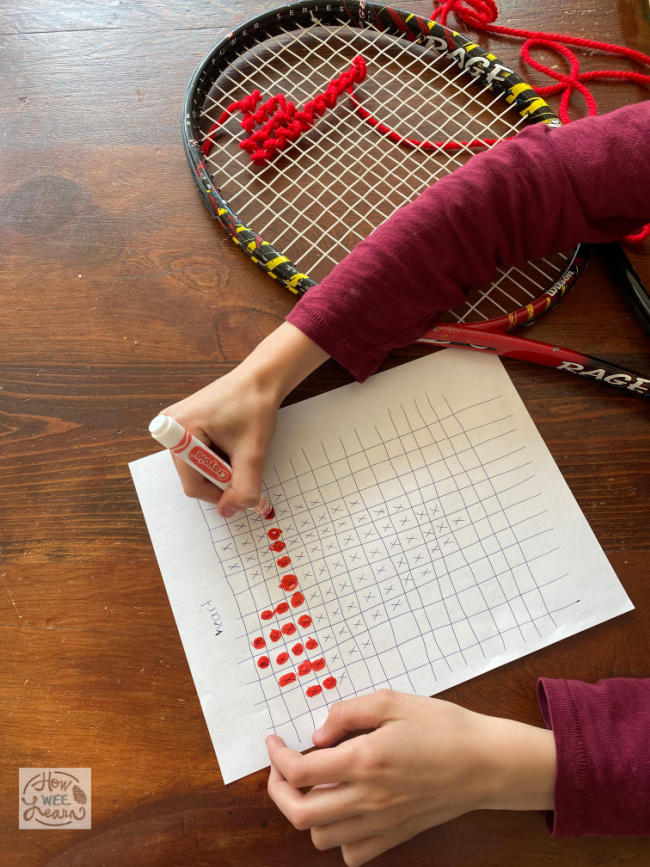
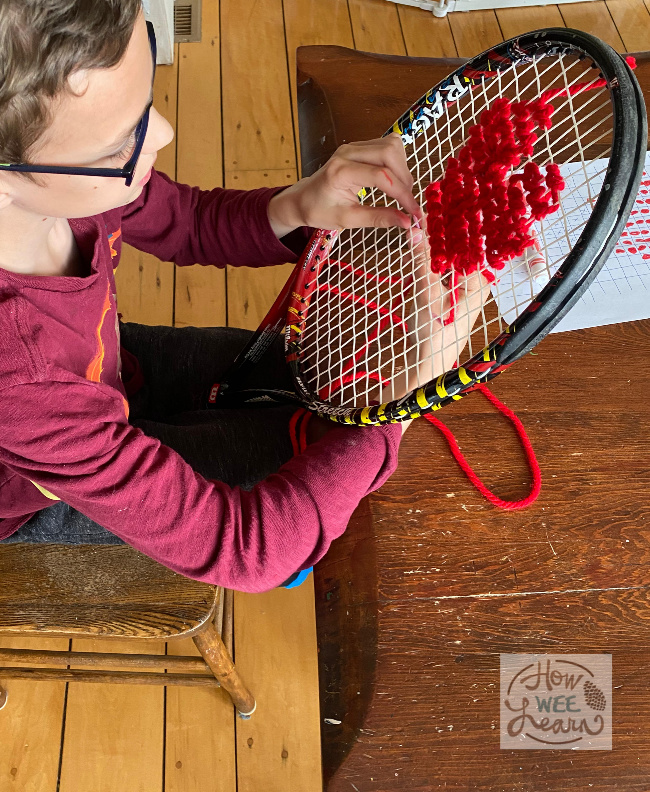
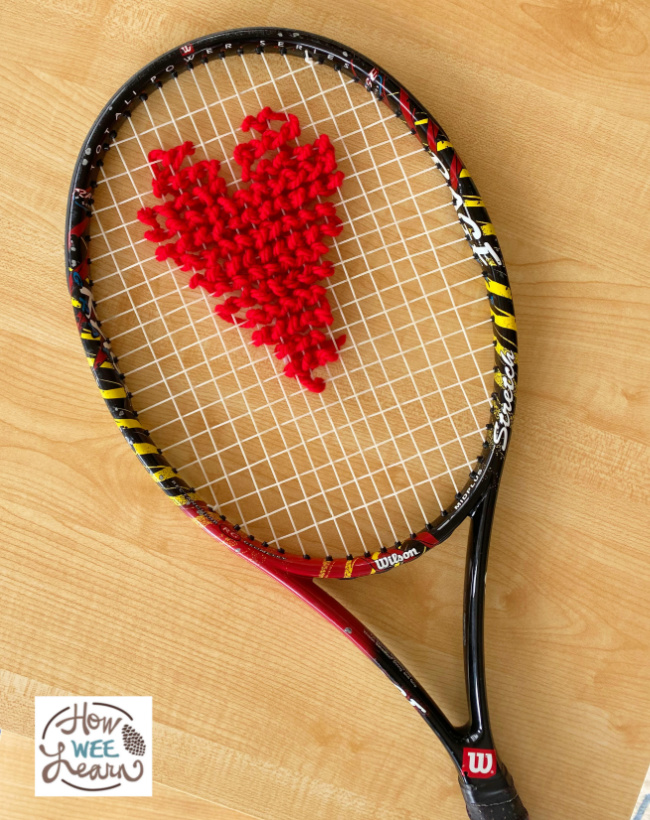
Finally, (and this is the part that made me giddy), I realized that we could do cross-stitch with the tennis racket. Sam (who was not quite as giddy about it as I was, but enjoyed himself all the same) decided on a pattern and got to cross-stitching. We just drew the pattern by hand as this was before the pretty printable patterns were created.
You and your child can of course create your own cross stitch design, or you can print off the free printable patterns that I have available right here.
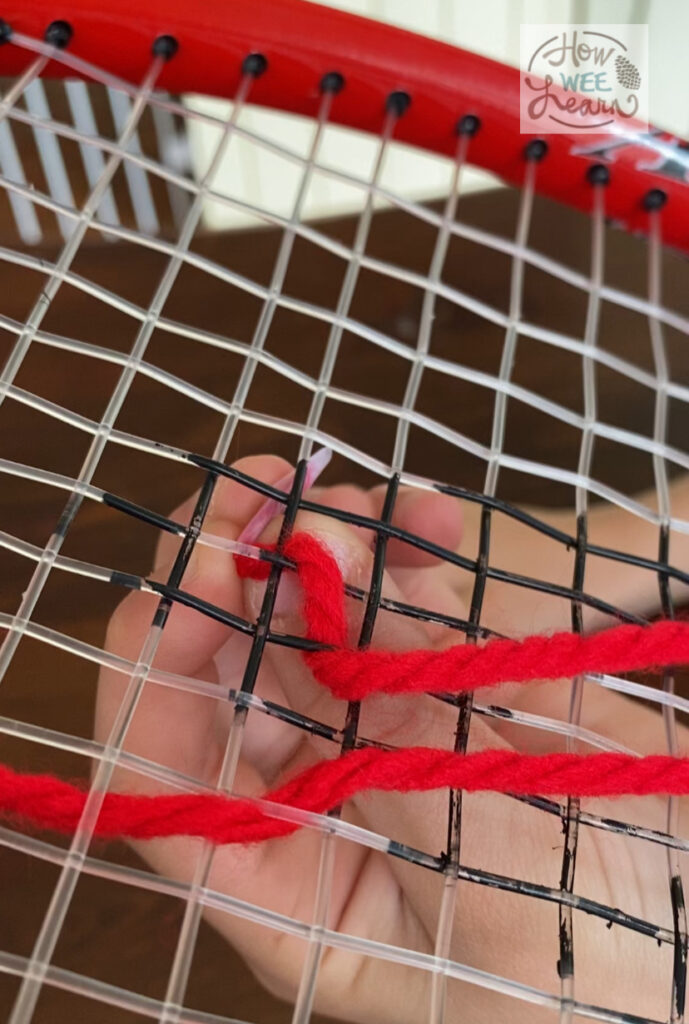
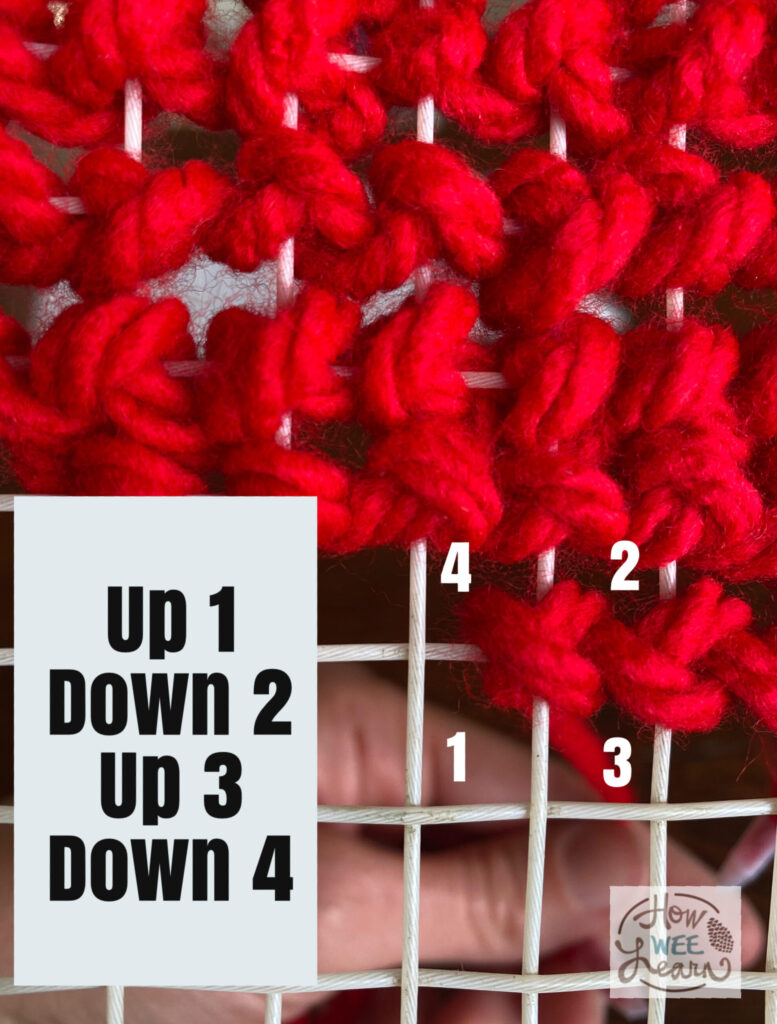
The way to cross stitch is nice and simple. Look at 4 squares of the grid, 2 on the top and 2 right below. Then, weave in an X shape. You will poke your yarn up square one, then down square 2, up square 3, then down square 4. Next, move to the next door group of 4 squares and do this again.
Check out the image below as well as the video to see this in action.
Sam coloured the pattern as he went keeping track of the stitch he was on. We did not worry about the exact stitching, as you can see from our results. Sam is new to cross-stitch so we just focused on the pattern of creating the X shape.
It only took him a few stitches to get the hang of it and then he was flying!
Activities like this are amazing for focus and concentration. It is also perfect for fine motor skills and hand dexterity. And for fear of using a “hot word” and dating this post, it is also an awesome STEM activity building on lots of math skills.
Plus – it is really cool!! Isn’t it? I just know some of you are going to love this one as much as I do.
Don’t forget to grab your free printable patterns right here!
Happy tennis racket weaving, my sweet friends, and here is to 8 more years of fun, sleepless-night-inducing kids activities heading your way. Well, that doesn’t sound to appealing … the activities won’t make you have sleepless nights … I will have the sleepless nights over the excitement of you receiving my blog post ideas … gosh … 8 years and I still haven’t gotten this ‘concise’ thing down …
Anyways, thank you for being here.
xo
Sarah

Leave a Reply