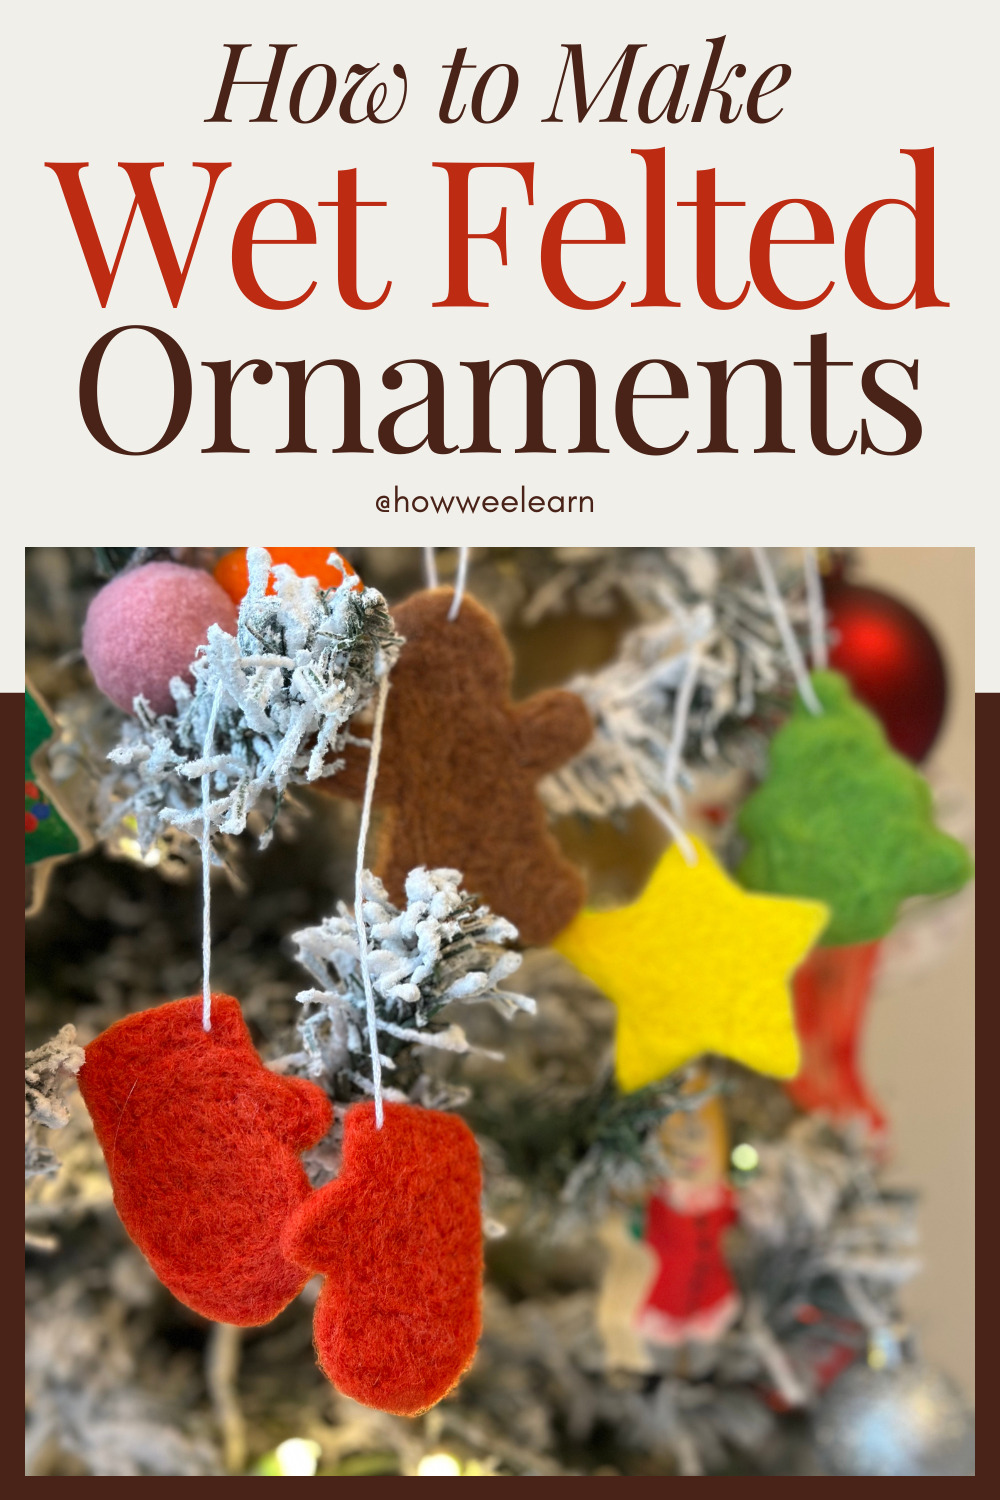
Wet felting is one of those projects that I often admired from afar, thinking that it wasn’t something I could easily incorporate into our homeschool. The beautiful creations always seemed so out of reach. Something better suited for people with more handwork experience. Surely not for me and my little ones.
But… I am happy to announce that I was (very) wrong!
As I went down a handwork rabbit hole one Friday night—as you do when the kids are sleeping and you should be too—I found so many amazing ideas for making projects like wet felting accessible to even the littlest of crafters (and me!).
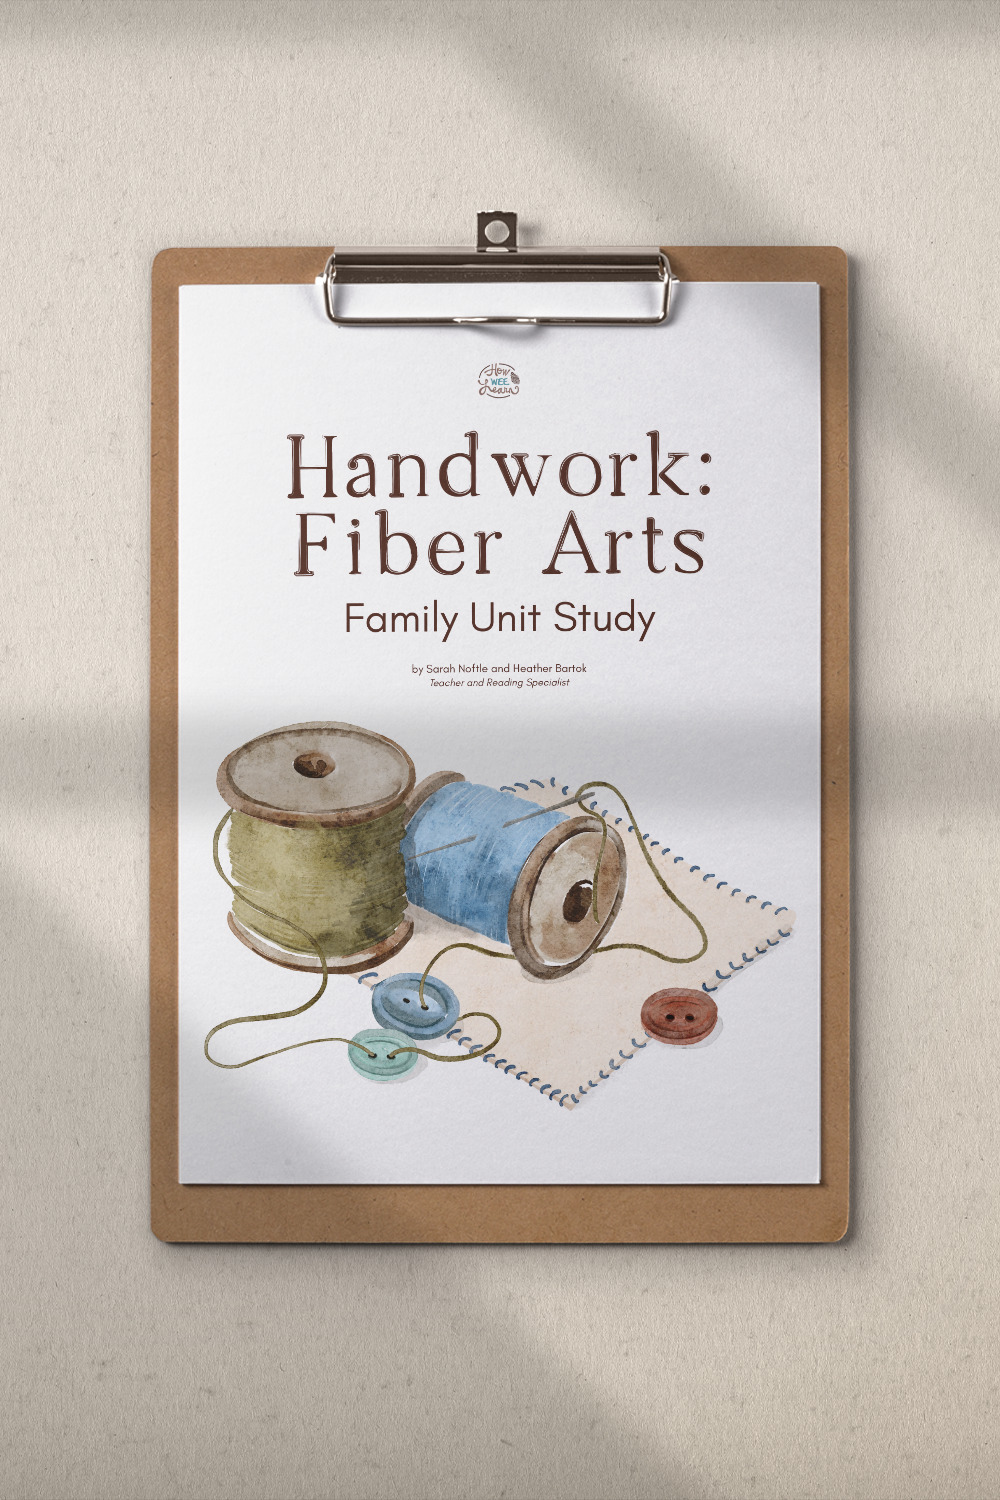
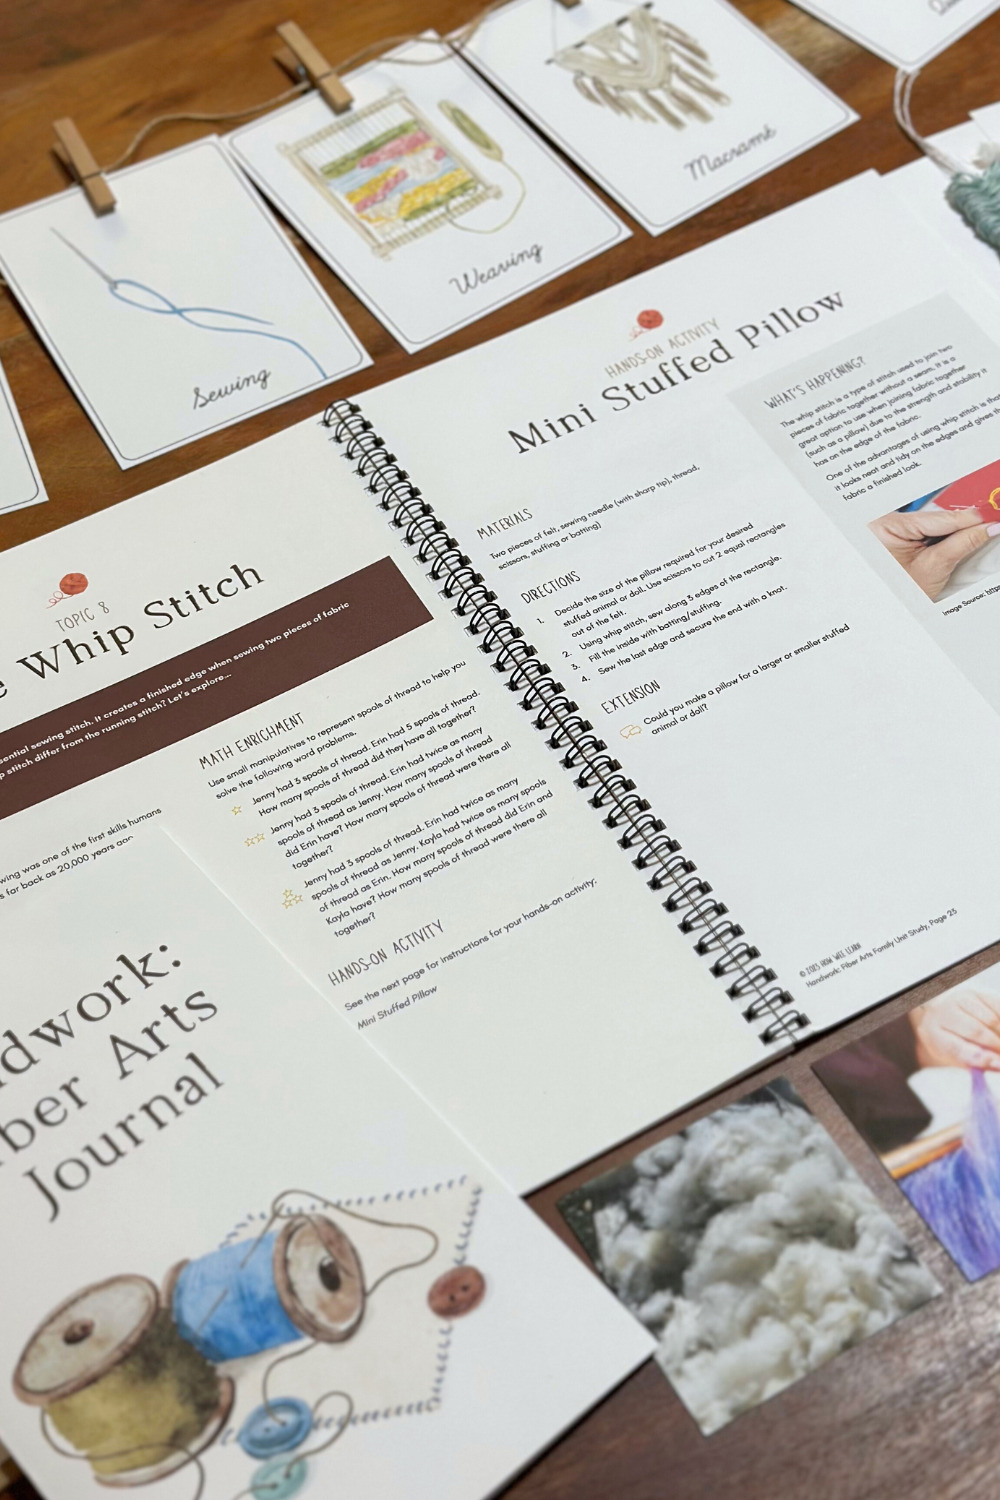
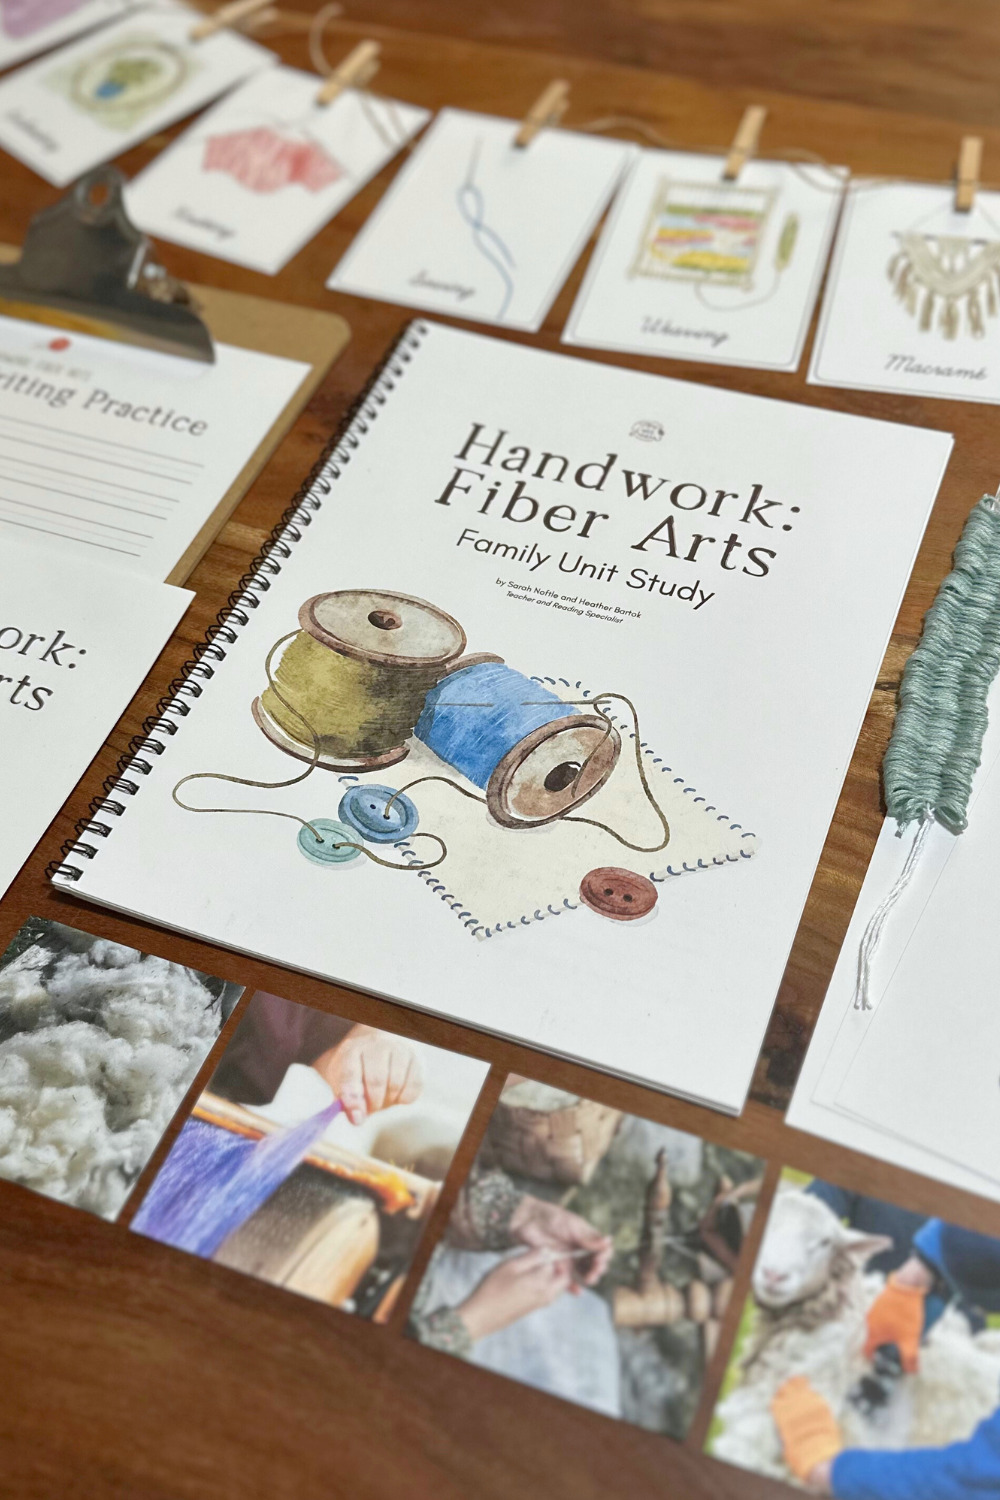
Fast forward, and we now have an entire Family Unit Study devoted to handwork. It is called Handwork Fiber Arts and is filled with beautiful knitting, braiding, weaving, sewing, and wet felting projects. I wrote up a little blog post for you that goes into each of the topics included in the unit study, which you can read right here. You can also grab a FREE Sample from the unit study right here:
It is such a warm, cozy unit—perfect for a cold winter’s day spent in fuzzy socks nestled by the wood stove.
And, as our wood stove is out in full force and my fuzzy socks have reappeared for the season, I thought it was the perfect time to share one of the activities from the Handwork Fiber Arts Unit Study with you.
So, today you’re going to learn how to wet felt ornaments using cookie cutters!
Wet Felting Ornaments with Cookie Cutters
Are you ready?! Are you excited? I am!
Materials
For this project, you will need:
- wool roving
- cookie cutters
- warm soapy water
- cold water
- shallow pan or dish
- chopsticks or pencil (optional)
- needle and string
- scissors
Instructions for Wet Felting Ornaments
To make your wet felted ornament, first decide which cookie cutter shape you want to use and which color roving. You could also choose to mix different colors of roving into your design for a beautiful, swirly look!
Next, gently pull apart the roving into whispy pieces and pack them into the cookie cutter.
With your roving-filled cookie cutter in a shallow dish, pour a small amount of warm soapy water over the roving. The fibers will compress down with the water, so you might need to add some more roving to your cookie cutter to fill in any spots that are a bit thin.
You’re now going to start combining those fibers! You can use a chopstick or the eraser end of a pencil to poke and smush the roving. Be sure to push around the edges of the cookie cutter so that the edges of your shape are defined. You can also push down with your finger and gently rub over the surface of the roving to help the fibers combine.
Keep poking/pushing/rubbing until the fibers have combined.
Next, pour some cold water over the cookie cutter and roving to rinse out all of the soapy water. I found it was easiest to place the cookie cutter on the palm of my hand and run cold water from the tap over it. I could then flip the cookie cutter into my opposite hand and run cold water onto the other side to really rinse it well.
Squeeze out the excess water with your fingers, then lay your ornament out to dry.
If you find that the fibers aren’t holding together as well as you’d like, you can pour some more warm soapy water over the roving and poke or rub the fibers a bit more to help them blend together. Don’t forget to rinse in cold water again when you’re done! Squeeze out the excess water and lay your ornament to dry.
We found that compressing the ornaments with a tea towel to really squeeze out the water helped them dry very quickly, but you may need to wait a day for them to be completely dry.
Once your ornaments are fully dry, use a needle and string to thread a loop at the top of the ornament so you can hang it up and admire your beautiful work!
Optional Dry Felting Project Extension
We had a felting needle handy, so when our ornaments were fully dry, we tried securing some of the loose fibers with it. If you decide to try this, here’s a word from the not-so-wise: be extra careful, supervise your children, and use finger protectors. (I learned the hard way. Ouch!)
You could also use a felting needle to add some little details to your ornaments, but after the bandaids came out, we decided to put that needle away. And honestly, I think these solid-colored wet-felted ornaments look absolutely beautiful on our tree!
Optional Wet Felting Project Extension
If your little ones are really into the project, let them know that wet felting can also be used to make finger puppets! Have your children brainstorm how they might do this, then try it out! Hint: If you need a bit of inspiration, check out this wet felted reindeer finger puppet.
And if you want even more handwork projects to enjoy with your children—as well as lots of learning to accompany those projects—you’ll want to grab the complete Handwork Fiber Arts Unit Study.
Get the Complete Handwork: Fiber Arts Unit Study
https://shop.howweelearn.com/products/family-unit-study-handwork-fiber-arts
I hope you enjoyed wet felting ornaments and that you have a lovely holiday season!
Thank you so much for reading, sweet friend,
xo
Sarah
