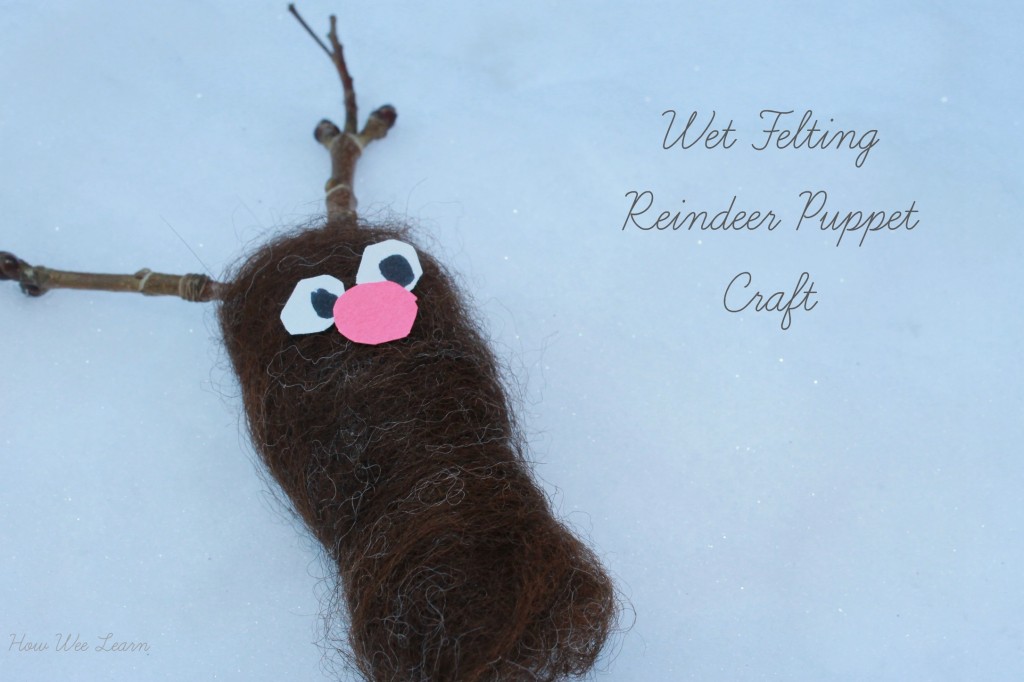
This cute reindeer puppet craft was amazingly fun to make! Simple and full of sensory fun, too. I had been looking for how to make finger puppets… simply… for a while. A dear friend suggested wet felting. I had no idea what this was, but as she explained, I realized it was exactly what we were after!
Before we dive into it, be sure to get your FREE Sample from Christmas School! It includes the topic all about reindeer and some beautiful watercolor vocabulary cards as well. Grab the sample below, and if you love it—which I know you will!—you can get the full version right here: https://shop.howweelearn.com/products/christmas-school
This reindeer puppet craft is so very easy to make – and quite different from many other Christmas crafts we have done, making it very interesting for my wee one.
***When this little guy was finished, and I was marveling at Sammy’s creative play, my husband got home from work, took one look at our little reindeer finger puppet craft and got this bizarre little smirk on his face. Apparently, and perhaps you already noticed this, but to some this sweet little reindeer may resemble … toilet matter. Ahem. However, it is indeed intended to be a reindeer – and I hold strongly to the fact that this craft is adorable – as my husband can attest to.
But, for those who see this as an adorable reindeer puppet craft – the mature I might say … I will continue.
To make this reindeer puppet craft you will need:
- roving (we happened to have some on hand from a recent visit to an alpaca farm … not even kidding … should you have not recently visited an alpaca farm, roving can be purchased from almost any craft store and Amazon as well)
- warm water with a little bit of dish soap in a shallow container
- a slitted spoon, bubble wrap, or wash board
So, how to make finger puppets? Couldn’t be easier my friends.
1. Put a little bit of warm water and a little bit of dish soap in a shallow container.
2. Put the slitted spoon (or bubble wrap/wash board) in the water
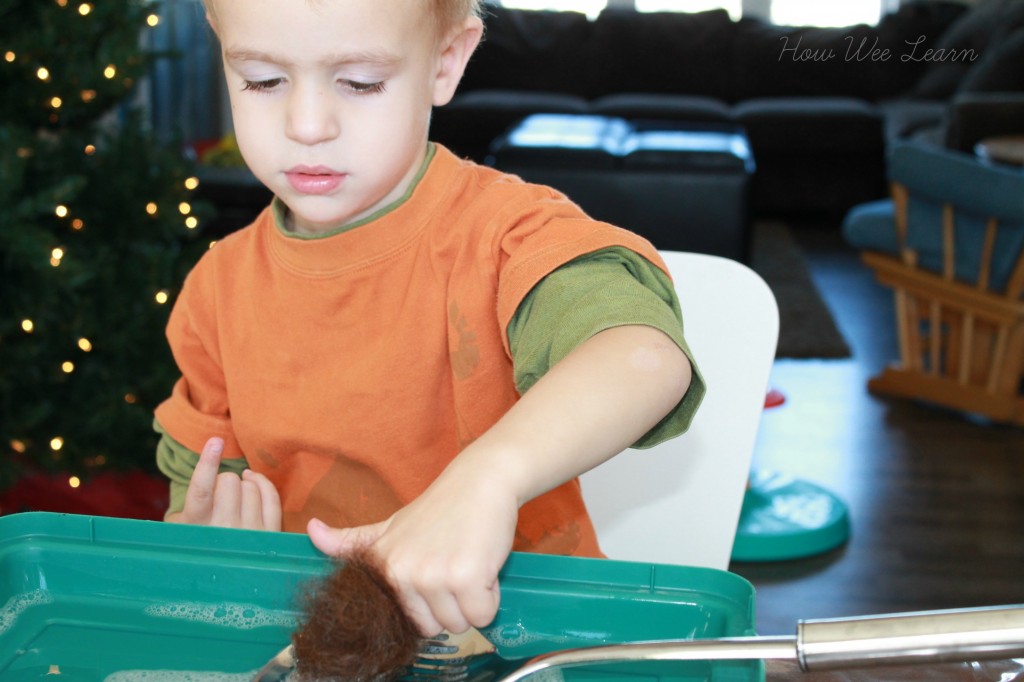
3. Wrap the roving around a finger and rub it gently all over the slitted spoon. It will become quite matted – that is exactly what you want. This takes a little bit of time, our first one we rushed and it didn’t stay together well. You are basically turning the roving into felt (as my dear friend explained to me)
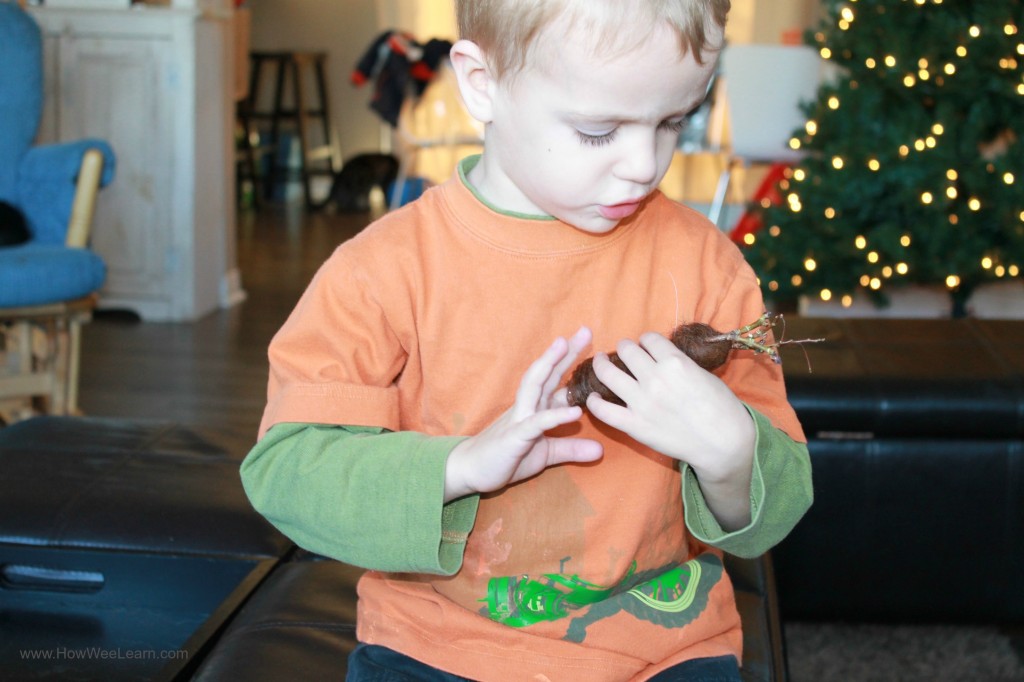
4. Slide this little finger puppet off of the finger and let it dry. Ours dried for a whole day.
5. Once it is dry you can decorate. We stuck little branches in for antlers (very slowly, by simply twisting). You can also sew little eyes and a nose on, but we just glued some paper ones on.
This reindeer puppet craft was so much fun to make, but has also held up very well with being played with. It really does turn into a sturdy felt.
A sweet reindeer puppet craft and a great sensory activity too. Perfect activity for any wee one! My Madeline (11) made one as well and darned on little eyes and a nose. Adorable!
I think we will be making more finger puppet crafts in the days to come. I heard Sammy telling his little Rudolph about the other Reindeer that help to pull Santa’s sleigh.
Please consider liking us on Facebook so we can share more creative activities with you and your wee ones!

[…] you have any ideas Sarah would love to hear about them. Today I am sharing Sarah’s darling “Reindeer Puppet Craft: Simple Wet Felting” that you and the children will love because they can play in warm soapy water; find some trigs in […]