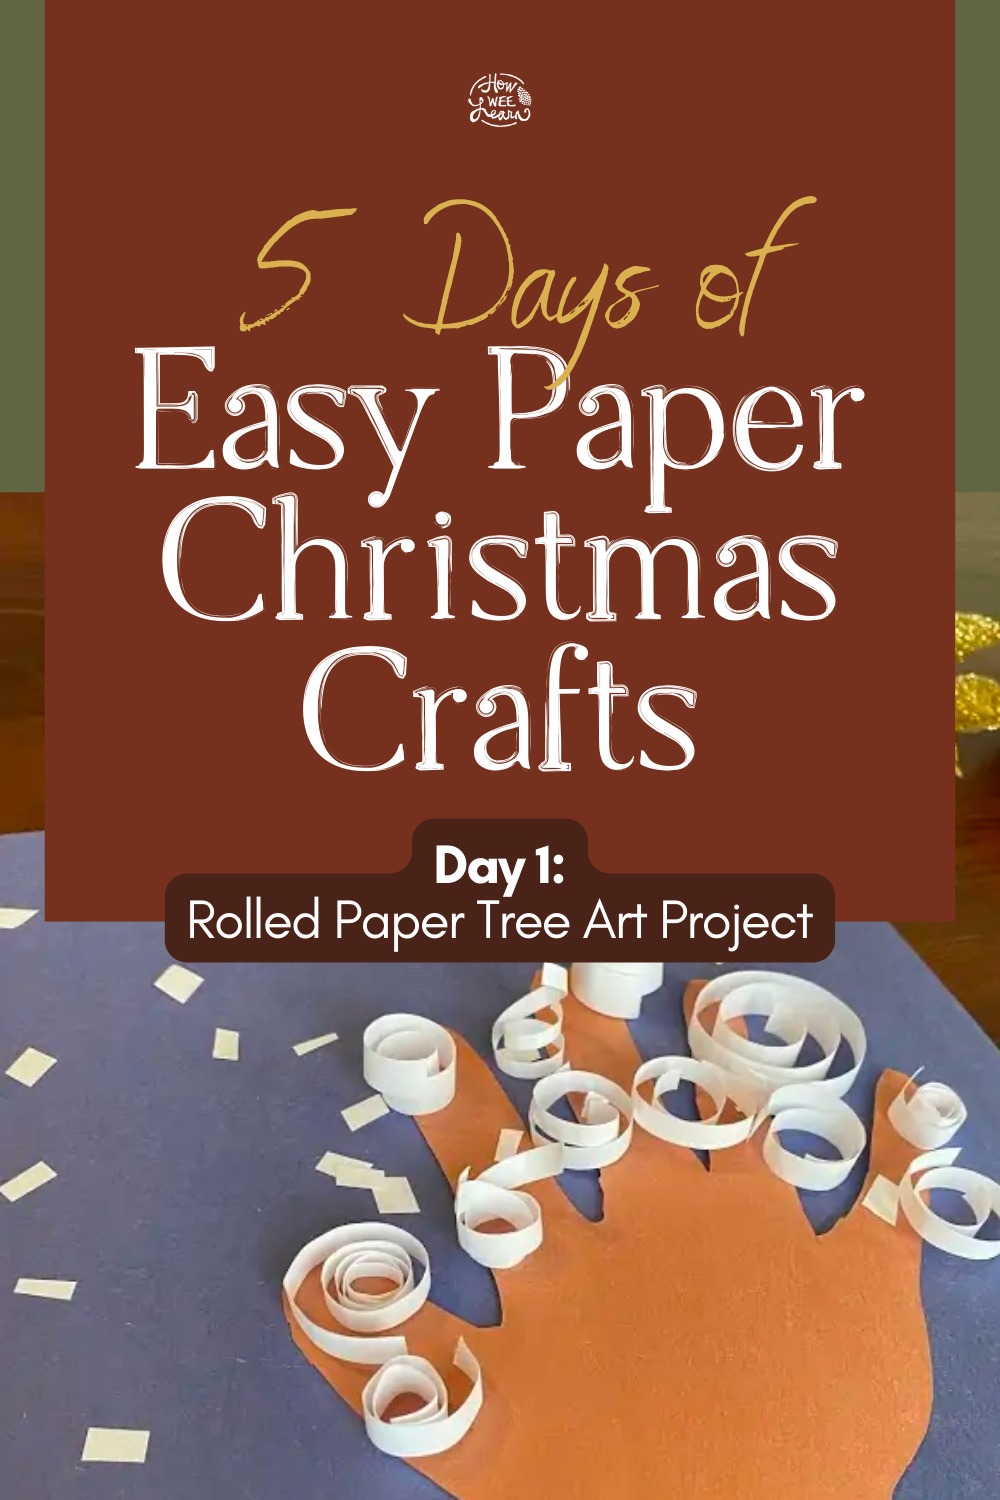
Welcome, welcome!! Today is DAY ONE of my super simple Christmas crafting week! Today I bring you an adorable little paper craft that will make an adorable keepsake craft as well. Read right to the bottom, because I added something special to the bottom of this post!!
Like all 5 of the Christmas crafts this week, this one requires only our one crafting supply: Construction Paper!
Now, this craft is a bit more of a “winter” craft, I suppose, but I still wanted to include it in our 5 days of Construction Paper Christmas Crafts because it really is a special one.
It is super simple, turns out so pretty, AND has an adorable handprint right in the middle.
I saw a similar idea on Pinterest and followed the photo back to Twitchetts who made a neat 3D winter tree. I loved the idea of adding spirals that pop right off the page!
Now just before we get started with the (nice and easy as promised) instructions for this one, I wanted to share how WE will be crafting this week. I am declaring this a stress-free, only fun Christmas crafting week. I am dropping all expectations as to what this craft will actually look like upon completion. We will be having our Christmas music on, we will be be-bopping around dancing as we craft, and we will ALL be doing some crafting together (to varying degrees, of course). So my youngest will be right at our sides, participating every step of the way.
Below you will find my little notes about how I will be making this craft suitable for my tiniest, as well as the instructions I will be sharing with my older children.
Our goal this week is simple, fun, memory-making crafts! No worries if these winter trees turn into Star Wars ships. I mean, it’s bound to happen to at least one of us! Add a little holly in the corner and call it a success!
Let’s get to it:

For this construction paper Christmas (well, winter) craft, you will need:
- construction paper
- glue
- scissors
- a pencil or something to wrap strips of paper around
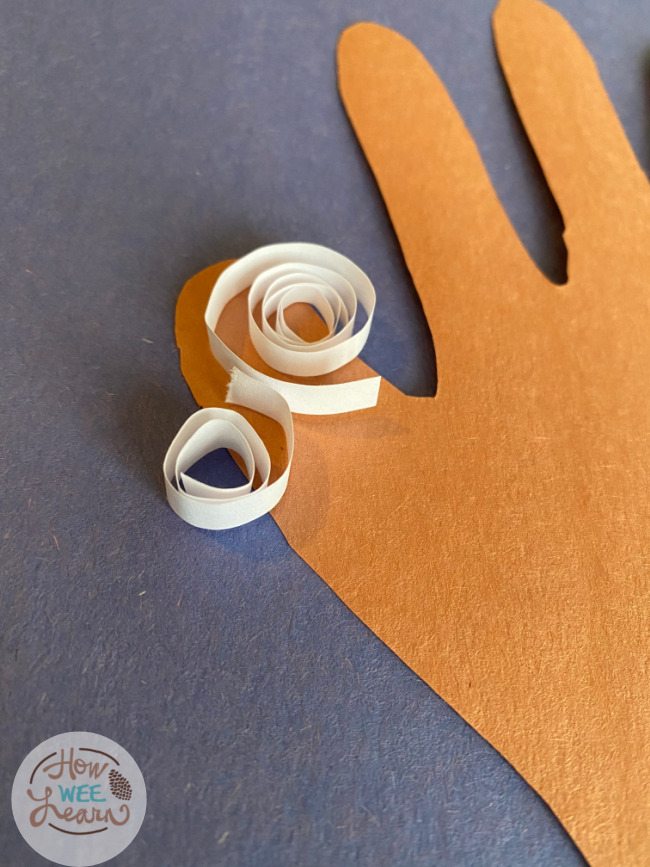
To begin, trace one of those chubby little hands onto brown construction paper. Try to put that little hand a bit towards the middle of the paper so that there is room to trace some wrist and arm (as the tree trunk).
Have your little one (or you) cut out that handprint. Very little ones can simply tear strips of brown paper to use as the tree trunk.
Glue this tree onto some blue paper.
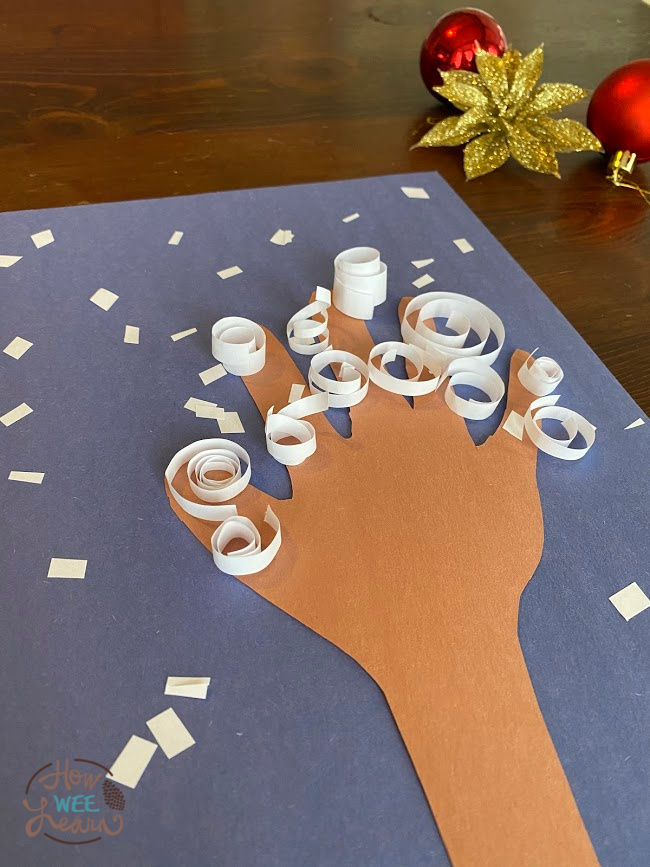
Next, have your little ones cut some long skinny strips of white paper of various lengths and widths, though you do want it to be thin. Wrap those strips of paper around a pencil to create paper swirls and place them on the branches of the tree, securing them with glue. Liquid white glue will work best, but glue sticks will work as well.
Very little crafters can simply rip up white paper and use a glue stick to pop that ‘snow’ all over their tree and page.
Once the swirls are secure to the tree, you can take a few of the extra pieces of long skinny white paper and chop them into tiny bits making ‘snow confetti.’ Using a glue stick, glue these little bits around the page to look like falling snow.
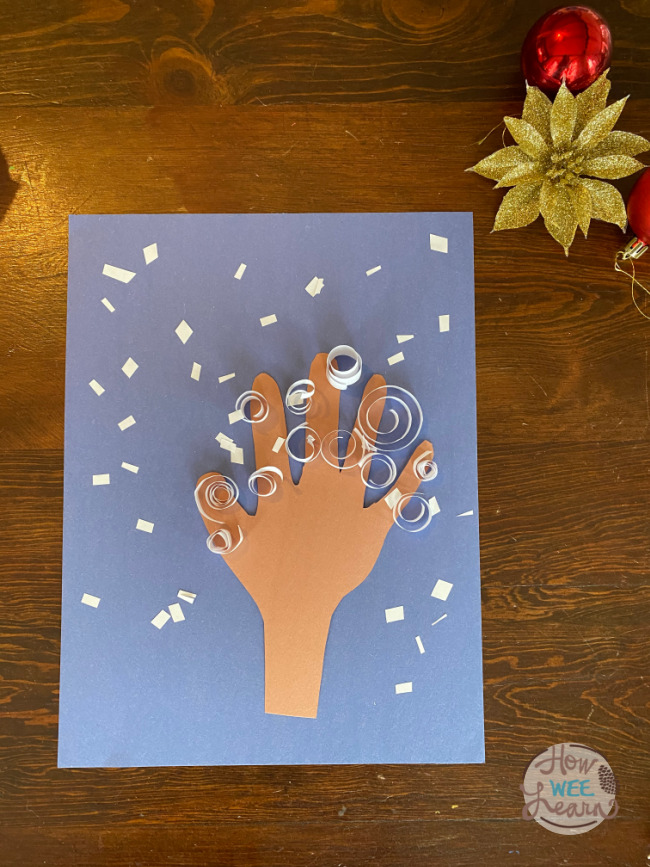
And there you have it! Your very first, nice and easy, Christmas craft of the week! I hope you love it and it works well for your family.
Tomorrow I will share our next Construction paper Christmas craft with you. See you then, my friend!
xo
Sarah

My granddaughters hand print tree! Thank you. She had so much fun doing this one. Her favorite part was the cutting the paper and using the glue!
Thank you! This was a great learning experience using scissors too. Can’t wait for the next one!
LOVE IT!! Well done! I am so glad you had fun! xo Hope to see your picture tomorrow!!
My daughter loved getting her hands traced so we ended up with more of a forest ?
Oh this is ADORABLE!!! I love this forest art so much. Thank you for sharing!!
Well – the spirals didn’t end up working out so well, but my littlest loved the flying part!
He wanted to use our grinch wrapping paper:)
Way to go Mama!!!! Grinch wrapping paper winter trees are far more Christmasy! Love it xoxox
My daughter loved this craft and she hardly could stop decorating it 🙂 She drew herself next to the tree pulling a sled. There is a fox in a den under the snow too. Thank you for the idea. Can’t wait for the next one!
Oh I love this so much Andrea! And a fix in a little den – what a perfect addition. Thank you so much for sharing this with me!! I can’t wait to see your next photo. xo
Thanks for the fun and EASY construction paper craft idea! My two year old lined up her pom pom “ornaments” down the trunk.
Yes!!! Love those pompon ornaments. Adorable! Thank you so much for sharing! xo
My 2 year old daughter loved doing this and didn’t want to stop adding snow! The tree is purple because she said it was a tree under the moon (the biggest yellow blob at the top!) Thanks for these super lovely ideas x
The world definitely needs more purple trees shining in moonlight. Sweet little one. Thank you so much for joining me!! xo
This was so much fun and he loved using the crayola jagged edge scissors
Oh I love it!! Zigzag scissors – such a fun twist!! Thank you so much for sharing with me!!
My grandson loved tracing his hand and arm, and we made a picture for daddy on his next visit.
What a great idea to use POMPOMS! That is brilliant!!!! Gosh, I’m bummed I didn’t think of that!!! Thank you so much for sharing and for joining me!
Thanks for sharing such amazing activities for kids.
I did it 😊
Wahoo! Way to go! Thank you for crafting a long with us!
Used the magical contact paper instead of strip. Apparently my kids enjoyed unrolling the swirls & putting on the straight strips. I thought the swirls were cute, but they had other plans!
I love that you follow their lead. These look great! And you just can’t beat that magical contact paper!
They are such cuties!! xo