Welcome back to my 5 Days of Construction Paper Christmas crafting! I hope you had fun with your pretty winter tree paper art project yesterday. Today we are on Day 2—get that Christmas music back on and get ready to make a…. (is the suspense getting to you?!)
Ripped paper candy cane craft!
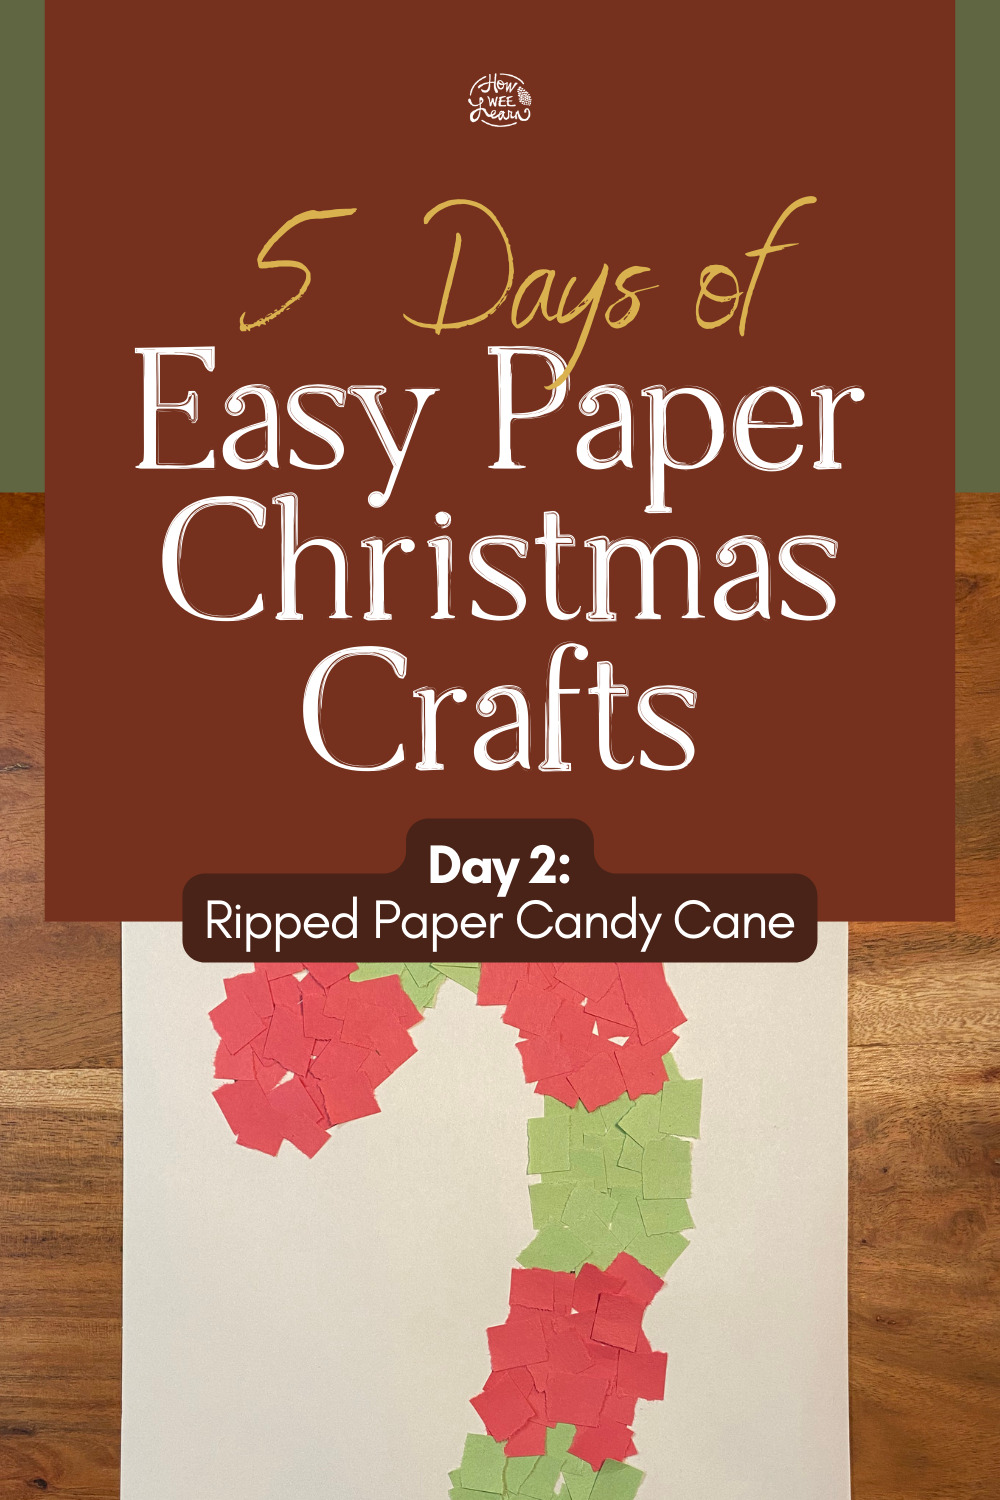
Woohoo! This Christmas craft is nice and easy and PERFECT for even the littlest of crafters to join in with.
These mosaics can turn out so beautifully! You can cut the candy cane out afterward and hang it with ribbon on the fireplace mantle or above a bedroom doorway.
I am going to continue my plan that I shared yesterday—being entirely easygoing and open to the (very real) possibility that one or more of my children might decide to take this craft in a different direction. Should this beautiful candy cane mosaic be turned on its side and slightly adjusted to become a candy cane pistol, I solemnly vow to simply smile and remember that the memories are what I am choosing to treasure.
[mv_video doNotAutoplayNorOptimizePlacement=”false” doNotOptimizePlacement=”false” jsonLd=”true” key=”ym3zwztzrz85mouvpvmi” ratio=”16:9″ thumbnail=”https://mediavine-res.cloudinary.com/video/upload/ym3zwztzrz85mouvpvmi.jpg” title=”Candy Cane Christmas Craft” volume=”10″]
For this candy cane paper craft, your will need red and green construction paper cut into strips. I suggest doing this one colour at a time so you end up with a pile full of red construction paper pieces and then a pile full of green construction paper pieces.
Rip up all of the red strips with your children into small squares. My kids like to call this confetti. This is great for strengthening little hands and ideal for even very young toddlers to help with. Once all the red strips have been ripped up into small pieces, put them aside and do the green strips.
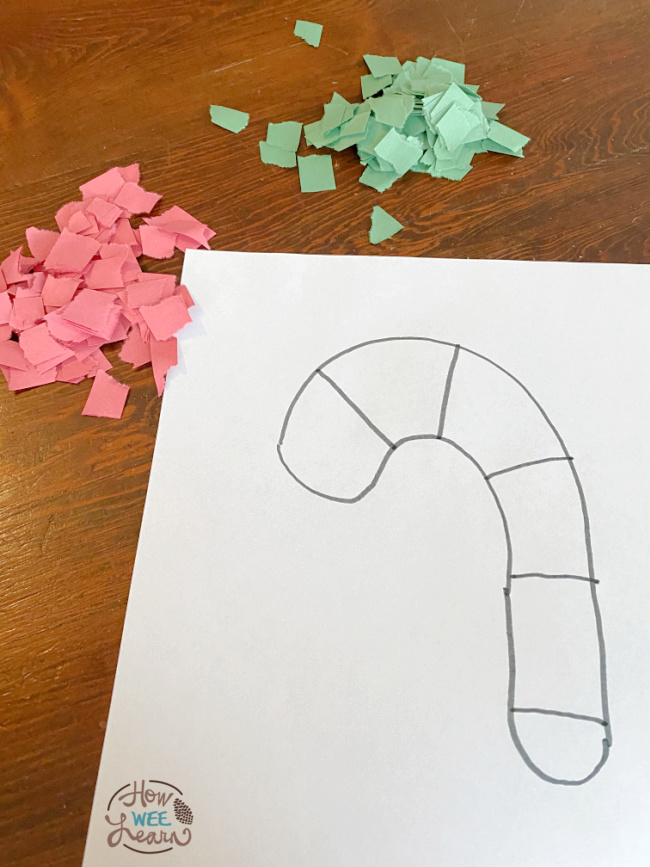

Now take a piece of blank construction paper and draw on a simple candy cane shape, splitting the candy cane with some stripes. Make sure each section of the candy cane is a good size.
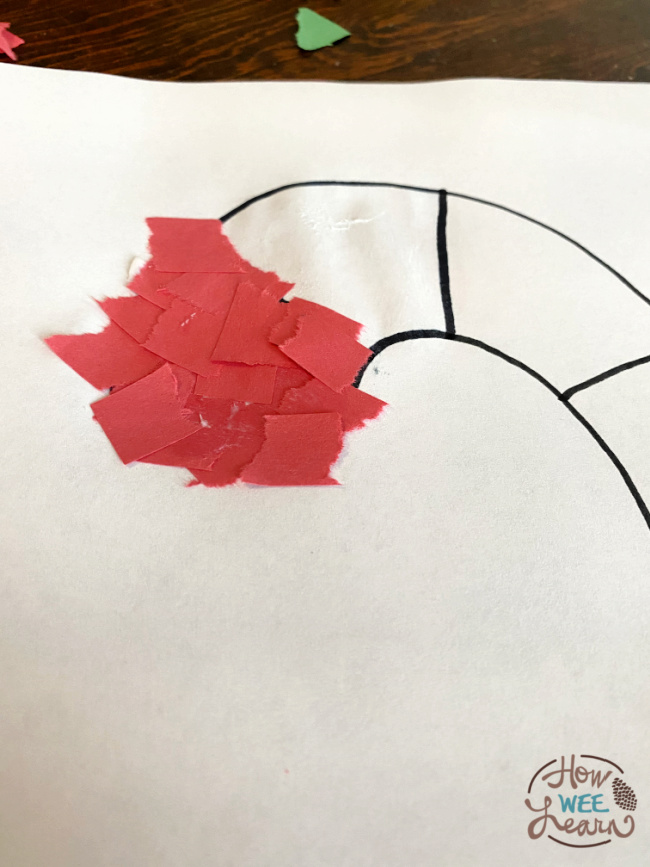
Next, add some glue (I found glue sticks work perfectly) to the first section of the candy cane and cover that with the red ripped pieces of paper. Add more glue over top of the construction paper and keep adding the red ripped pieces until the whole section is covered. Have some wet washcloths handy to get glue off little fingers.
Once that first section is covered, do this again to the second section but use the green bits of paper.
Keep going, alternating back and forth between your red and green bits of ripped construction paper until your whole candy cane is filled in.
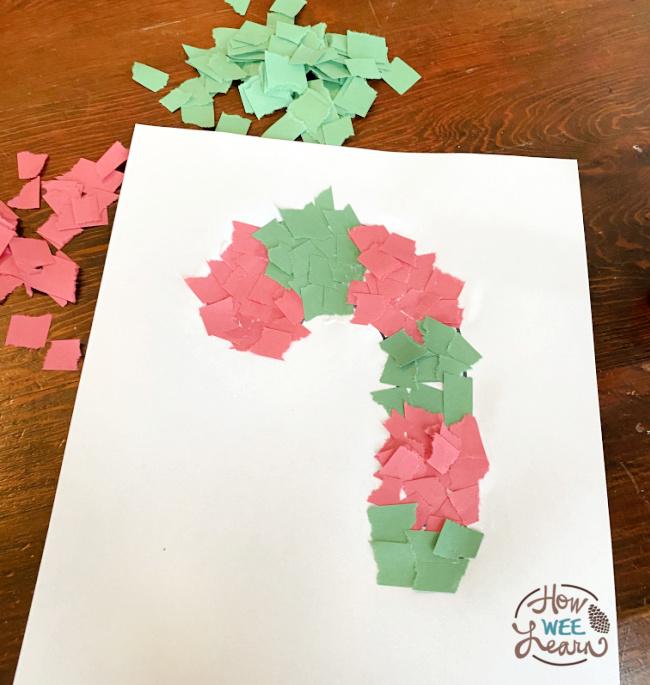
Voila!
Once this is dry, if you have some little ones who really loved this activity, flip your paper over and do this to the BACK of the paper as well, matching the shape and the colours. This way, should you choose to cut your candy cane out and hang it somewhere, it will be beautifully coloured with the construction paper on both sides.
You can cut this candy cane out and pop it on a wall or a bedroom door, or you can hang it from the ceiling with a ribbon. This also makes a lovely gift if you wanted to pop it by a loved one’s porch.
And don’t worry one little bit if you have ripped construction paper confetti all over the floor. It turns out most young children LOVE to try out the vacuum hose!
There you have it, my friend. Your construction paper Christmas craft number TWO! What do you think? I hope you and yours love it.
I will be back tomorrow with our third project! See you then, my sweet friend,
xo
Sarah

We are potty training today so it was great to have some easy and fun Christmas crafts to do!
Love the colours!!! Beautiful! We are hopping on that potty training time right after Christmas – crafting those days away is a brilliant idea.
We did the winter tree yesterday. Today im going to be doing the candy cane with my preschool group.
Thank you so much for joining me Kerry!! I hope your preschool group likes today’s craft!
This on was a hit with 3 of my 4 —- I’ll take those numbers!!
Was more interested in coloring than glueing today. Definitely still a hit though!
Perfect! I love how you simply follow your little ones lead. What a pro! How old is your little one Kahlee?
She’ll be 3 in February ?
Such a magical age!! xo
My granddaughter and I had fun with this Christmas craft too. I love seeing what others did too. Thank you!
My granddaughter and I had fun making this cute Christmas craft. I also like looking at what others made! Thank you. Can’t wait for the next one!
Pic 2..the other side of the candy cane!
Look at you – you go getter you!! Well done!
So wonderful Amy! Thank you so much for sharing!
My four year old really enjoyed making a pattern with the red and green bits of paper. He attempted to show his little sister how it’s done but she was only interested in using green for this craft. ?
This is awesome Theresa! I had a little one that only wanted to use green as well. Must have been a feeling-the-green kind of day! I love that your little guy wanted to show his little sister how it was done. What a sweet boy!
This one was a win for us! And we had an interesting conversation about following instructions vs creativity in art!
LOVE THIS! And awesome conversation to be had as well. Way to go!! Thank you so much for sharing with me.
My twins loved this craft. Tearing paper on purpose? Yes please! Thanks
So awesome Amy!!! Thank you so much for joining me!!
It looks so fun. Can’t wait to try this activity with my daughter.
2 year old & 5 year old enjoyed ripping & cutting the paper & then sprinkling over the glue.
Looks awesome! Way to go!