Our brains are pretty amazing, but explaining how they work to kids can feel a little tricky! That’s why I love hands-on activities that make big ideas feel simple and fun. Today, I’m sharing a fun brain hat activity for kids from our Neuroscience Family Unit Study that helps kids explore the brain in a creative, memorable way.
In this activity, children will build their very own Brain Hat, learning about the different parts of the brain as they go. It’s easy to set up, engaging for all ages, and a wonderful way to spark curiosity—no worksheets required!
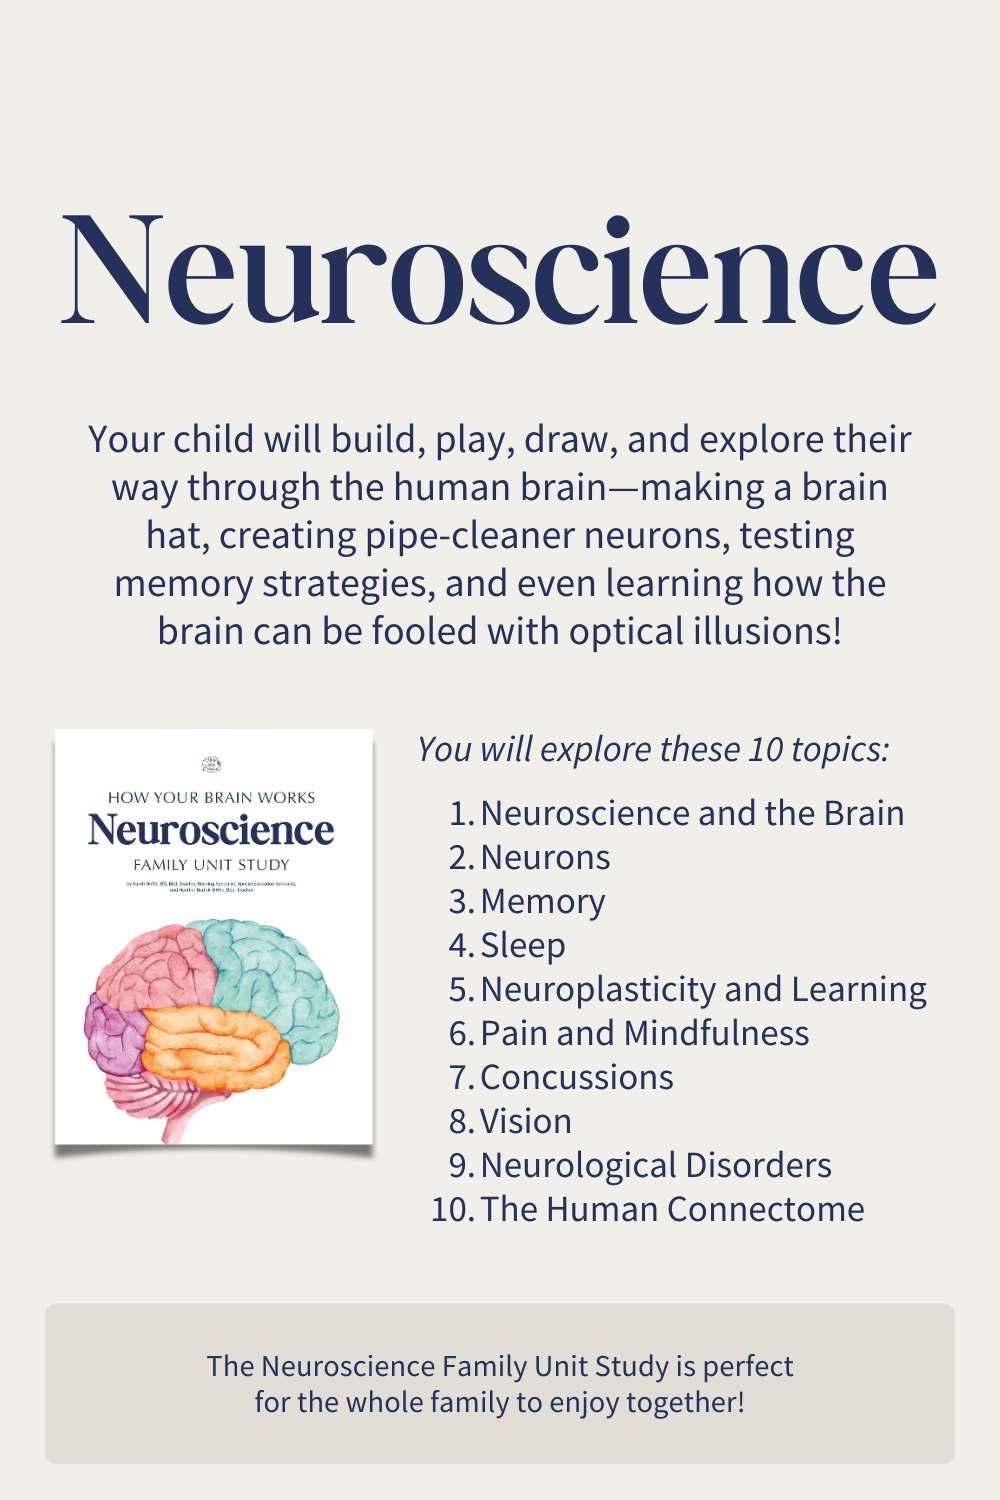
This activity fits into our exploration of how the brain works, where we break down big ideas into simple, kid-friendly learning moments. You can check out the complete Neuroscience Family Unit Study in the How Wee Learn Shop.

Build a Brain Hat (Hands-On Neuroscience for Kids!)
Did you know that each and every one of our Family Unit Studies includes: Geography, History, Science, Social Studies, Music, Art, Health, Literacy, and Math?
It’s true! You can feel so good knowing your children are learning across all subject areas in a way that feels natural, engaging, and – most importantly – fun!
The activity I’m sharing with you today leans into science, with a creative twist. This brain hat activity for kids is hands-on, simple to set up, and such a fun way for kids to begin to understand how their amazing brains work. Instead of just talking about the brain, they get to build it, label it, and actually see how all the parts fit together.
Let’s get started! Enter your email address below to grab your free Brain Hat Activity and enjoy this playful introduction to neuroscience.
Time to Build Your Brain!
Start by printing your Brain Hat template and gathering your materials: scissors, tape, and something to color with, like markers or pencil crayons.


Color and label each part of the brain, giving each lobe a different color. This is a great time to chat about what each part does as they work, keeping it light and age-appropriate.
Once everything is colored, take a few minutes to explore the brain together. You can use the reference provided (or your own resources) to learn a few simple facts about each lobe, then jot down one or two interesting things on the brain map.
Next, carefully cut out each piece of the brain along the outer, solid lines.

Assemble the hat by sliding the cut sections until the solid line meets the dashed line and tape to secure.
Then bring the right and left sides of the brain together, matching up the tabs and taping them so everything stays in place.
To finish it off, attach the cerebellum and brainstem to the back bottom edge of the hat. This is when it really starts to look like a brain!

And there you have it—your very own Brain Hat!
I just know your kiddos will love this creative and hands-on brain hat activity for kids as much as mine did! It’s playful, memorable, and such a fun way to introduce big ideas in a way that really sticks. We loved talking about each part of the brain, seeing how it all fits together, and of course, wearing our creations at the end!

If exploring the brain in a fun, hands-on way sounds like something your family would enjoy, be sure to check out the full Neuroscience Family Unit Study. You can find more details and a sample in the How Wee Learn Shop.
Neuroscience Family Unit Study
Grab the Neuroscience Family Unit Study in the How Wee Learn Shop:
https://shop.howweelearn.com/products/family-unit-study-neuroscience
 |
 |
Thanks so much for reading, friend!
xo Sarah

Leave a Reply