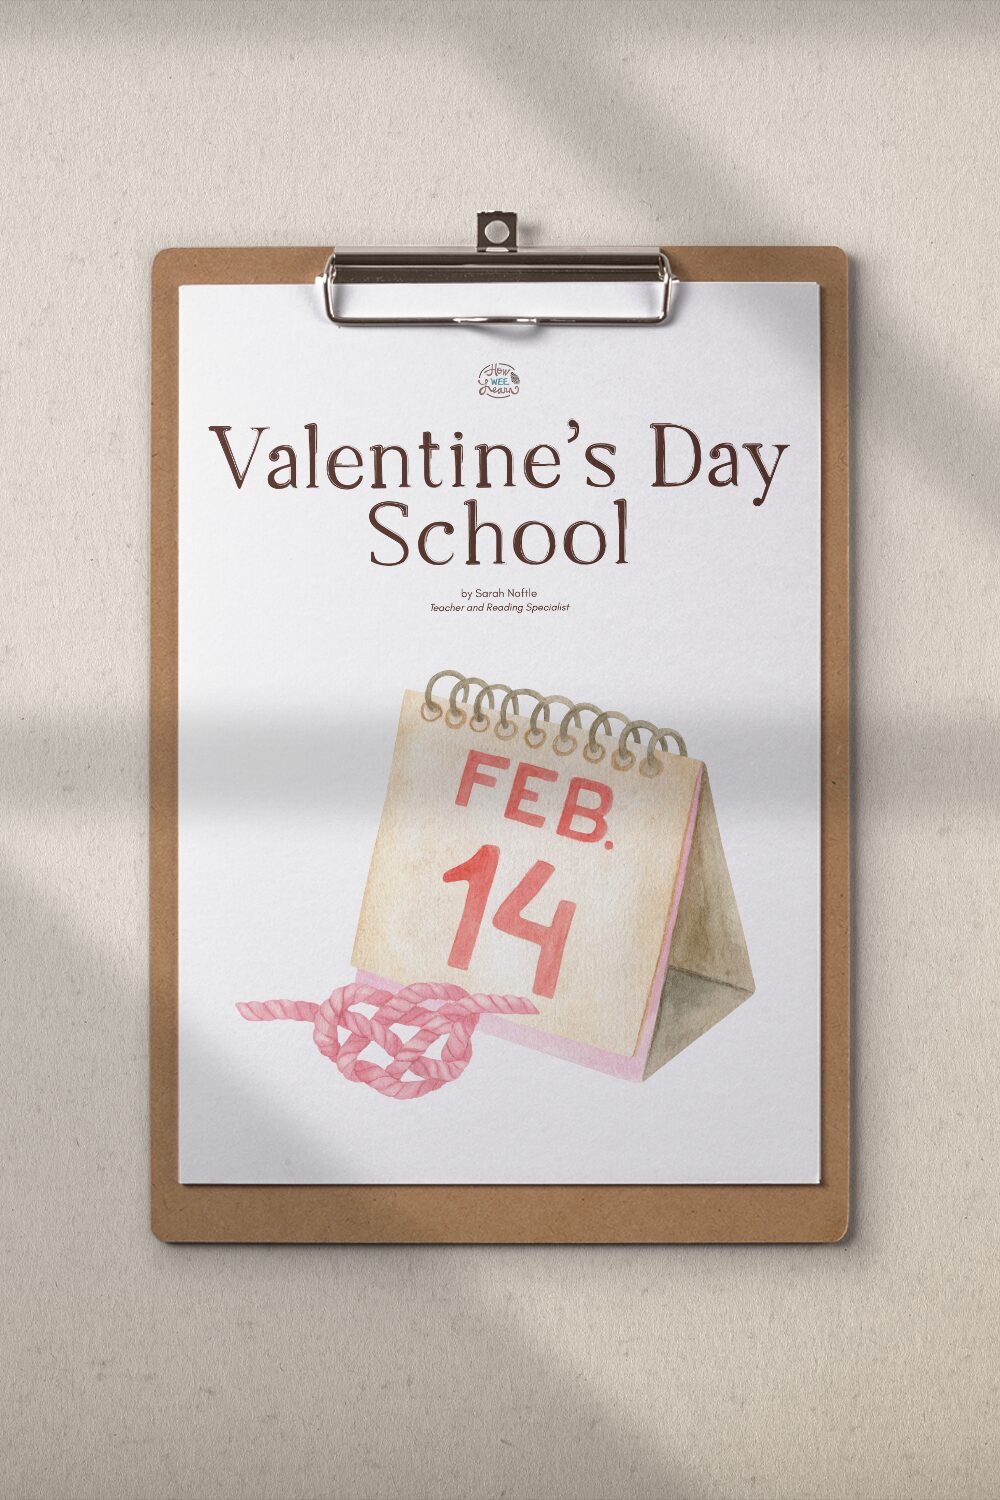
Guess what we just started in our homeschool?! Valentine’s Day School! Didn’t really give you a second to guess there, did I? I’m just so excited about this one! Valentine’s Day School is filled with so many beautiful, fun, and fascinating activities.
Today, I’m going to share with you one of the hands-on activities from Valentine’s Day School—how to make your very own scratch off cards. These DIY Valentine’s Day Cards are just as fun to make as they are to receive!
DIY Valentine’s Day Cards
Materials
Let’s make a special scratch-off Valentine’s Day card! To your cards, you will need:
- Construction paper or cardstock
- Scissors
- Acrylic paint
- Dish soap
- Paintbrush or foam brush
- Glue or double-sided tape
- Hairdryer (optional!)
You can also grab these FREE Printable Valentine’s Day Cards and step-by-step instructions for making your scratch off cards below. The cards will be emailed to you instantly, and you’ll be brought to the How Wee Learn shop so you can take a closer look at Valentine’s Day School. Get yours here:
How to Make DIY Scratch Off Cards
Making these scratch off cards is surprisingly easy (with a few little tips that I’ll share with you). Here’s how we made ours:
Step 1: Prep Your DIY Valentine’s Day Cards
First, we cut out the Valentine’s Day card templates and the shape included below the card.
Next, we wrote special messages in the shape. This is what will be revealed when the card is eventually “scratched off.”
After you write your message, cover the shape with clear packing tape and trim away the excess tape.
A couple little tips for this stage:
We ended up trimming after applying the scratch off paint. While this made the pieces easier to paint, cutting the shapes out afterward was a bit tricky! Silly me thought that we would be able to see the shape through the back of the paper, but if you use a thicker cardstock, you likely won’t be able to.
If your shape doesn’t have a clear up/down/left/right (like our “Be Mine” circle), make a little mark on the back so you know which direction to place it on your card. While we couldn’t see the shape through the reverse of the paper, luckily we COULD see the Sharpie message. We were able to position our messages the correct way by looking at that.
Step 2: Make Your DIY Scratch Off Paint
Now it’s time to paint on your scratch off paint! To make your paint, mix together 2 parts acrylic paint and 1 part dish soap, stirring gently so you don’t create too many bubbles.
Paint over the packing tape covered shape with your scratch off paint. This first layer will be very thin, but don’t worry! Subsequent layers stick to each other and cover more thoroughly. You’ll likely need 3 or 4 coats of paint to fully cover your scratch card.
A couple more little tips for this stage:
If you don’t feel like waiting between coats, pull out the hair dryer! If you do a nice thin layer of paint, the hair dryer will have it dry and ready for the next coat in no time.
We started by trying to “paint within the lines” but decided it was easier to make a nice thin layer by applying broad paint strokes over the whole card. If you choose to do that, just remember that you may not be able to tell where the edges of your shape are!
Step 3: Assemble Your Scratch Off Valentine’s Day Card
Once your scratch off piece is fully covered and dry, attach it to the card with a bit of glue or double-sided tape.
Don’t forget to write who the card is for on the back and sign your name! Then you can give your Valentine’s Day card to that special someone.
I hope you enjoyed making these DIY Scratch Off Valentine’s Day Cards with your little ones! If you want even more fun, hands-on activities to learn and make memories together this season of love, I invite you to check out Valentine’s Day School.
Get in the lovey-dovey spirit and join us!
https://shop.howweelearn.com/products/valentines-day-school
 |
 |
 |
Thank you so much for reading, sweet friend!
xo
Sarah




Leave a Reply