If you’re reading this, I’m sure you’ve seen a few DIY sensory wall ideas for toddlers already. There are some absolutely fantastic ideas out there! As I was sifting them all a couple of years back, looking to make a little sensory wall for my own toddler, I realized something…
These ideas were all going to take a LOT of time and a LOT of money—and that was definitely not what I was looking for.
Then I realized something else…
Our favorite activities are ones where the kids are involved in the process, from start to finish—where the “setup” is just as fun as the play that results at the end.
And so, I decided that we would make a simple DIY sensory wall together. One that my little one would enjoy making just as much as she would enjoy playing with it afterward.
It was a hit! So much so, that I included this activity in my toddler program, Playful Days. In Playful Days, there is one activity a day for you to enjoy with your little one, giving a gentle structure to your days and weeks:
- Mondays are Sensory Exploration,
- Tuesdays are Fine Motor Skills,
- Wednesdays, you enjoy some big play with Gross Motor Skills,
- Thursdays are Language Development,
- and on Fridays, your little one enjoys a Scavenger Hunt or some Imaginative Play.
So, where does this DIY Sensory Wall land in the week? It actually pulls learning from Monday, Tuesday, Thursday, and Friday!
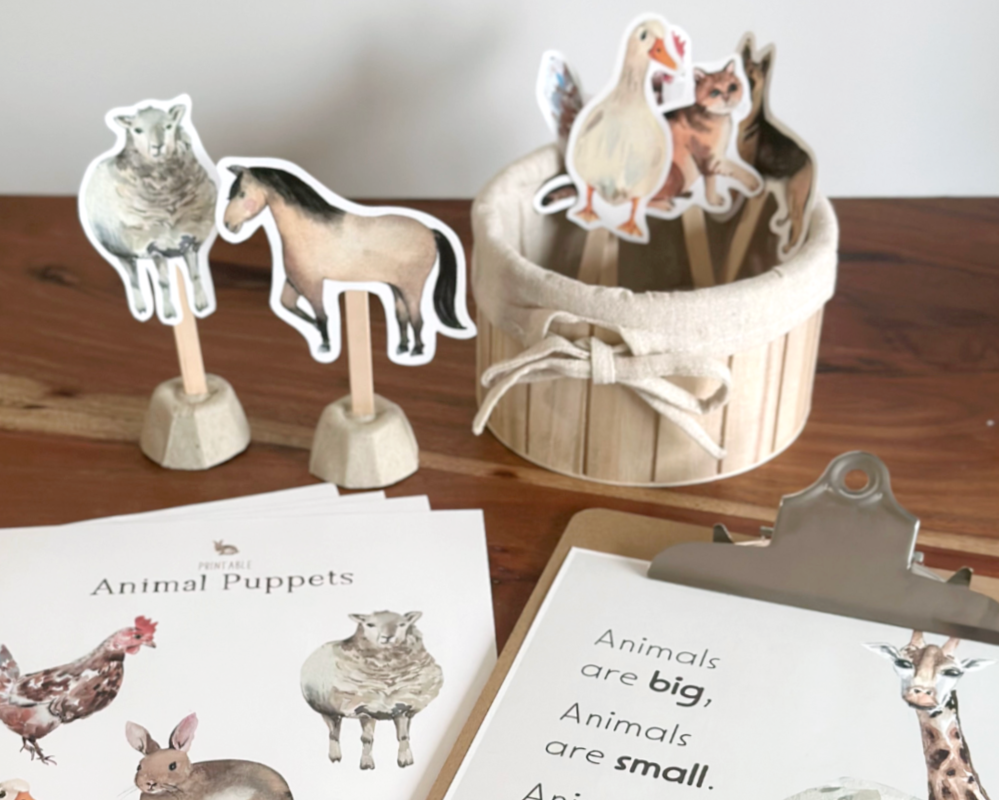
Before we get into all the details, you’ll also want to grab these FREE Farm Animal Stick Puppets, also from Playful Days. There are so many fun ways to use them (I have a bunch of ideas for you at the bottom of this blog post). Grab yours right here:
Easy DIY Sensory Wall for Toddlers
Alright, let’s dive right in! Here’s how to make your sensory wall with your toddler:
Supplies
For this craft, you will need:
- contact paper or sticky shelf liner
- painter’s tape
- permanent marker (optional)
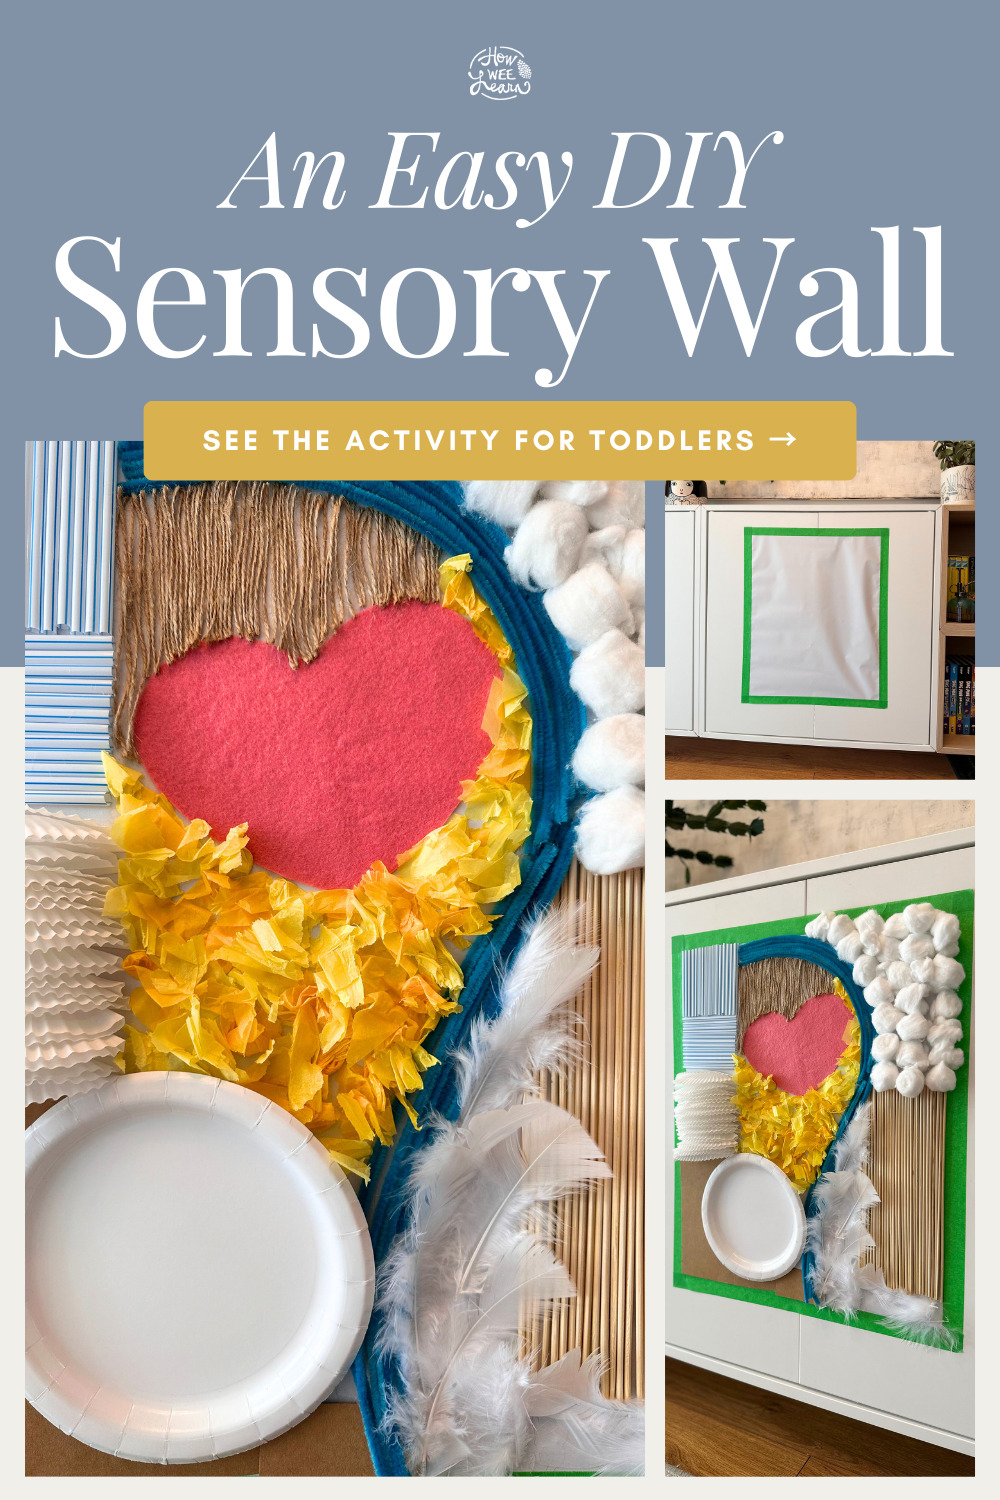
Plus, an assortment of materials to stick to your sensory wall, such as:
- pipe cleaners
- straws
- cupcake liners
- tissue paper
- felt
- cardboard
- paper plate
- cotton balls
- feathers
- pompoms
- sandpaper
- popsicle sticks
- buttons
Nearly any light craft supply would work!
Directions
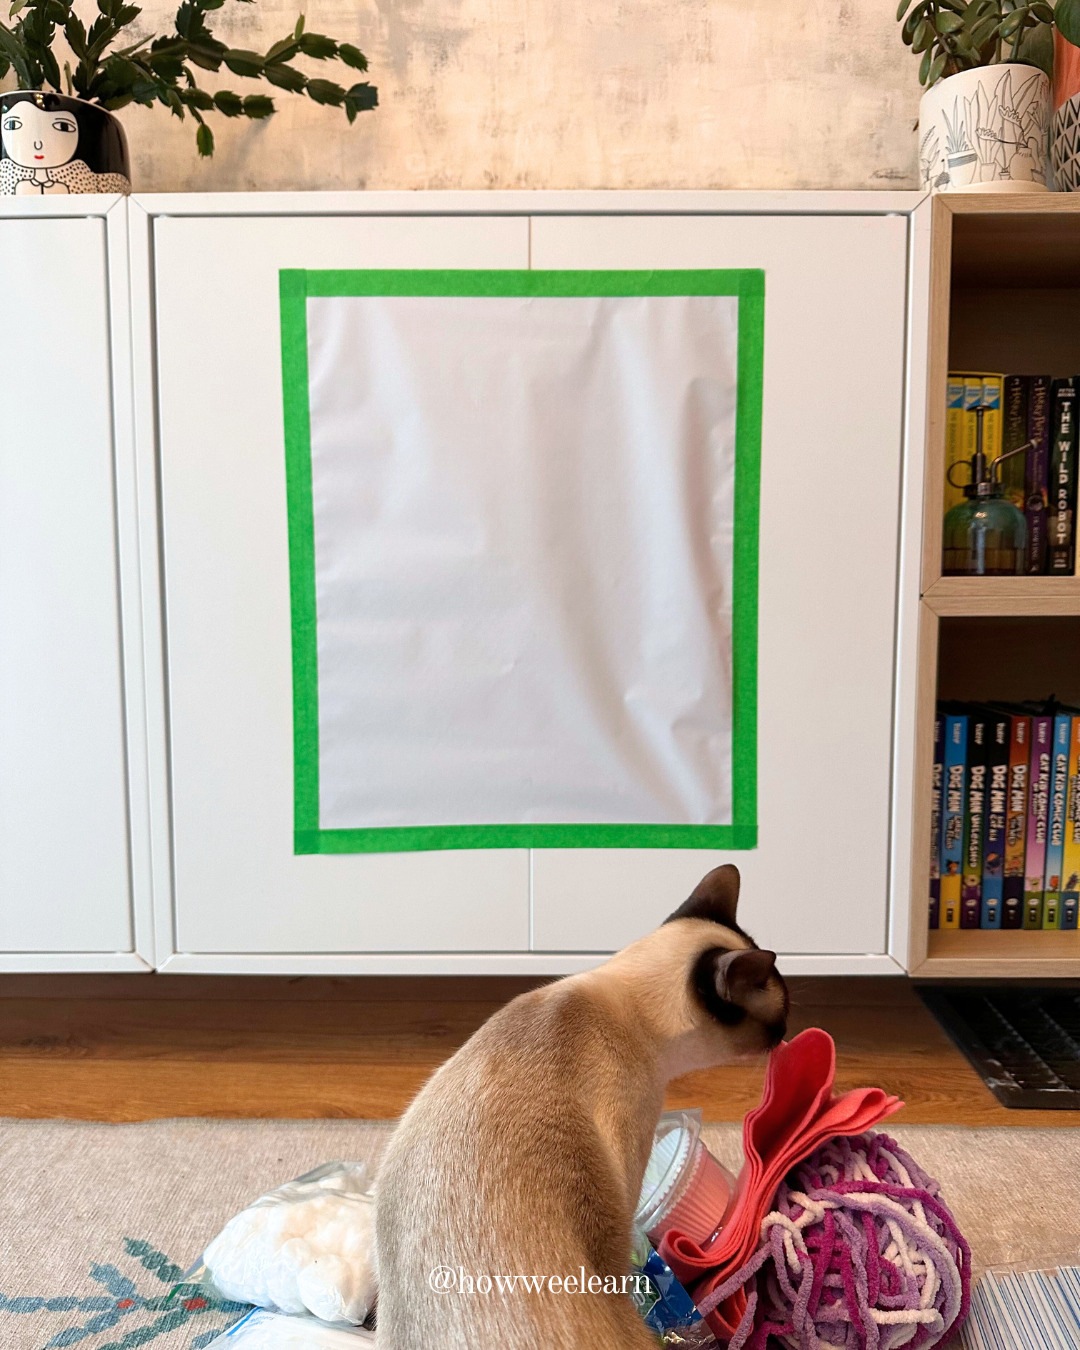
Secure the contact paper to the wall, sticky side out.
To start, secure a piece of contact paper, sticky side out, to the wall (or a cabinet) with some painter’s tape. Your toddler can be a helper at this stage, handing you materials as you need them.
And if you have a cat, perhaps put them in another room… as they will be most curious about what you are doing and want to play with every last material!
Once you have the contact paper secured, it’s time for the fun part!
Stick Materials to Your Sensory Wall!
Working with one material at a time, have your toddler stick them to the contact paper. If you’d like, you can draw some large shapes on the contact paper to encourage your toddler to fill each shape with a different material.
As your little one starts to fill their sensory wall, chat about the various textures of the materials:
- “Wow, those cotton balls are so soft and fluffy!”
- “Oh my, that sandpaper is very rough.”
You can also chat about the sounds that the materials make:
- Which material makes the most noise when you touch it?
- Are any materials so quiet you can’t hear anything when you touch them?
- What happens when you run your finger down the folded cupcake liners?
You might also expand your little one’s vocabulary by talking about:
- The colors that they use on the sensory wall
- The shapes of the materials, or the shapes that they create on the wall
- The types of lines being made—curvy, straight, and zig-zag lines
I’m sure you can see at this point that SO much learning is happening as your toddler creates their own sensory wall. In addition to a lovely sensory experience, they will work on their fine motor skills, expand their vocabulary, and flex their creativity!
And Play with the Sensory Wall!
When your sensory wall is completely filled, give a big high five to your toddler—they made their very own sensory wall! And now, they get to play and explore even more.
Be sure to supervise your toddler as you would with any small parts. This is a wonderful setup to stick on a wall in your kitchen so your little one can play as you prep dinner.
And there you have it! An easy DIY sensory wall to create with your little one, all while strengthening fine motor skills, building language skills, and enjoying a lovely sensory experience.
I hope you and your little one love it!
xo
Sarah
You will find activities like this and so much more in my Playful Days Toddler Program.
Take a peek at Playful Days right here:
https://shop.howweelearn.com/pages/playful-days
 |
 |
 |



Leave a Reply