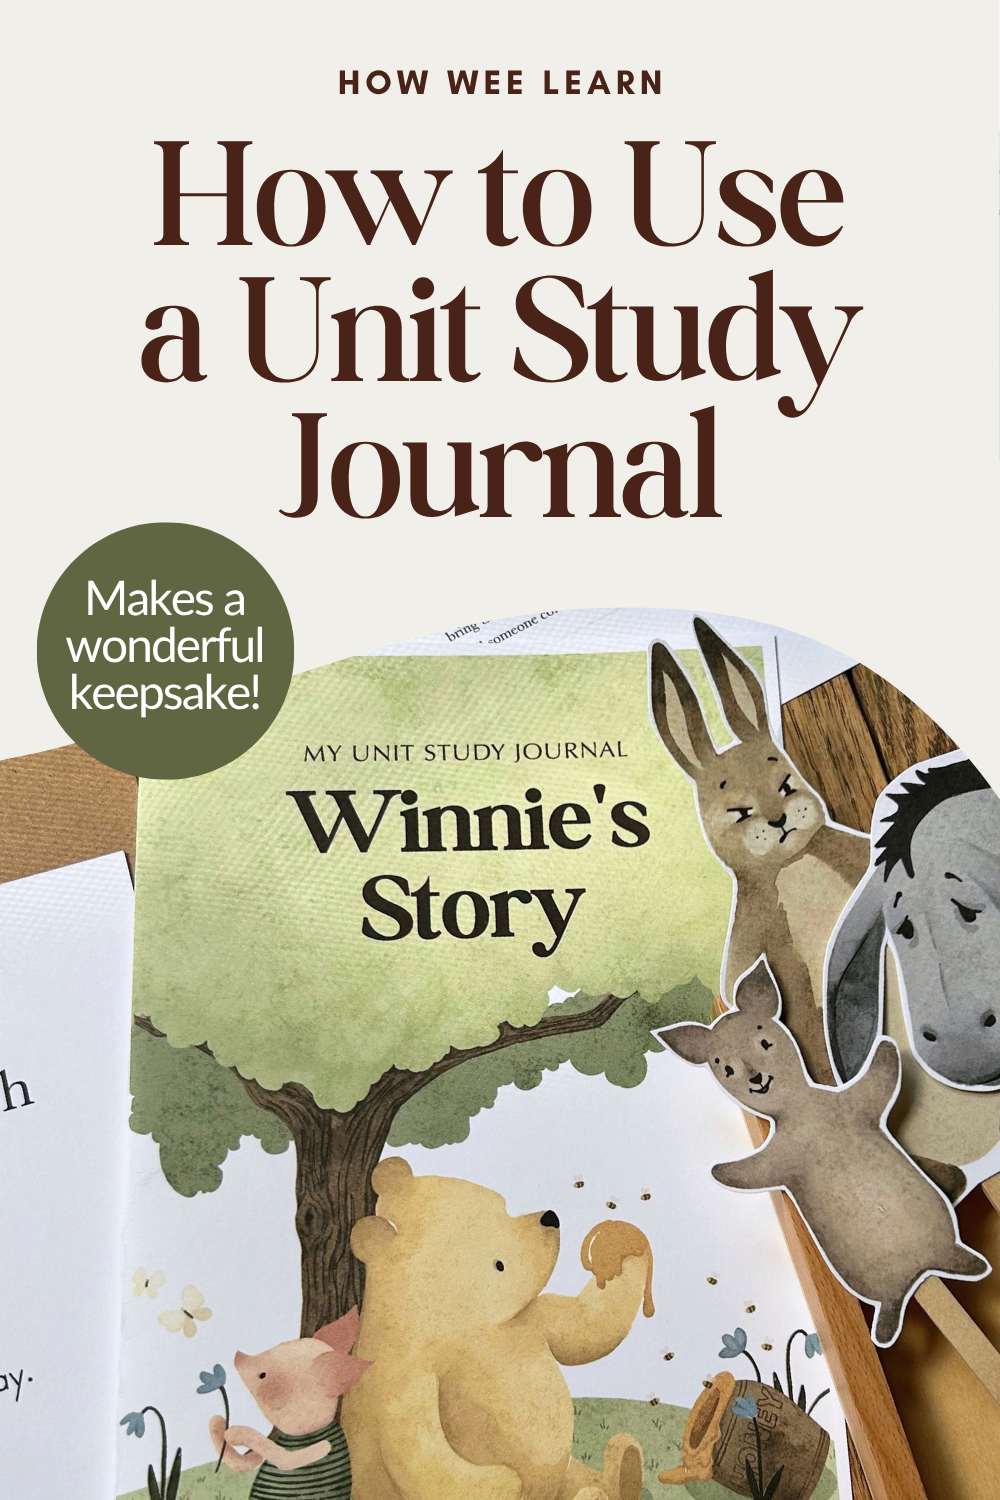
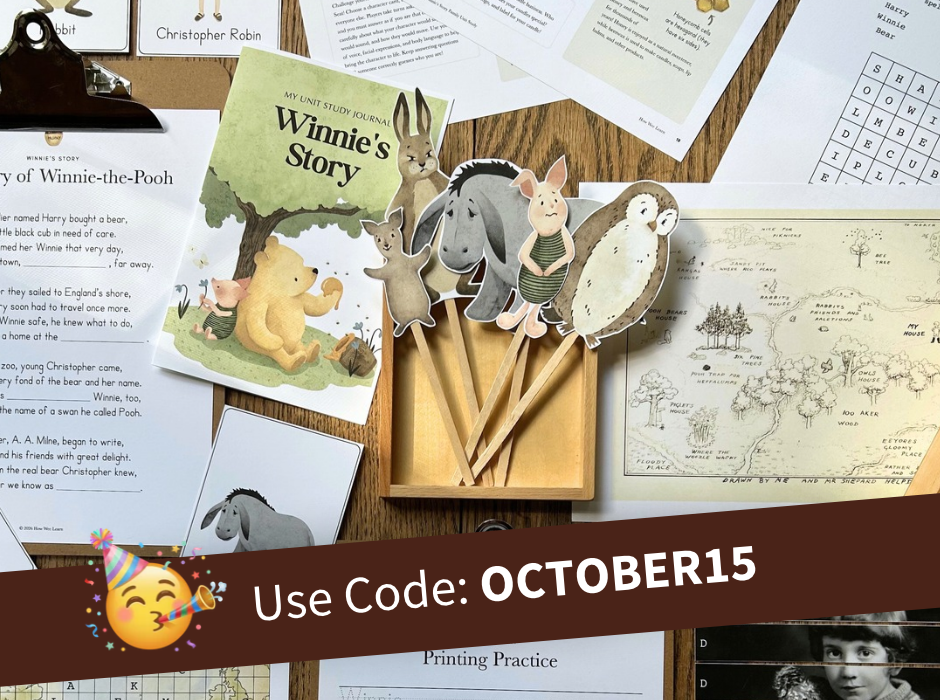
One of my favorite parts of our Family Unit Studies is the unit study journal included with each one. It gives your child a place to record interesting facts, draw pictures, ask new questions, and share what stood out to them along the way.
The journal is meant to be used throughout the unit study, with one entry completed after each of the ten topics. By the end, your child will have a special keepsake filled with everything they learned. And because every child records their learning differently, no two journals will look quite the same!
Today, I’m going to show you exactly how to assemble your Family Unit Study Journal, along with a few ideas for using it with children of different ages.
Why Use a Unit Study Journal?
Talking about a new topic is such an important part of learning. After completing each lesson in your Family Unit Study, take a few minutes to chat with your child about it.
You might ask:
- What was the most interesting thing you learned?
- Was there anything that surprised you?
- What was your favorite part of the topic?
- Is there something you would like to learn more about?
- What picture could you draw to represent this topic?
Your child can use the journal to record some of these thoughts through pictures, words, sentences, or paragraphs. Younger children can draw a picture and tell you about it, while older children may want to research a question further or add extra facts independently.
There is no right or wrong way to fill the pages. The journal can be as simple or as detailed as your child would like!
Supplies for Your Family Unit Study Journal
You will need:
- The printed journal cover included with your Family Unit Study
- Five sheets of plain white paper
- A ruler
- A pencil
- A darning or embroidery needle
- Embroidery thread or thin twine
- Scissors
- A piece of cardboard or a cutting mat
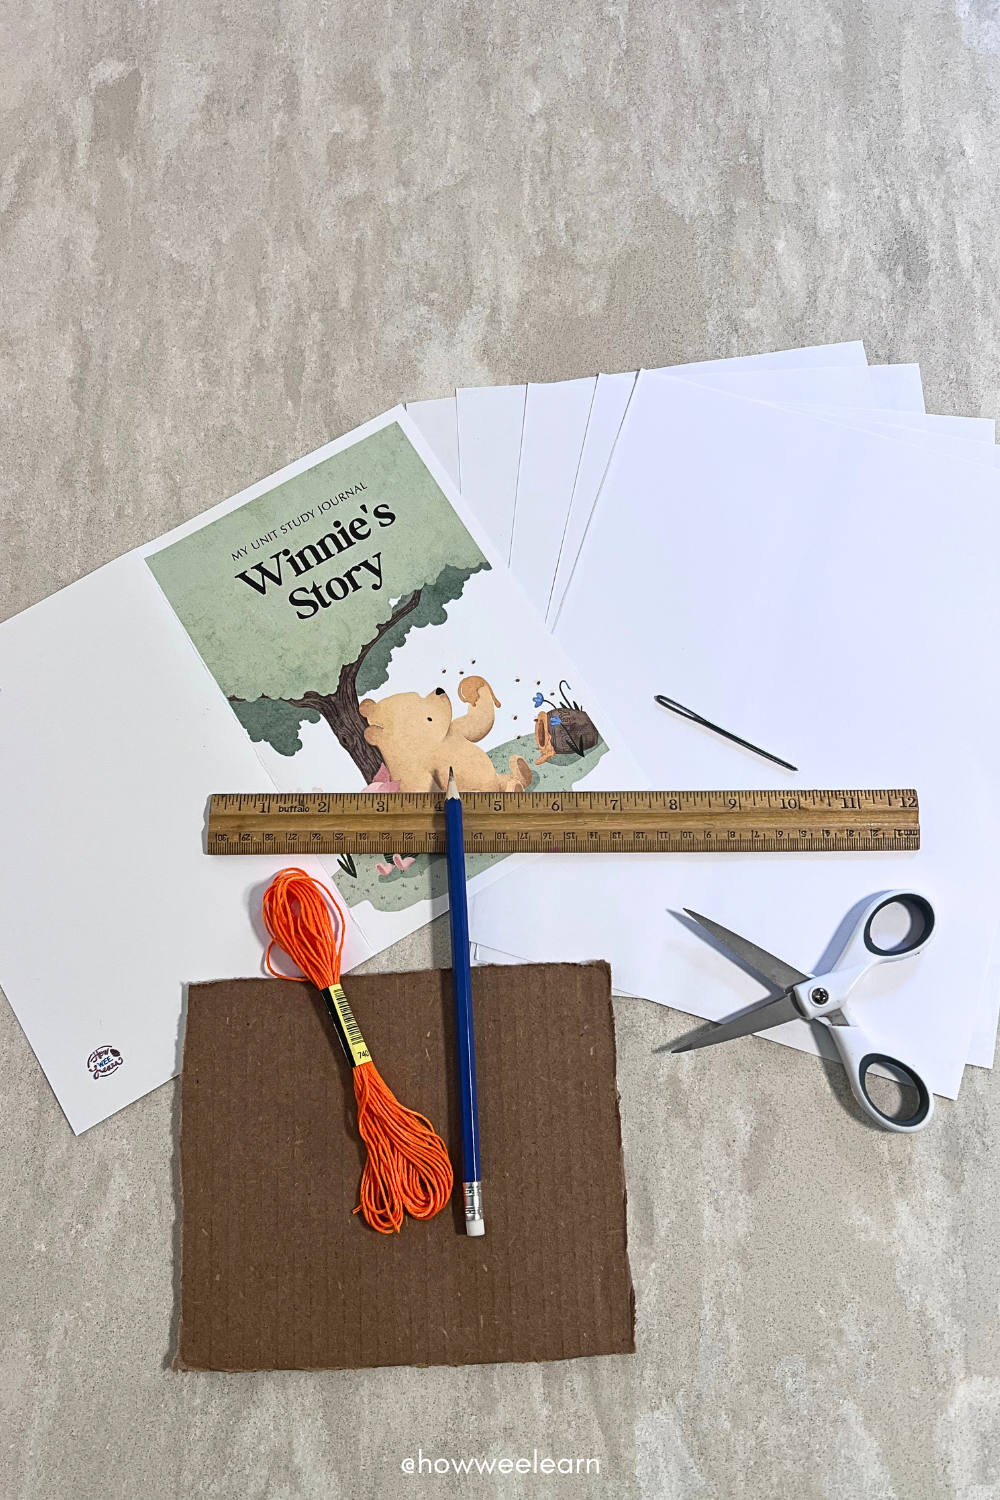

Five folded sheets of paper create ten two-page spreads inside the journal – one for each topic in the Family Unit Study.
A grown-up should complete or closely supervise the steps involving the needle and scissors.
How to Assemble Your Unit Study Journal
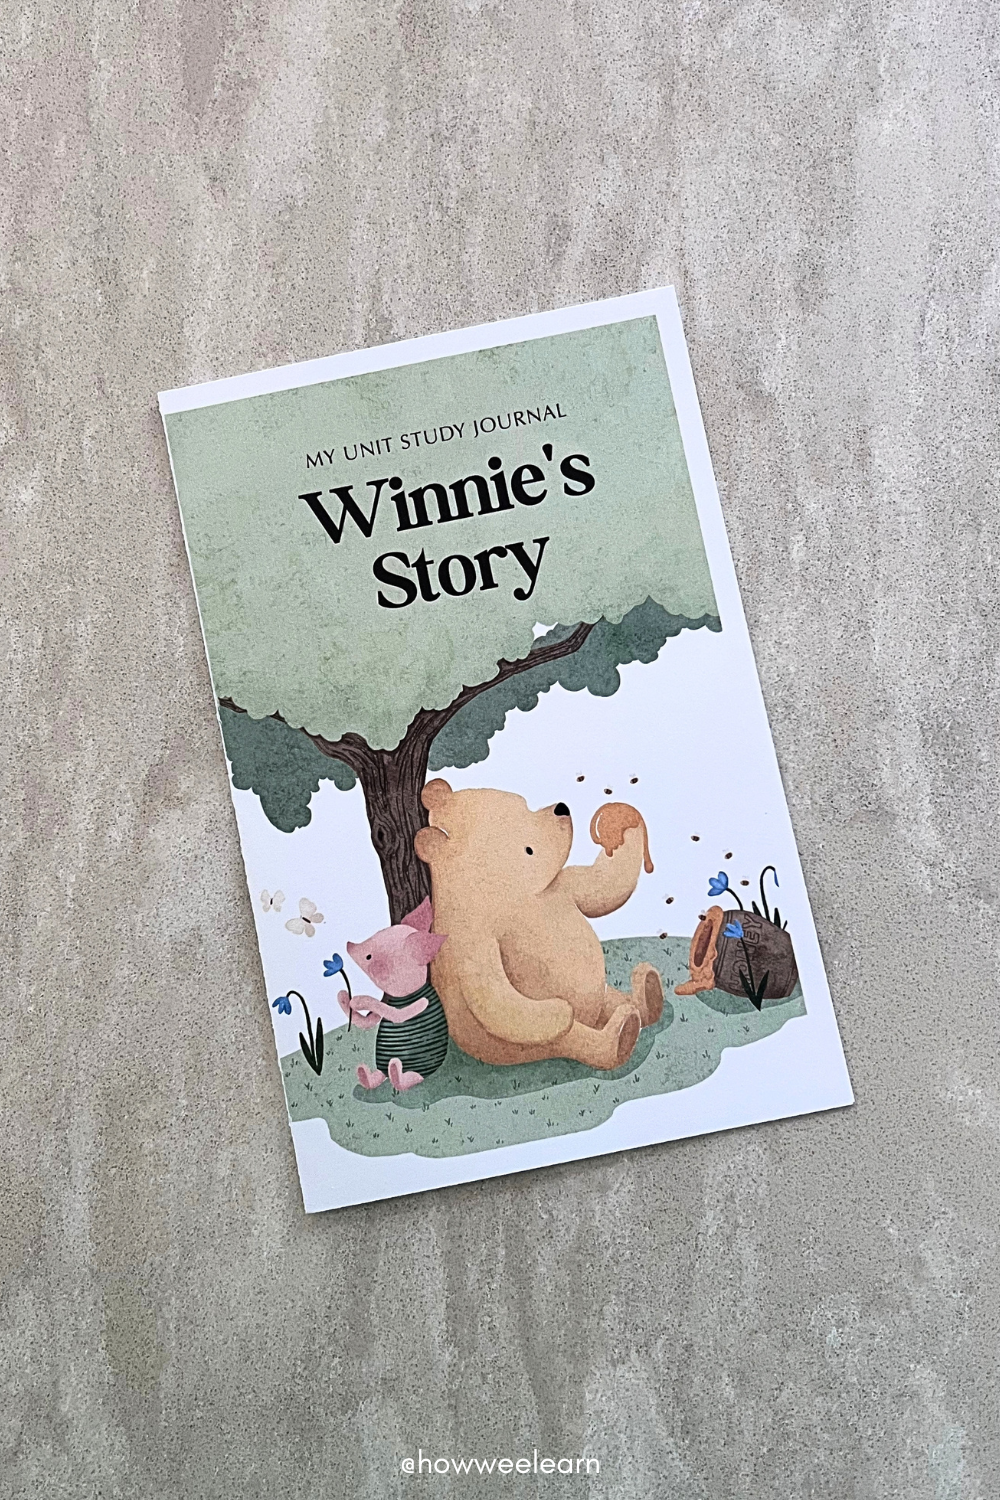
Step 1: Fold the Cover
Fold the printed journal cover in half, with the design facing outward. Line up the edges carefully and press firmly along the fold to create a crisp crease.
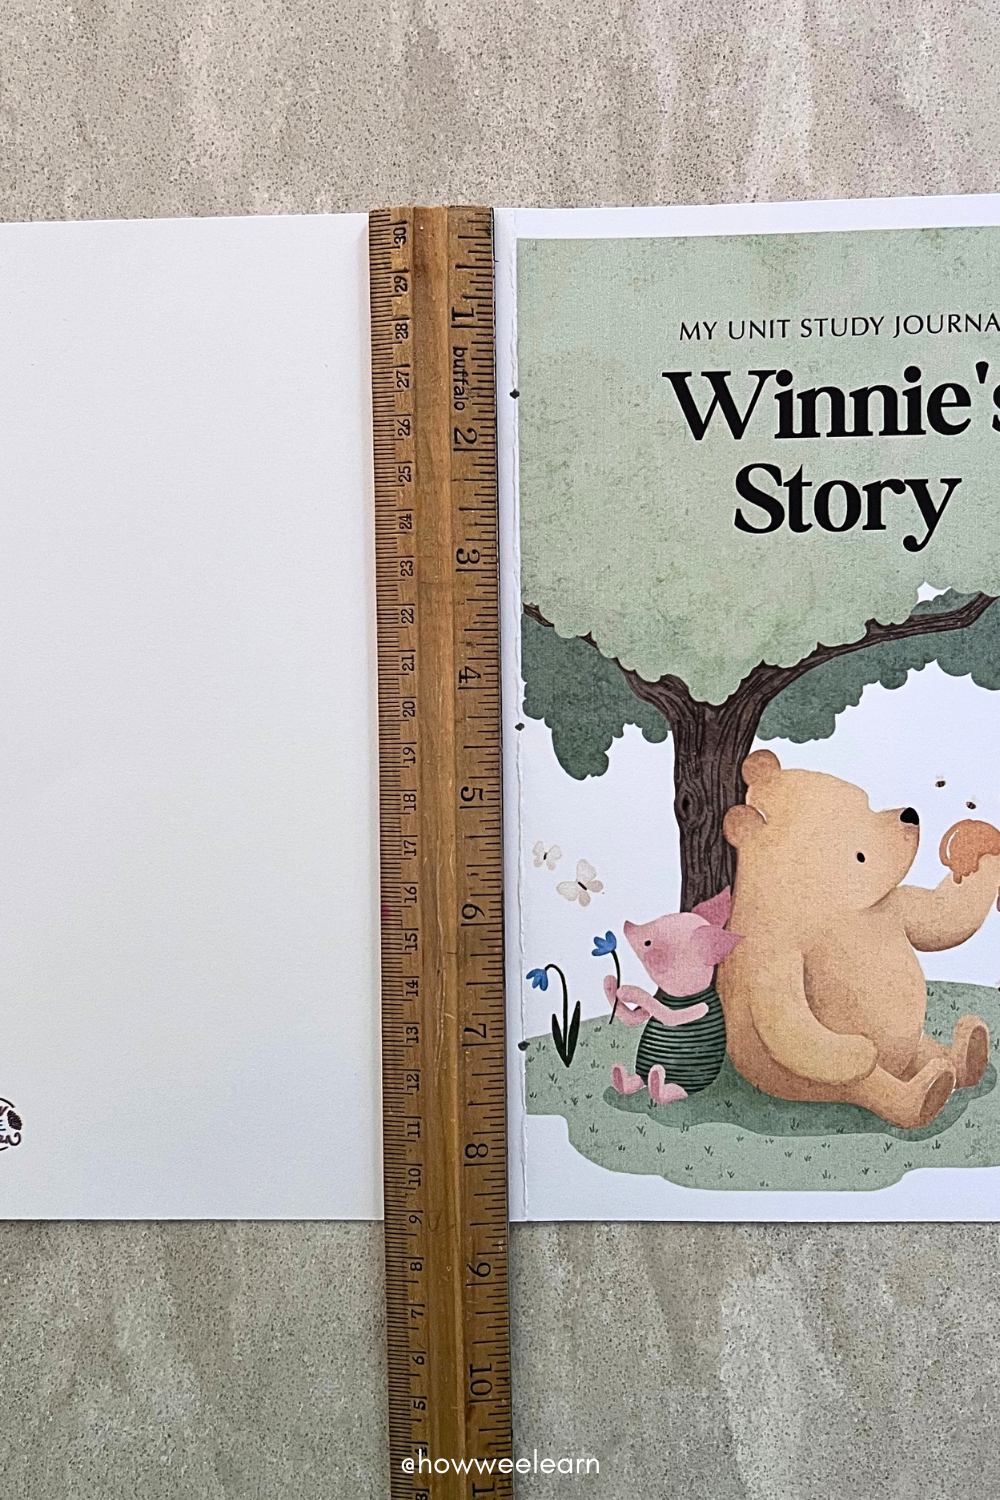
Step 2: Mark Three Holes
Open the cover and lay it flat with the outside facing upward. Using a ruler and pencil, mark three small dots directly along the center crease:
- One approximately 1.5″ (4 cm) from the top
- One approximately 1.5″ (4 cm) from the bottom
- One halfway between the first two dots
These marks will show you where to make the holes for binding the journal.
Step 3: Add the Journal Pages
Stack five sheets of plain white paper together, making sure all the edges are lined up. Place the open journal cover on top and carefully line up the edges again. You should see your three dots on top.
Fold the entire stack in half temporarily to check that everything is centered, and then open it flat before making the holes.
Step 4: Make the Holes
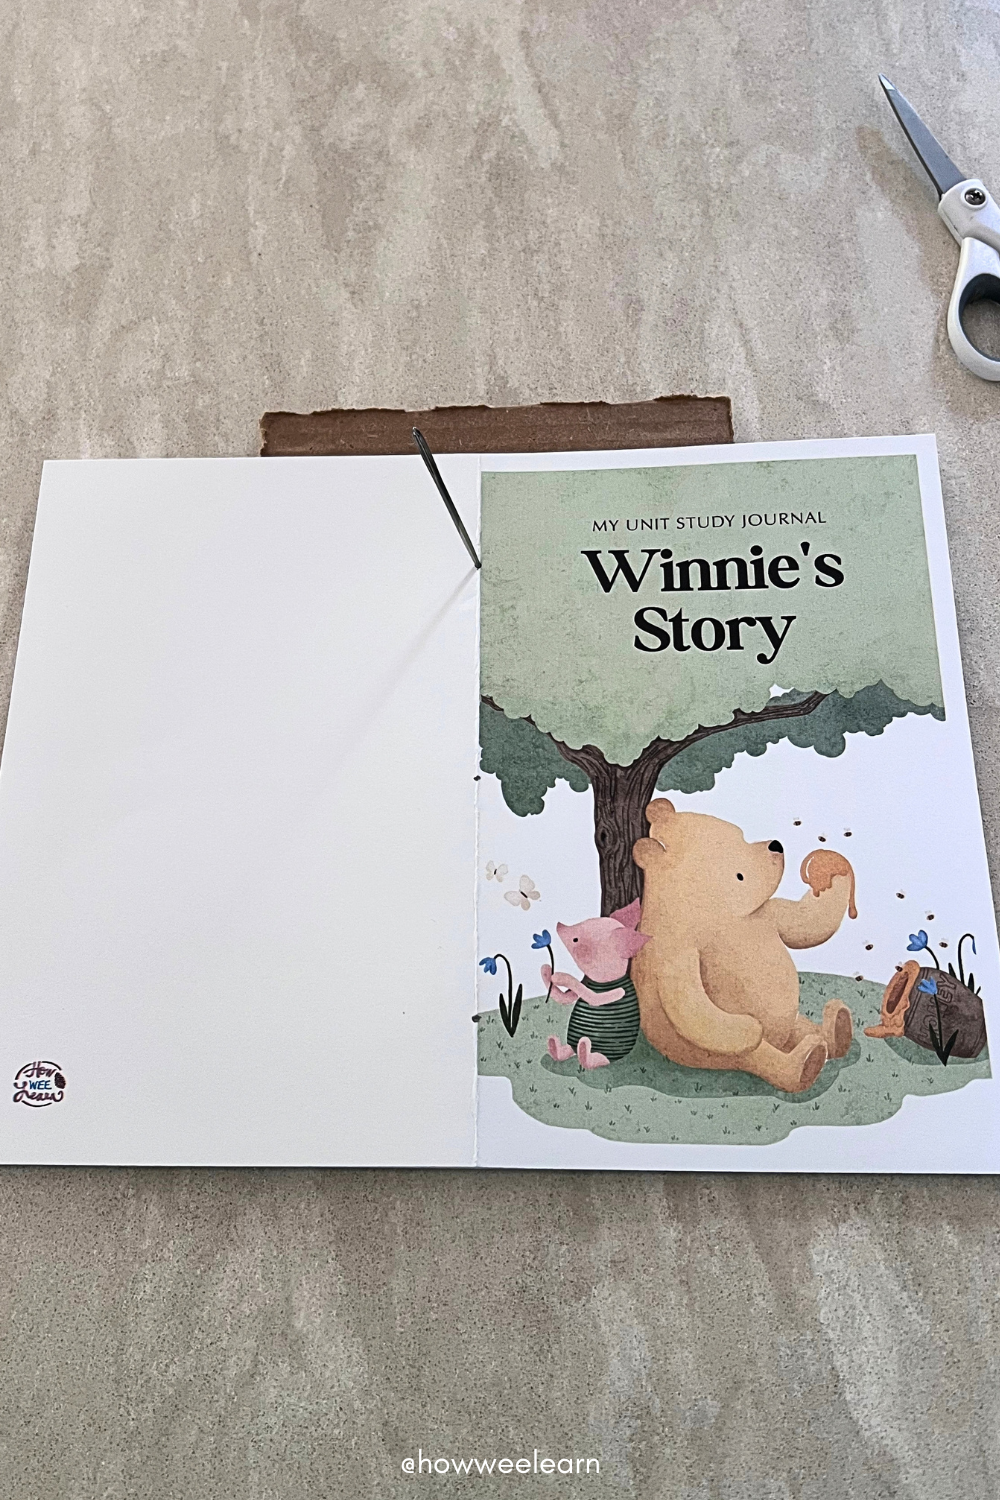
Place the journal on a protected work surface, such as a piece of thick cardboard or a cutting mat.
Using a darning or embroidery needle, carefully poke through the cover and all five sheets of paper at each of the three marked dots. Wiggle the needle slightly if needed until the holes are large enough for the thread to pass through.
Make sure the pages stay lined up as you work.
Step 5: Thread the Needle
Cut a length of embroidery thread or thin twine (4 times the length of the journal gives you lots to work with!). You will want enough to weave through all three holes, wrap around the top and bottom edges, and tie securely at the end.
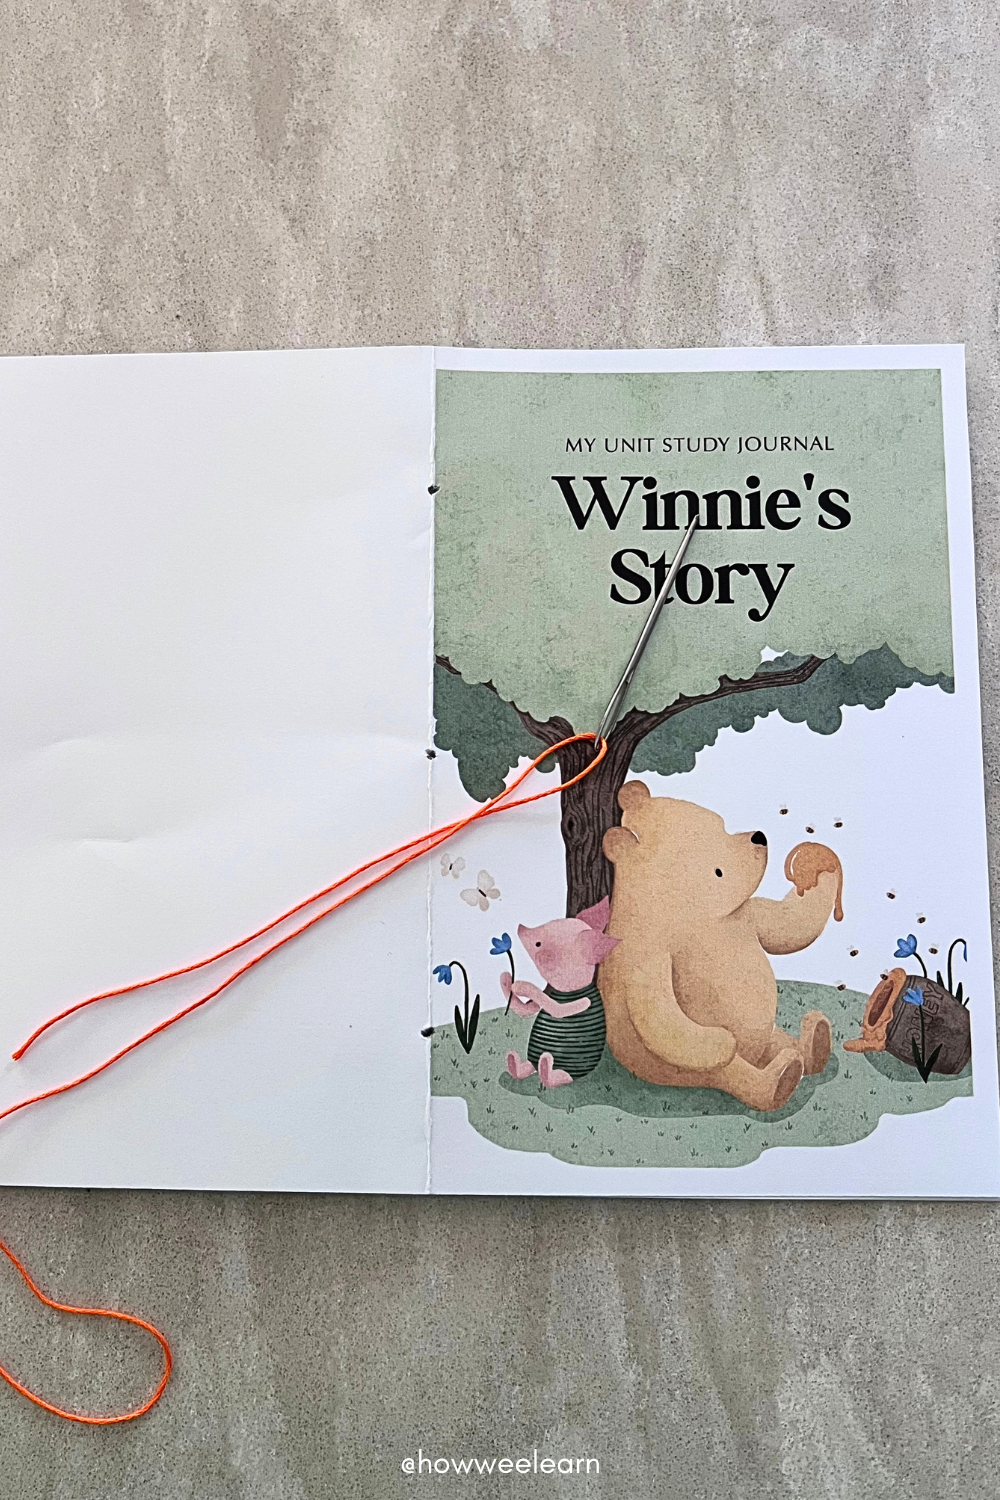
Thread one end through your needle. You do not need to tie a knot yet.
Step 6: Bind the Journal
There are a few different ways to bind a three-hole journal, but this is the method we like to use:
- Push the needle in through the middle hole.
- Bring it out through the top hole.
- Wrap the thread over the top edge of the journal and bring it back out through the top hole.
- Push the needle in through the middle hole.
- Bring it out through the bottom hole.
- Wrap the thread over the bottom edge of the journal and bring it back out through the bottom hole.
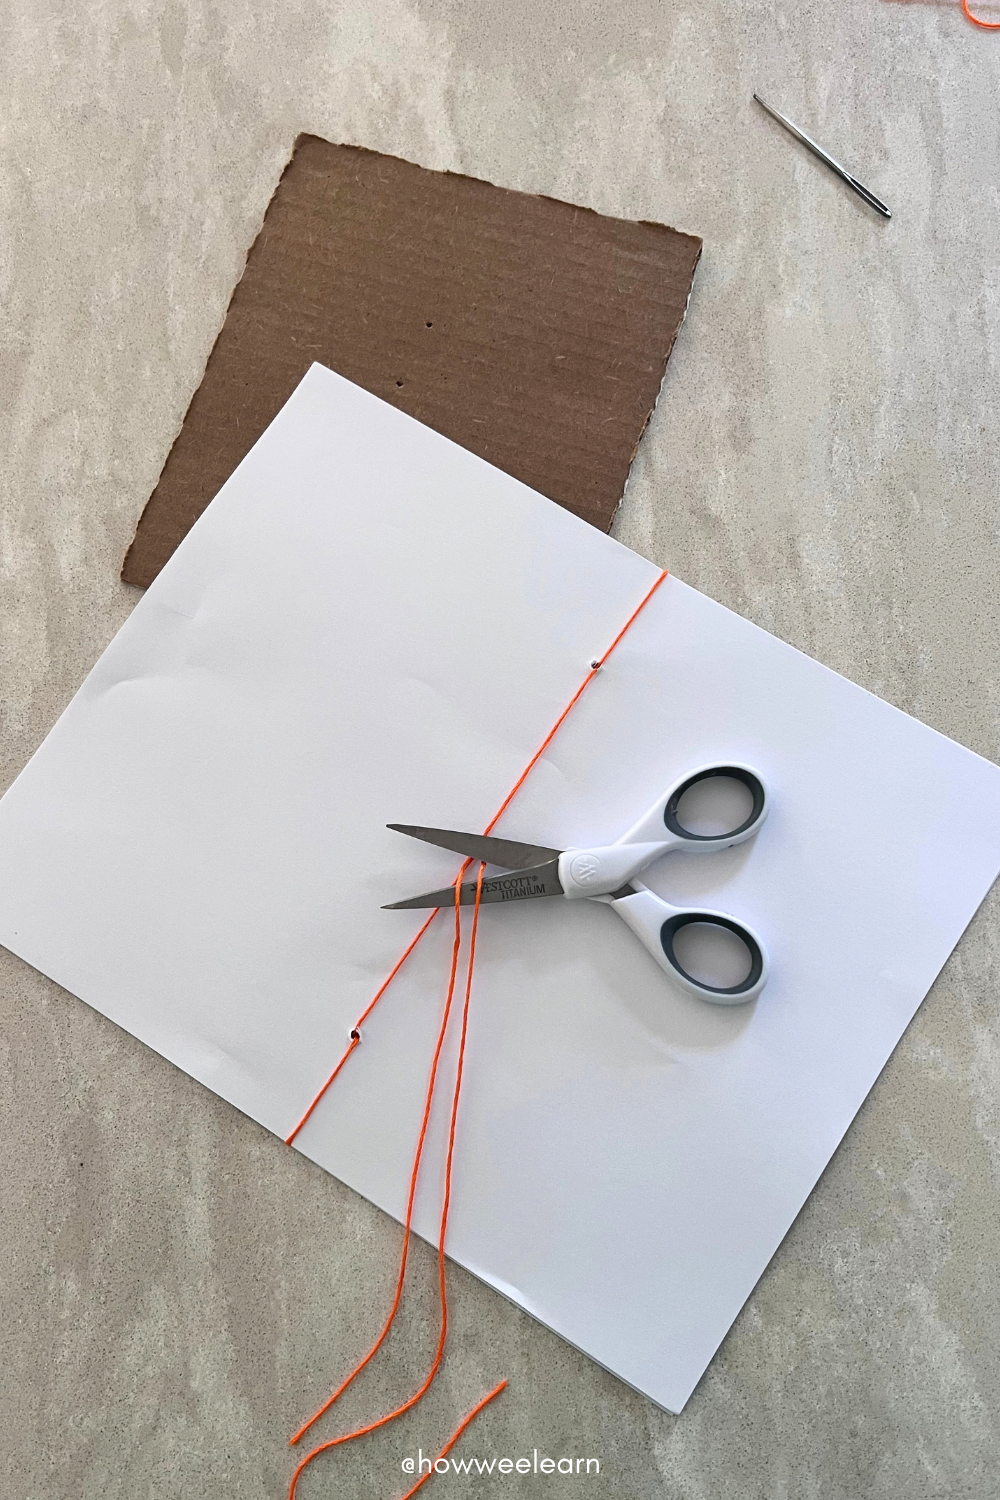
- Bring the loose ends toward the center and tie them together in a secure knot as close to the middle hole as possible.
- Trim away any excess thread.
As you sew, pull the thread snug enough to hold the pages together, but not so tightly that the paper bends or tears.
Step 7: Fold and Finish
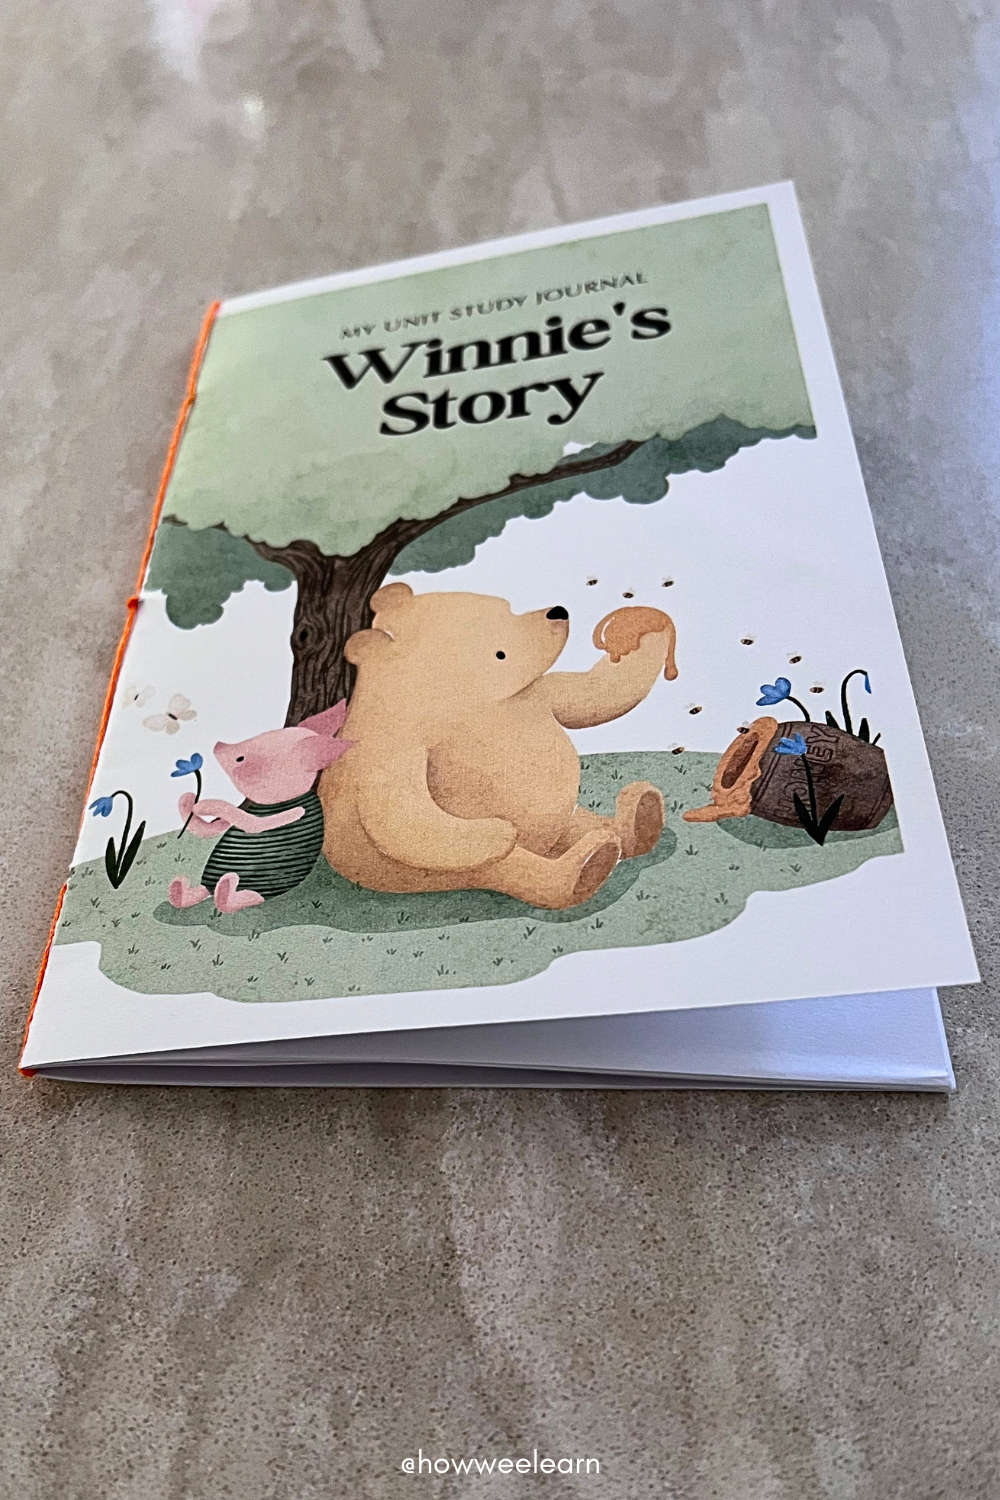
Fold the journal closed and press firmly along the spine. Check that the pages are secure and trim any uneven edges if needed.
How to Use the Journal with Different Ages and Stages
The journal can grow right along with your child! Choose the approach that fits their current abilities, and feel free to move between levels. Your child may write independently about one topic and prefer to draw and talk about another.
Level 1: Draw and Talk
For little ones, journaling can be as simple as drawing a picture and telling a grown-up what they learned.
Ask your child to describe their picture and share one thing they remember. After learning about bees, for example, they might draw a bee visiting a flower and say, “Bees collect nectar to make honey.” If you’d like, write their words beneath the drawing, but there is no need to turn it into a formal writing lesson.
If your child wants to help with the writing, invite them to sound out and write a word or fill in a missing first letter. For example, you could write “_ees collect nectar to make honey.” Then ask your child to say “bees,” identify the beginning sound /b/, and write the letter B.
Level 2: Add Words or a Sentence
As your child begins writing, encourage them to add a few words or labels to their pictures. They might label the parts of an animal, write the name of a place, or list two or three words related to the topic.
When they’re ready, invite them to write a complete sentence. They could share an interesting fact, describe their favorite part of the lesson, or answer a discussion question. Spelling and handwriting don’t need to be perfect at this stage. The goal is to help your child put their thoughts on paper and feel proud of what they know.
Afterward, invite them to tell you more about what they drew and wrote.
Level 3: Write a Few Sentences or a Paragraph
More confident writers may be ready to write a few sentences or a complete paragraph about each topic! They can summarize what they learned, share their opinion, explain an interesting fact, or write about something they would like to investigate further.
Encourage them to include a drawing, diagram, map, timeline, or labeled illustration when it helps them show what they know.
Even when your child writes independently, talking about the topic with a grown-up remains a valuable part of the process.
A Keepsake of Your Child’s Learning
After completing each of the ten Family Unit Study topics, set aside some time for your child to add a new entry to their journal. It doesn’t need to be lengthy or complicated. A picture, an interesting fact, and a little conversation can be more than enough!
By the end of the unit, your child will have a journal filled with memories, ideas, questions, and new knowledge – all tucked inside a book they helped create themselves.
Best of all, you’ll have a special keepsake that captures what your child learned and what interested them most along the way.
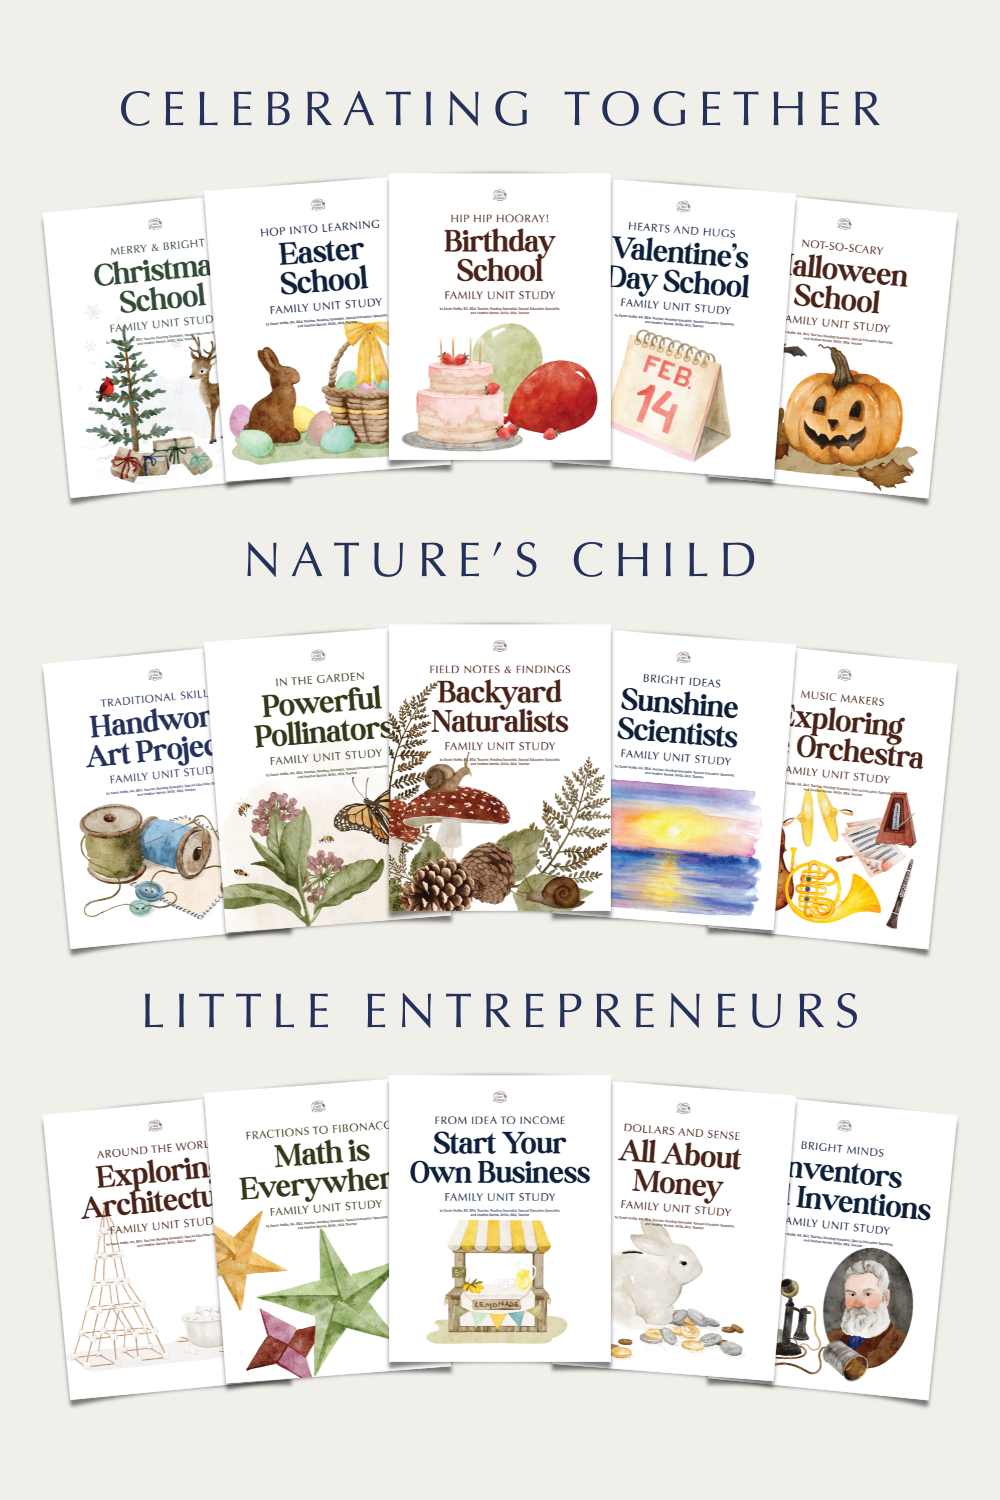
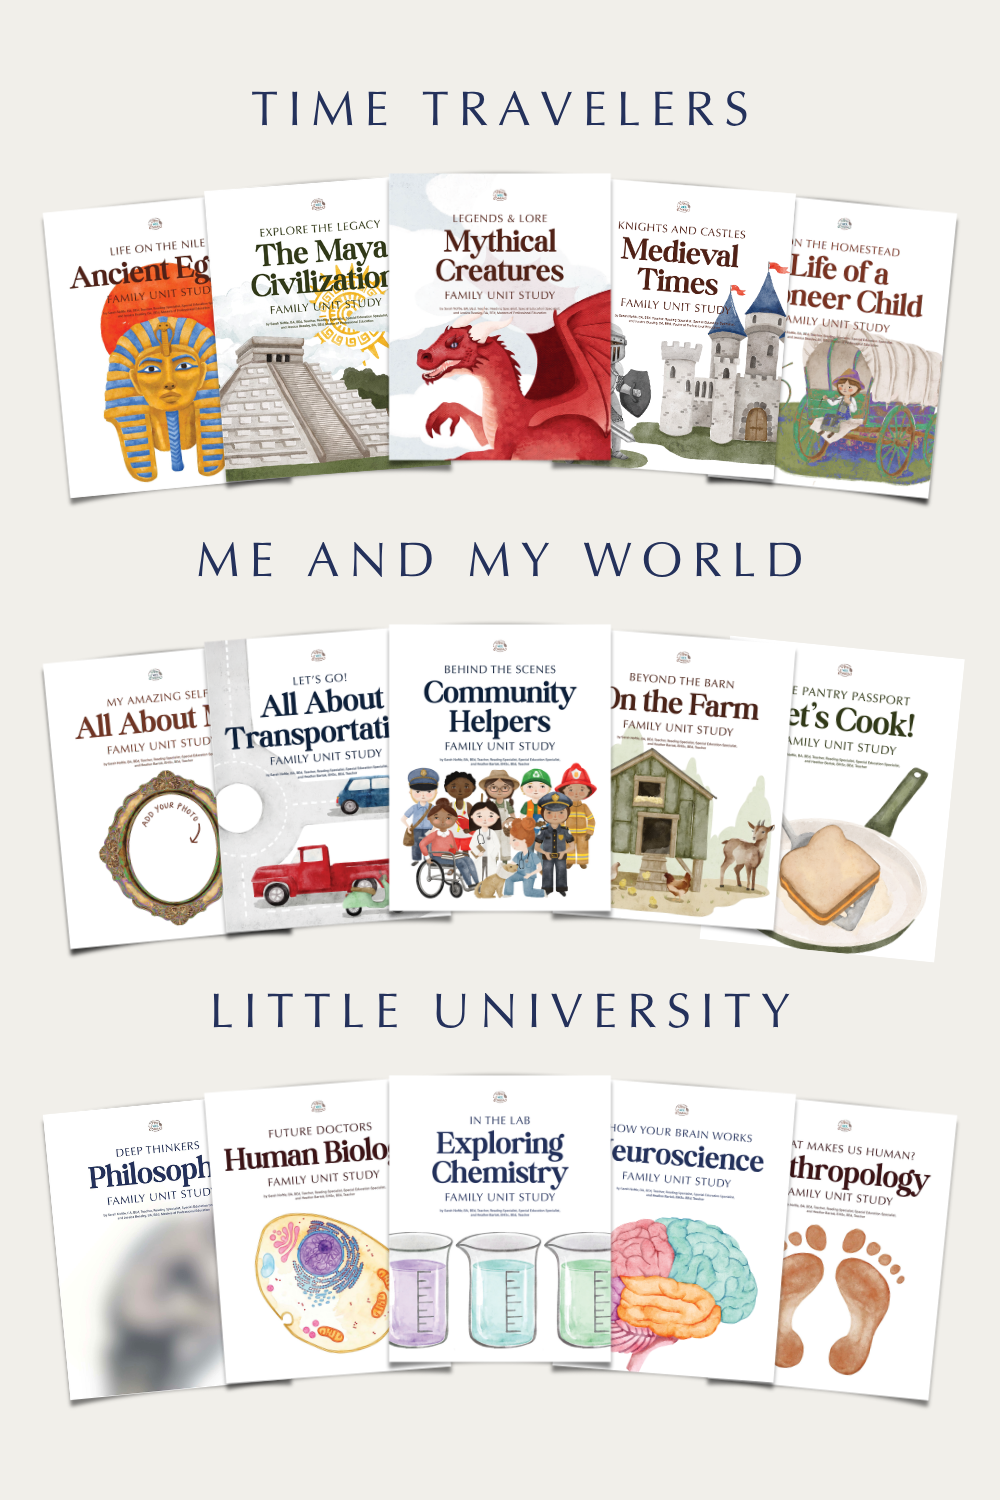
Browse our growing collection of Family Unit Studies in the How Wee Learn Shop today!
 |
 |
 |
Thanks so much for reading, friend!
xo
Sarah

Leave a Reply