Easter is around the corner, and so is my garden! These are two things that make me very happy. Easter makes me happy because, well, chocolate, and my garden makes me happy because it means NO SNOW!
I have always thought that fall was my favourite season, but I am thinking that it might now be spring. I loved fall for the beauty and the coziness, but I’m thinking I love spring even more because of its distance from winter. That warm fresh air, those first flowers, all of that green returning… I mean, what’s not to love? I’m even going to embrace all that farm mud this year.
Today, I want to share with you one little activity for Easter and one little activity for the garden. I also made you a little video, sharing a few more details of exactly how to make these simple spring activities work with your little ones (of all ages), so please give that a watch right here:
And just in case the video will not load for you in that way (it can be particular when I upload it directly like that), here is the same video but from my YouTube channel:
For those of you who prefer to read over watching a video, I have all the information written in a blog post for you below:
Two Spring Activities: Seeds in a Jar and an Easter Name Puzzle
Last week I shared with you two fun spring crafts that are full of learning. This week I am sharing with you one more Spring craft full of learning and also a fun science experiment perfect for getting our little nature lovers ready for some time in the garden!
Planting Seeds in a Jar: This is a spring activity I like to enjoy with my children every single year. It is just as easy as can be and very hard to mess it up—making it ideal for me!
For this fun little spring activity, you will need:
- mason jar or any clear container
- seeds (beans, peas, squash, anything!)
- paper towel
- water
- Seed Germination Tracking Printable
So, first things first, grab your FREE Seed Germination Tracking Printable so your little one can track her seed’s growth:
Got it? Good! Now have your little one stuff a mason jar full of paper towels. I like to do this one sheet at a time and fill it all the way, compacting it as much as you can.
Next, have your little one wet the paper towels using a watering can or just water from the faucet. Dump out the excess water and continue to pack in the paper towel, as the water will have compressed the paper towel enough to add more. Repeat until the jar is full of wet paper towels.
Now have your little one ‘plant’ her seeds. You can shove the seed down between the glass and the paper towel.
That’s it! Just place in a sunny spot that doesn’t get too hot and keep the paper towels moist. Little ones can easily help water; just make sure you dump out any excess water afterward.
It only takes a few days for the seeds to sprout, making this ideal for all of those little impatient gardeners—and the big ones too!
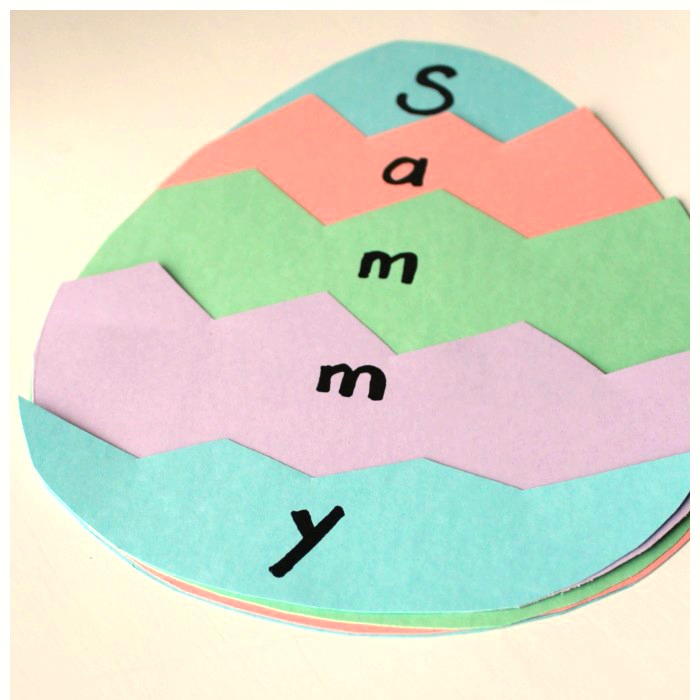
Easter Egg Name Puzzle: This is another fun learning craft that is very similar to another certain spring name craft. This one is ideal for practicing a name and has a fun Easter twist.
(You can click the link above to see my full original post with all of the images to go along with the instructions.)
Begin by cutting out the same number of Easter egg shapes as your child’s name letters. For “Sammy,” I cut out 5 Easter eggs from different colours of construction paper.
Next, add zigzag lines to your Easter eggs, leaving one full Easter egg shape, making a line about an inch down on the second Easter egg shape, a line about 2 inches down on the third Easter egg shape, etc. Of course, if your child has a very long or very short name, you can alter these lines so the whole name will fit. Add your child’s name letters right below the zigzag lines.
Have your child cut along these zigzag lines creating her Easter egg name puzzle.
Now the fun of putting it together! Your child can do this again and again. Once complete, glue it down on a piece of paper as a cute Easter egg decoration.
And if you want to fit in even MORE fun Easter letter learning, you can grab my FREE Easter Letter Activities Printable!
So adorable and loads of learning as well!
I hope these two spring activities are fun for you and yours to enjoy this week. Bring on that warm sunshine!
Thank you so much for reading, sweet friend,
xo
Sarah
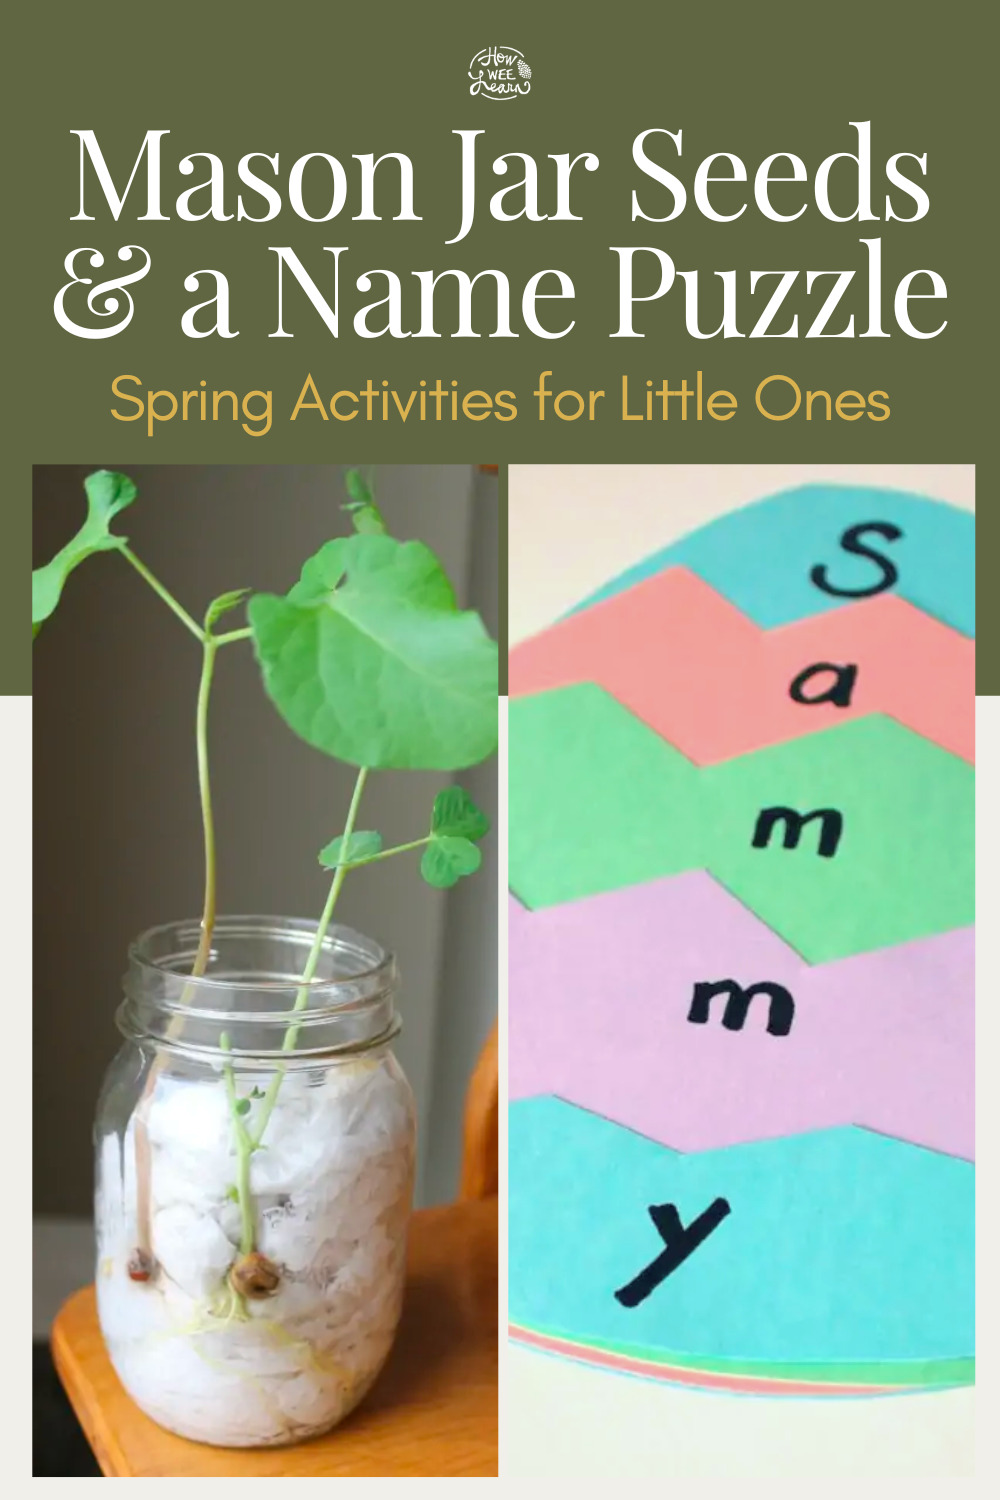
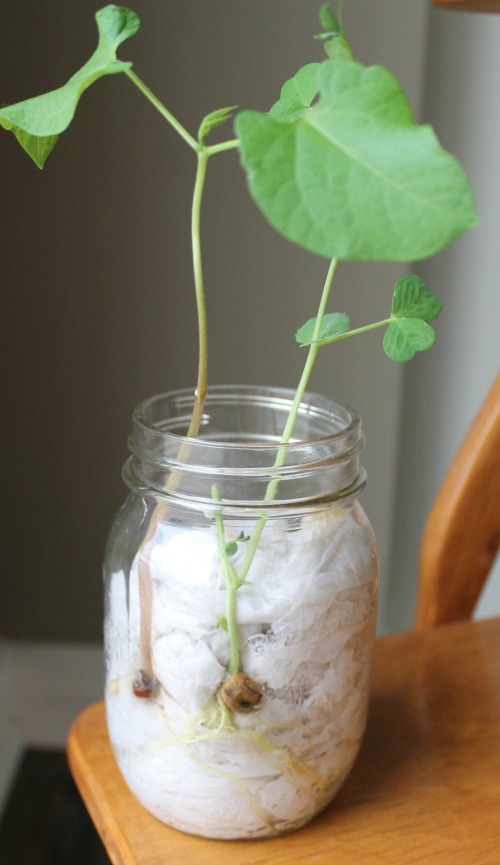

I love that you are able to see all the parts of a plant. Great activity!!
Thanks Terri Lynn! It is such a nice way to really explore what happens when a seed sprouts. A great visual for little learners – and big learners too!
I can’t wait to do the plant activity with my toddler. I think he’s going to love it! The name puzzle as well! Thanks for the great ideas.
I am so happy to hear Corien! Thank you for taking the time to let me know this post was inspiring to you! xo
can you use seeds directly from vegetables? For instance, taking out the cucumber seeds from the cucumber itself?
Hmmm – very interesting. I always thought seeds needed to be dried and ‘hardened’ first, but I have recently seen videos and such that use seeds fresh from food. So I honestly don’t know! I would certainly be tempted to try.