Do you know what my favorite animal is? Chickens. I bet you thought I was going to say owls, didn’t you?
I actually intended for this to be a little baby chick craft, but I could not find yellow feathers for the life of me. Three stores later, as I started to question if they even make yellow feathers anymore (they do, they definitely do), I remembered that I have the same paper plate craft—but with owls—in my toddler program, Playful Days.
So here we are! A paper plate craft with one of my other favorite animals—Owls!
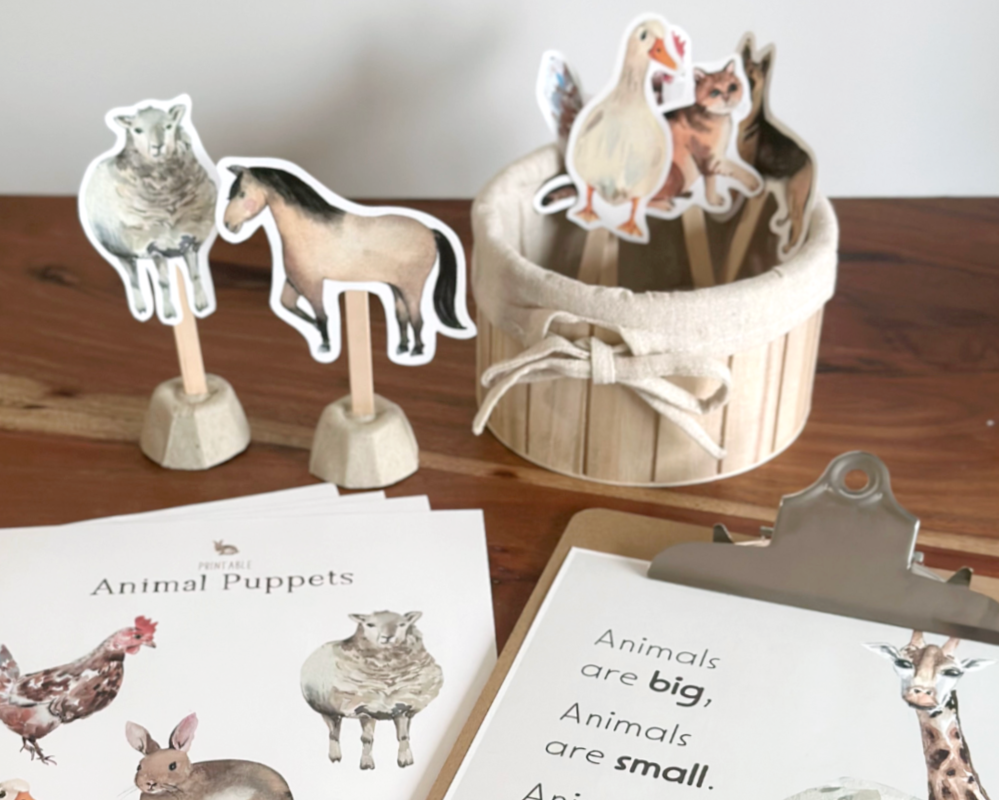
Before we get into this Owl Paper Plate Craft for Toddlers, if your little one loves animals, you’ll also want to grab this FREE Farm Animal Stick Puppet Printable! There are so many fun ways to use these stick puppets. If you scroll down to the bottom of this post, I have a bunch of fun ideas for you.
Like this Owl Paper Plate Craft, the stick puppets are also part of my Playful Days Toddler Program. It includes one beautiful, simple craft or activity to enjoy with your toddler each and every day. You can take a peek right here: https://shop.howweelearn.com/pages/playful-days
 |
 |
 |
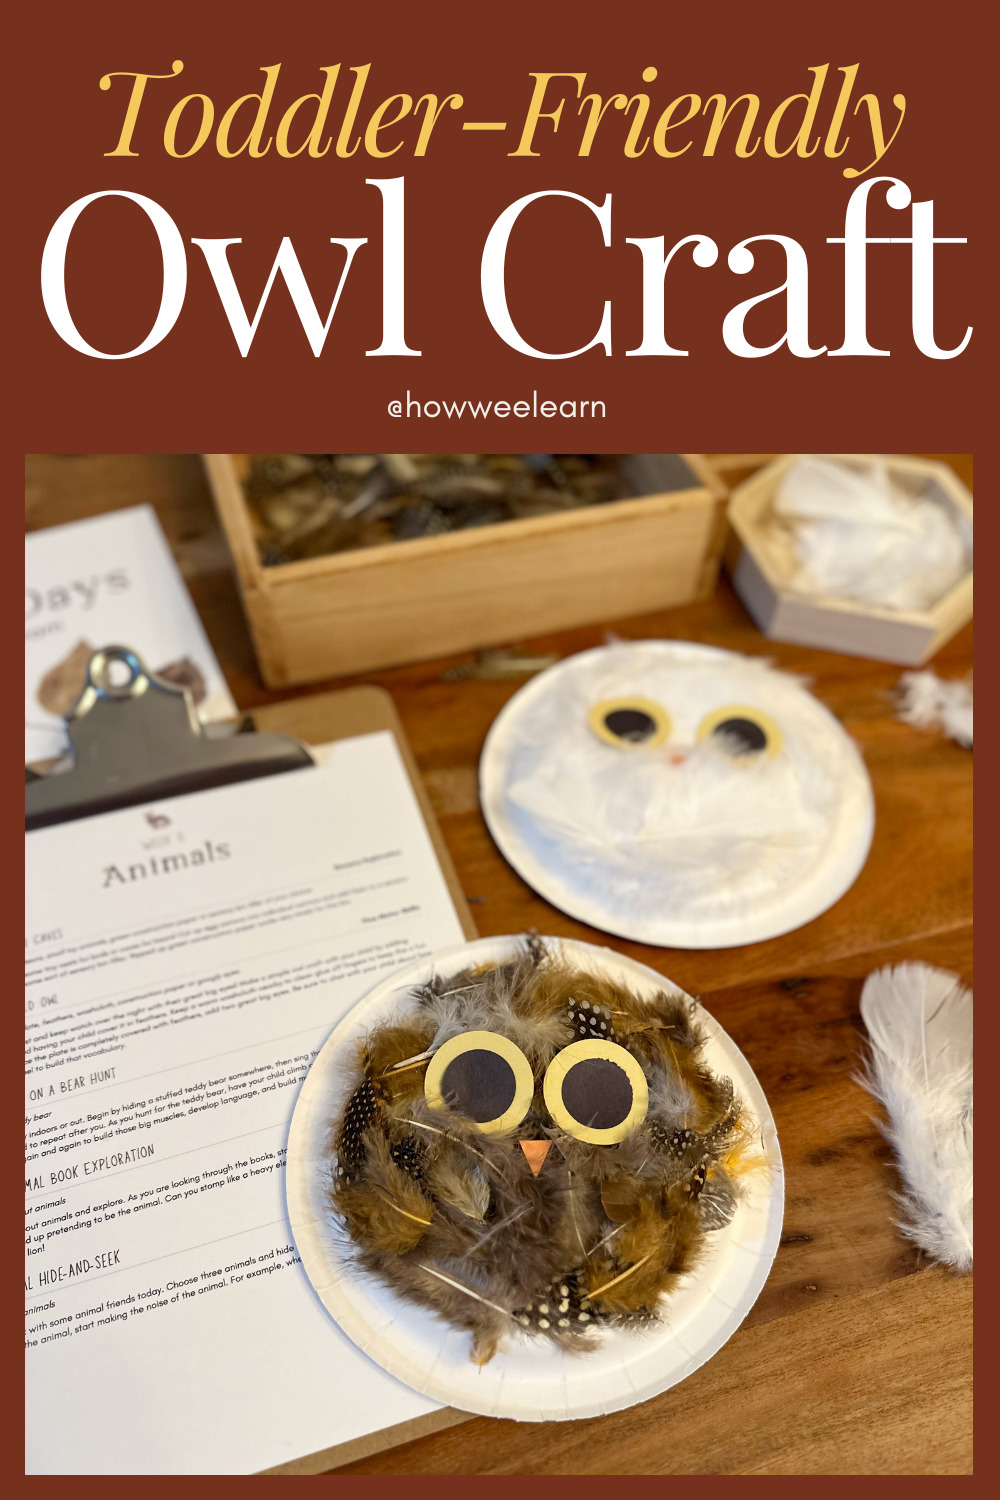
Owl Paper Plate Craft for Toddlers
Alright, let’s dive right in! Here’s how to make your adorable feathery owl:
Supplies
For this craft, you will need:
- Feathers
- Paper plate
- Black, yellow, and orange construction paper
- Scissors
- Glue
- Popsicle stick or paintbrush (to spread the glue)
- Washcloth and some water (to clean little hands!)
Directions
1. Cover the paper plate with a layer of glue.
First up in this simple owl craft is having your little one cover the paper plate with glue. Liquid glue works best for this step—your toddler can flex those hand muscles by squeezing a big drop in the middle of their plate, then spread it around with a paintbrush or popsicle stick.
And if your little one decides they would rather use their hands? Perfect!
Hear me out…
Let your toddler explore that sticky sensation, offering words to describe what the glue may feel. Sensory play is a wonderful opportunity for language development!
2. Sprinkle on the feathers.
When the plate is nice and covered with glue, it’s time to sprinkle on the feathers.
You might want to give your toddler’s hands a little wipe with the washcloth before this step, especially if they decided to finger paint with the glue in Step 1.
Not that I’m speaking from experience or anything…
3. Add even MORE feathers!
Encourage your little one to work on that pincer grip by placing feathers in any spots that are looking a little bare.
This is another opportunity to talk about the sensory experience of working with feathers. Are they really soft and fluffy? What about the quill? That’s not soft at all; in fact, it’s quite sharp!
I just love how our little owl looks like he just woke up with a case of bedhead. Perhaps he’s a little less Wise Old Owl and a little more Innocent Adorable Little Baby Owl.
4. Add some eyes.
We used our trusty circle punches to create the owl’s eyes, but you could also pre-cut some circles for your little one.
Some owls have bright yellow eyes, whereas others are a darker red, and some have pupils so large their eyes look entirely black!
Did you know that nocturnal owls are more likely to have dark eyes and that owls who are active during the day or more likely to have yellow eyes? Just a little fun fact for you… And another wonderful opportunity to expand your toddler’s vocabulary!
4. Last but not least, add a little beak.
To finish our owl, we cut out a little beak from some orange construction paper and plopped it on. Perfect-o!
And there you have it! A sweet little owl craft to enjoy with your little one while strengthening fine motor skills, building language skills, and enjoying a lovely—and most likely sticky—sensory experience.
I hope you and your little one absolutely love your owl paper plate craft!
xo
Sarah
You will find activities like this and so much more in my Playful Days Toddler Program.
Take a peek at Playful Days right here:
https://shop.howweelearn.com/pages/playful-days
 |
 |
 |



Leave a Reply