Looking to make a bird’s nest? Us too! Who wouldn’t be?! It is spring after all, so crafting must take a healthy nature twist as we readjust ourselves to being outside more.
In fact, last spring we dissected a bird’s nest and I declared then and there that we would be attempting to make one. And now, almost a complete year later, we have! Just a few days later than I had expected.
I wanted this bird’s nest to be super simple. Something practical for those of you teaching many little ones, and practical for those of us home with little ones of different ages. This bird’s nest craft was perfect for all my kiddos (and Mama too).
To begin, I made a batch of baking soda clay. I made this all the time while I was teaching Kindergarten, almost as much as I made our no-cook playdough. I love this clay because it feels lovely and smooth, is easy to make and work with, and air dries.
The original clay recipe and exact how-to can be found over on Growing a Jeweled Rose. I have adapted it slightly, using less water.
Simply combine 1 cup of baking soda, 1/2 cup of cornstarch, and 1/2 cup of water in a pot over medium heat. We also added some food colouring to make our clay sort of brown (though it came out more grey). Stir and stir until it bubbles, clumps, and finally turns to a dough. You can pop over to Growing a Jeweled Rose for pictures of the stages and approximate timing.
Then remove it from the heat, transfer it to a bowl, cover with a damp towel and allow to cool.
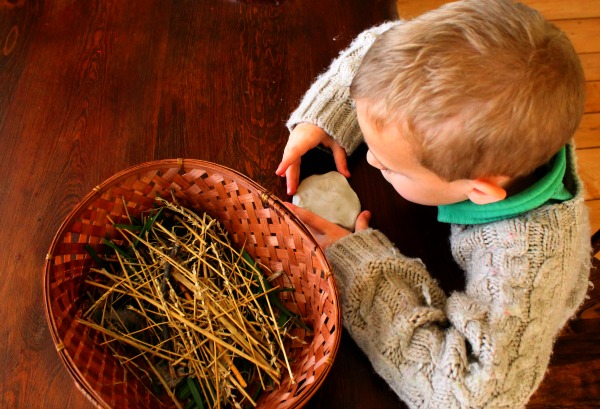
While the clay was cooling we went outside to collect some things birds might use for their nests. This was simple for my 5 year old, but a bit of a challenge for my 2 year old. He really thought pine cones and rocks would make for a cozy nest.
We gathered lots of grass, straw, leaves, small twigs, and (of course) chicken feathers.
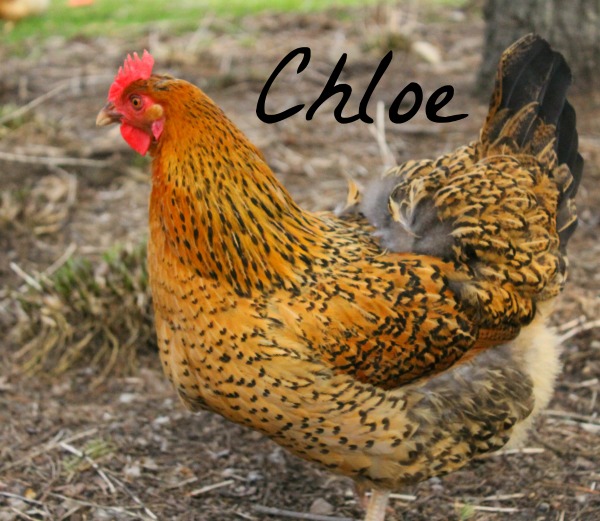
What’s that? You would love to see another picture of our feathery ladies? Why of course!
Once we had our bird making supplies we went back inside to make our nest. These could have easily been made outdoors as well.
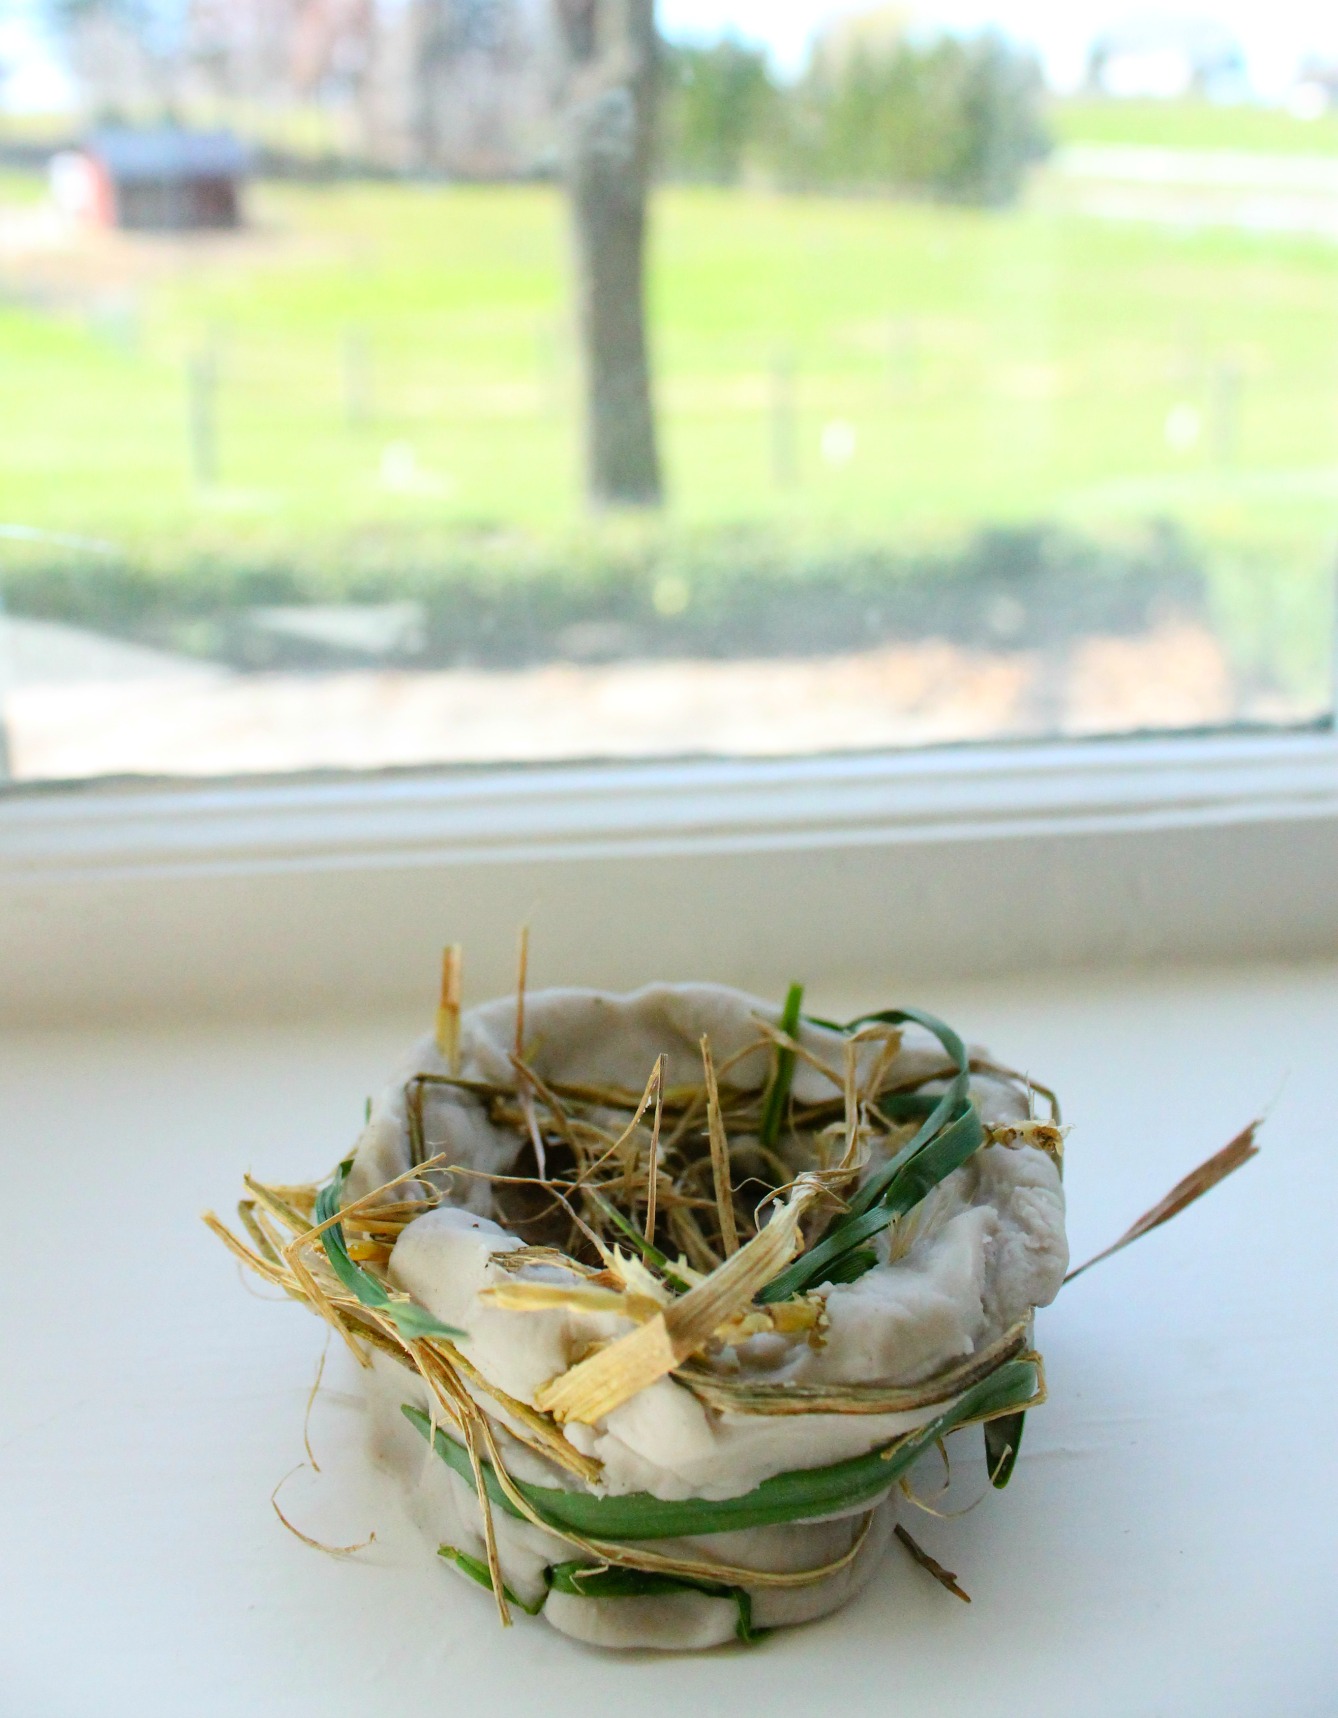
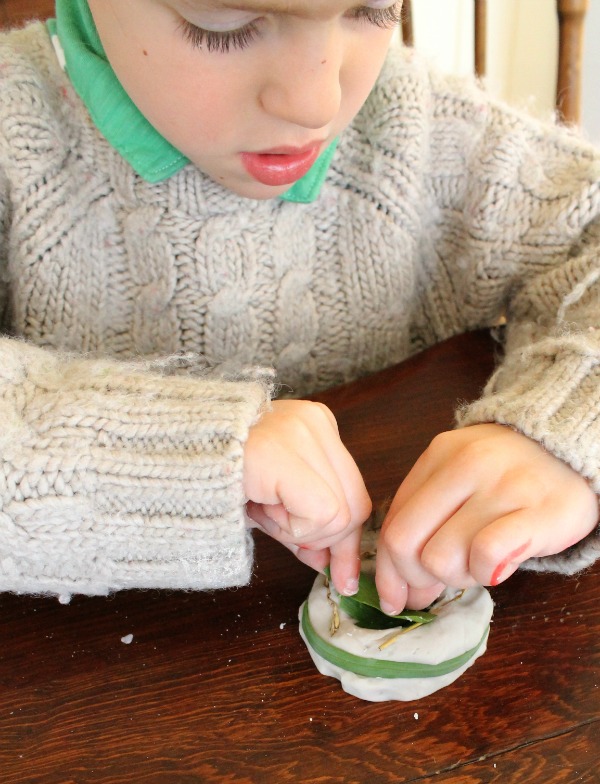
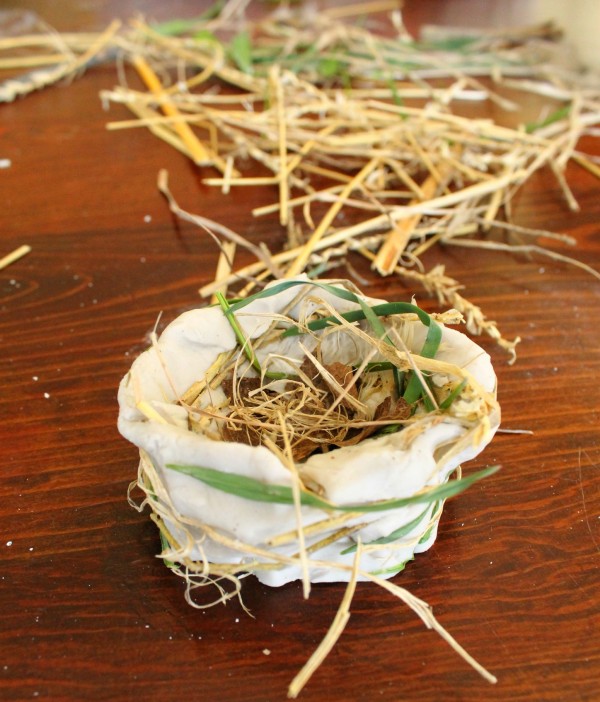
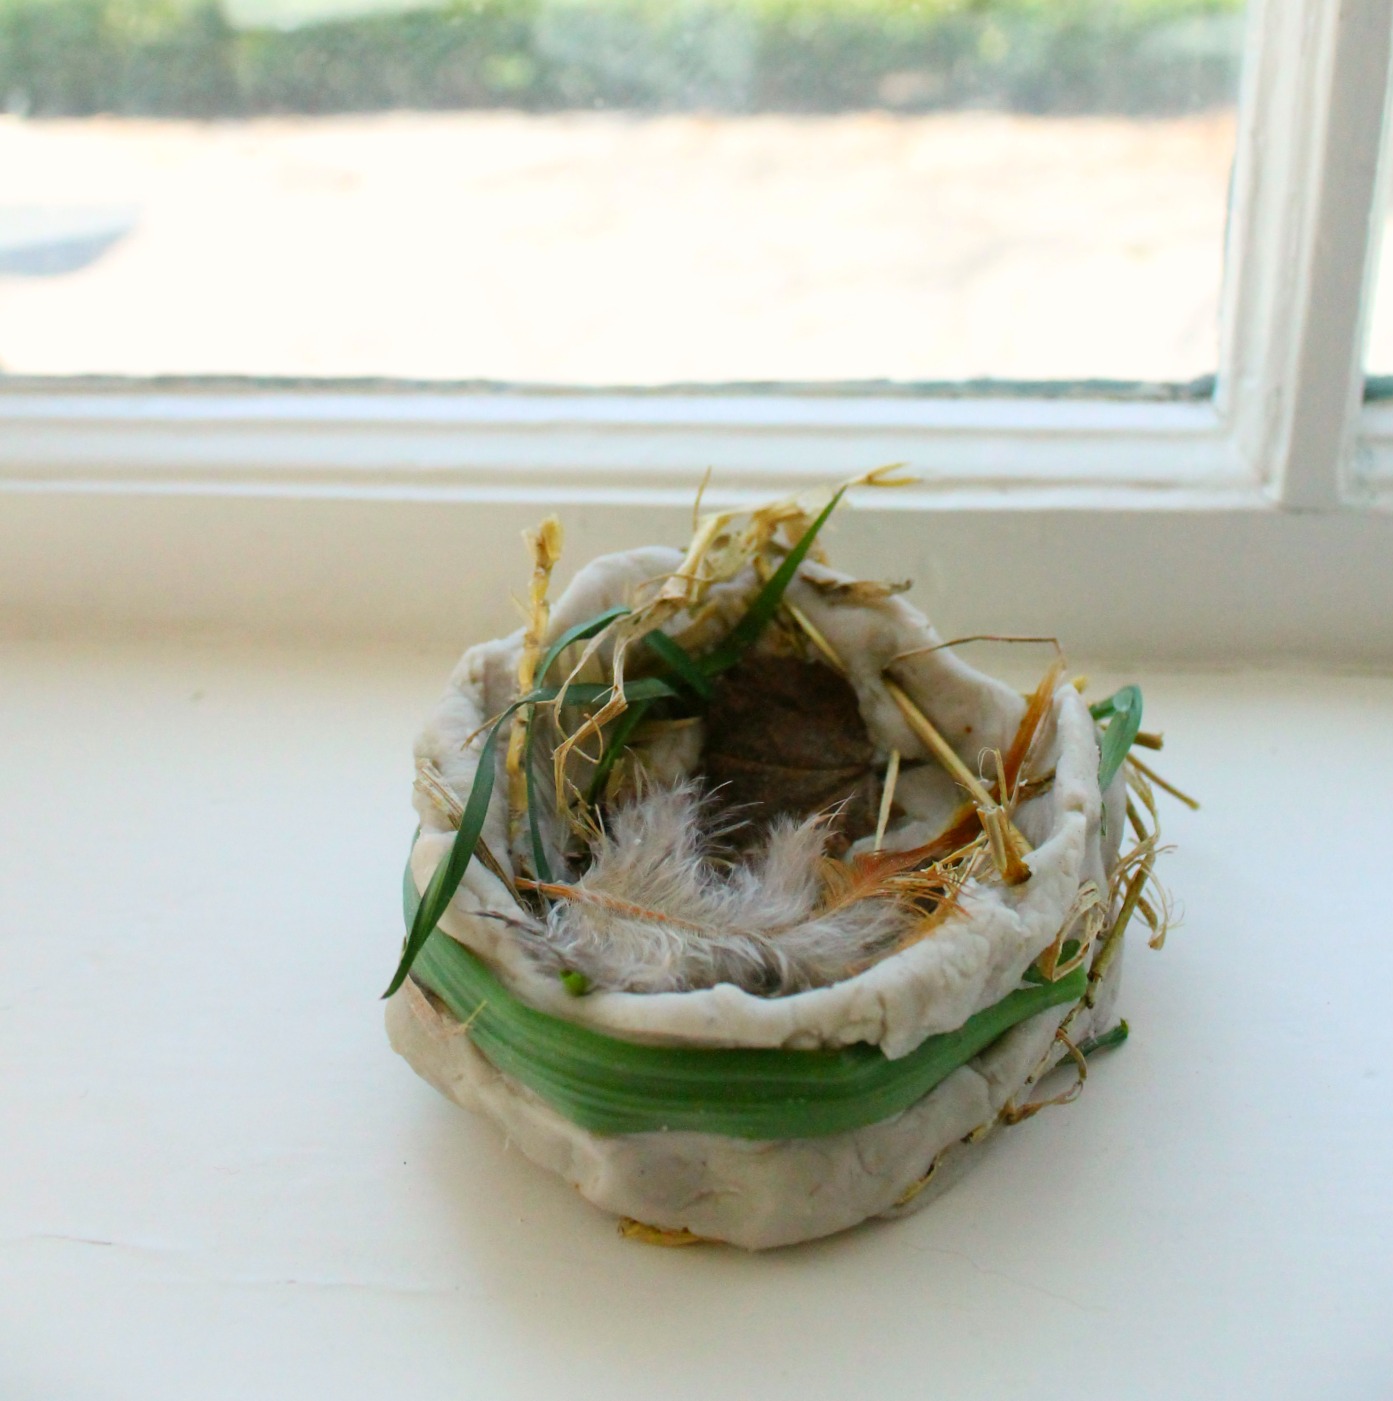
We all took a small ball of clay and shaped it into a birds nest shape. Then, we added all of the gathered treasures. They stuck in the clay very well. Even the little twigs.
We talked about putting the stronger materials on the outside of the nest to protect it, and the soft things on the inside of the nest for warmth and comfort.
We let the nests air dry over night and in the morning we had some sweet little birds nests to enjoy.
Lovely little decorations for our home for Spring!
Hope you are having a lovely week. Thank you for reading friends.
xo
Sarah

Hi Sarah! I love your blog and your book. They are both such great resources for me in my preschool and kinder rooms at work. I’m wondering about your baking soda clay: can it be made a day ahead and stored, or does it need to be used as soon as it is cooled? I love this activity, and I’d like to use it as a fun outdoor activity for the supply to do with my kinders on Friday (without heaping too much prep work on her, of course).
Hi Kristi – thank you so much for your kind comment! I have never made the clay ahead of time, but I fully expect it would be just fine as long as it was wrapped up air tight overnight. It would make for a fabulous outdoor activity – we will have to give that a try as well. Thank you for the idea!