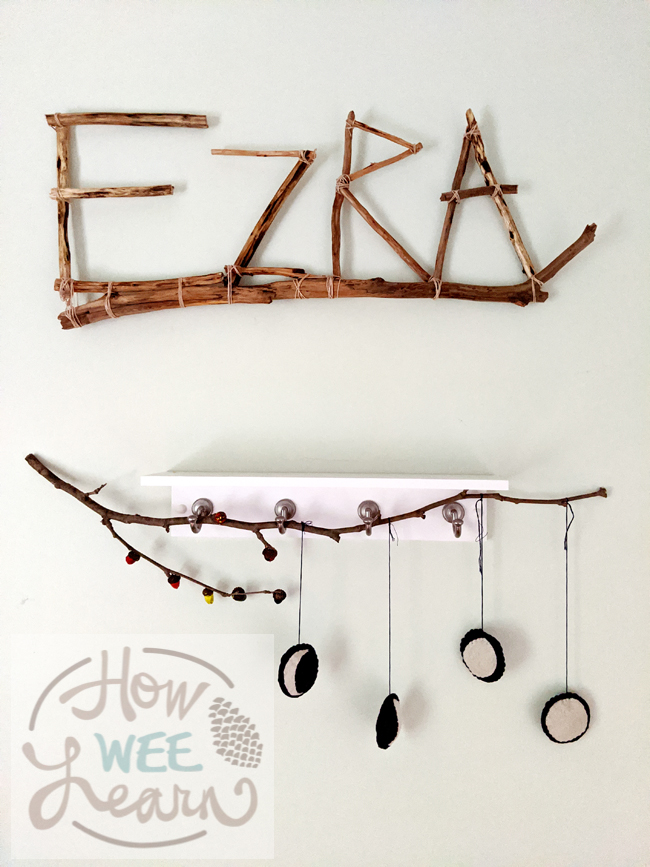
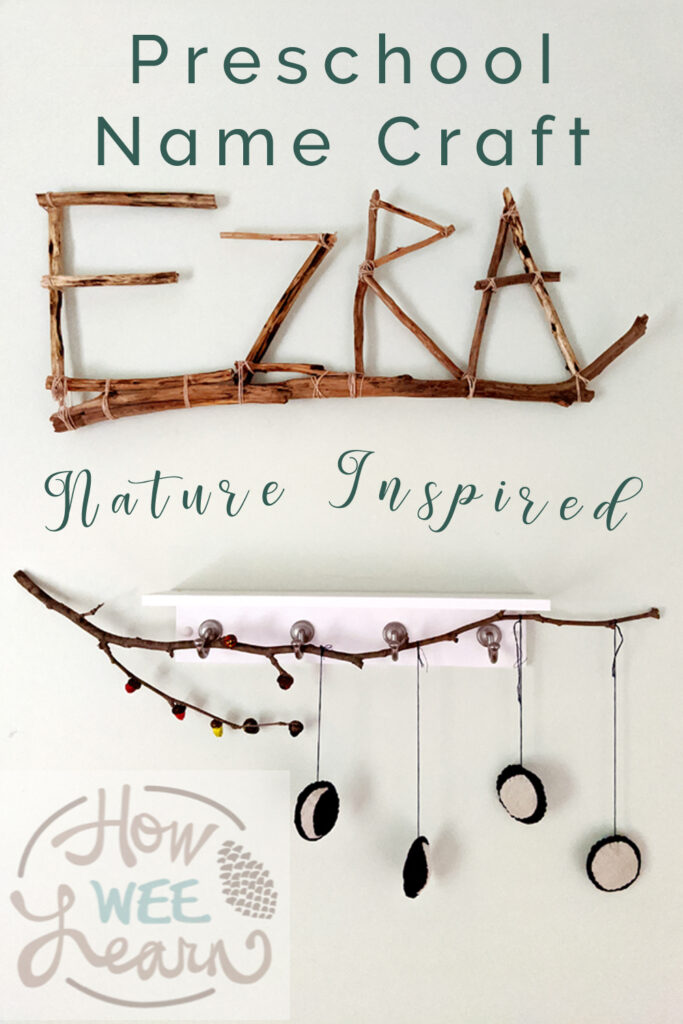
Summer days are within reach. For our family, that means it’s camping season! In preparation for our next camping expedition, I decided to practice some woodworking skills through this fun and rewarding preschool name craft.
In this craft, your preschooler will exercise problem solving, safety, and fine motor skills. By using her or his name in this wall art, you will be reinforcing letter and name recognition. If you are like me, the most important benefit is that you probably already have everything you need to get started!
Supplies for this preschool name craft:
1- Sticks
2- Vegetable peeler
3- Hot glue gun
4- String
5- Optional: Gardening Shears or Handsaw
6- Optional: Paint or food-grade mineral oil
Step 1: Strip the bark
Encourage your preschooler to collect a few favorite sticks from your yard or next hike. Try to choose dry sticks while avoiding wood that is splintering, hole (and probably bug)-infested, or decomposing. We used five sticks, and selected thinner branches that could be broken into smaller pieces by hand.
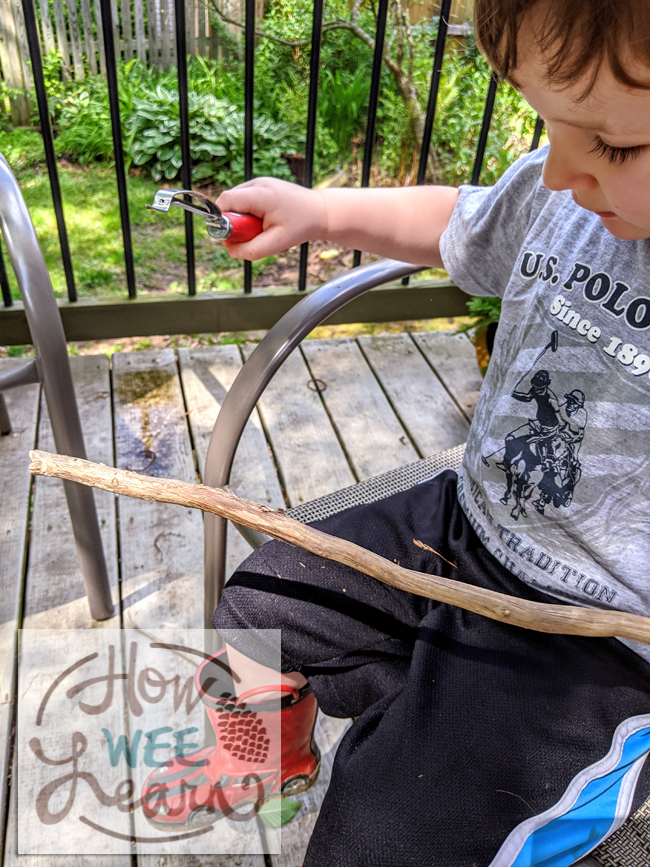
Next, strip the bark from your branches, making them easier to paint, stain, and glue. You will want to demonstrate how to use a vegetable peeler, moving the blade away from your body and the hand supporting the stick. Don’t forget that your child will do what you do, before they do what you say, so never peel towards yourself!
Then, you can transition to guided practice with your preschooler beside you or in your lap. Once they can consistently peel the bark in a safe direction, they can begin peeling their bark independently with supervision.
Your preschooler may struggle with stripping the bark, due to a lack of pressure. Give them the softest wood and remember that the big goal here is to practice blade safety. The final result may be an interesting pattern, or you may have to re-strip her or his stick.
Step 2: Arrange and Decorate the name letters
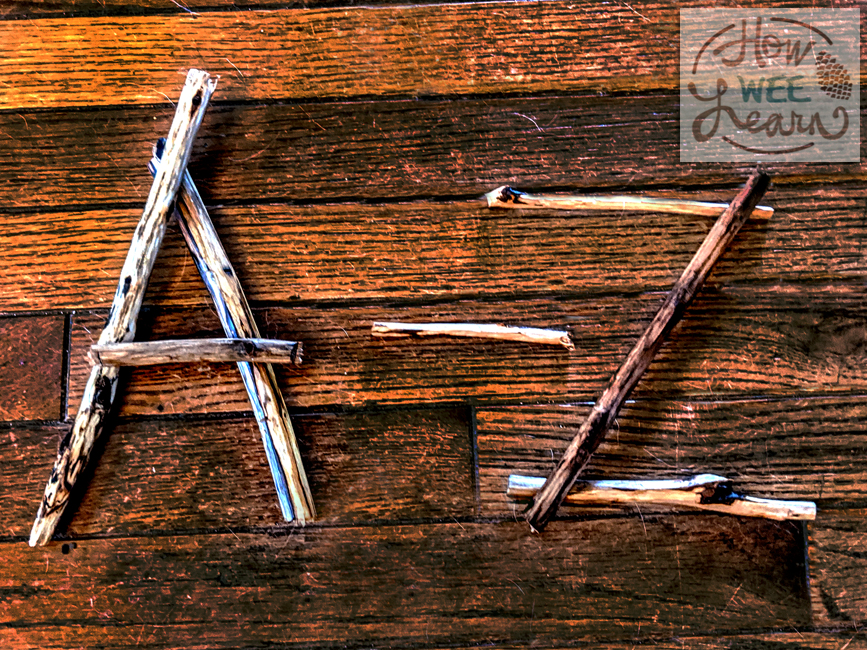
You can snap your sticks by hand into the desired letter height, or you can use gardening shears or a handsaw to create flat stick ends.
Encourage or guide your preschooler to arrange each letter of her or his name. Your child will play with different shapes and lengths of sticks until they are happy with their letters.
There are unlimited options for decorating your child’s preschool name craft!
- For a minimal and natural look, she or he can leave the wood bare.
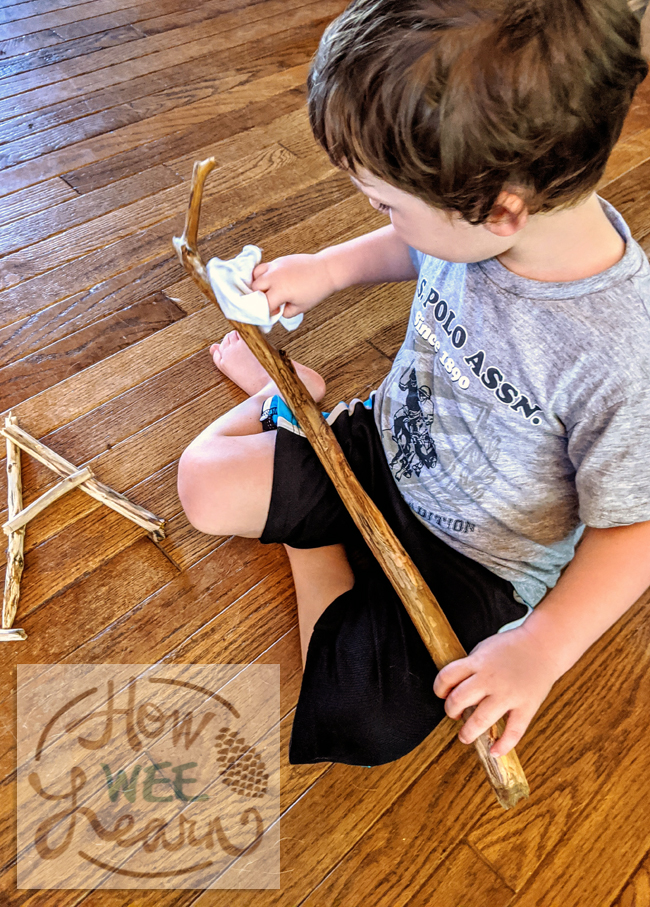
- My son wanted chose food-grade mineral oil, like his dad uses on our cutting board. I love that the oil brings out the grain and enhances the natural aesthetic of the wood, creating a playful and rustic artwork.
- Your preschooler can also use acrylic paint. Limiting colors can help unify the wall art. By using all warm or all cool colors, your preschooler will avoid muddy paint. For a more vibrant and colorful name craft, she or he can choose a primary color scheme of red, yellow, and blue.
Step 3: Assemble and Hang your Preschool Name Art!
Now you can re-assemble the letters using hot glue. Reinforce each joint where the sticks intersect by binding the intersection with thread, twine or string.
Each letter can be hung separately or bound together. I used a thicker curved stick as a base to add stability. Finally, The preschool name craft is ready to hang! You will want hang your child’s wall art from the strongest joints
By being involved in collection, prep, arrangement, and design your preschooler will be invested in the creative process. Seeing the completed preschool name craft in her or his room will result in a sense of pride and accomplishment.
Based in Maryland, Amy is a nature-enthusiast who loves hiking, reading, and creating. With a MFA in painting and university teaching experience, she loves combining visual art and nature to create crafty and play-based learning experiences for her preschool-aged son. Extra crafts and fine art can be found on Facebook and Instagram @amyfixart or at www.amyfixart.com.
You Might Also Like:

Leave a Reply