I am so excited to share this easy—and beautiful—Christmas art project with you! It is a wonderful art project for even the littlest of artists. In fact, it’s from one of my newest resources called Little Woodland Artists!
Sometimes, young artists like to have a few known skills up their sleeves to boost confidence before feeling comfortable doodling and drawing on their own. Little Woodland Artists helps with this! It teaches your child how to draw 10 simple woodland-themed animals, plants, and more. Then, after your child learns how to draw, they can take their artwork a step further with a fun art project.
But instead of telling you about it, why don’t I show you! Today, we’re going to learn how to draw pine needles and then turn them into some beautiful watercolor art that’s perfect for a Christmas card!
Before we start, you can grab the step-by-step instructions to follow along—and a FREE Sample of Little Woodland Artists—right here:
Christmas Art Project for Kids: Watercolor Pine Needles
Materials
- Watercolor paper*
- Watercolor paints*
- Permanent marker (or crayons)
- Paintbrush
- Cup of water
*If you don’t have access to watercolor paper and paints, don’t worry! I’ll show you how to easily modify the activity to use regular paper and paints.
How to Draw Pine Needles
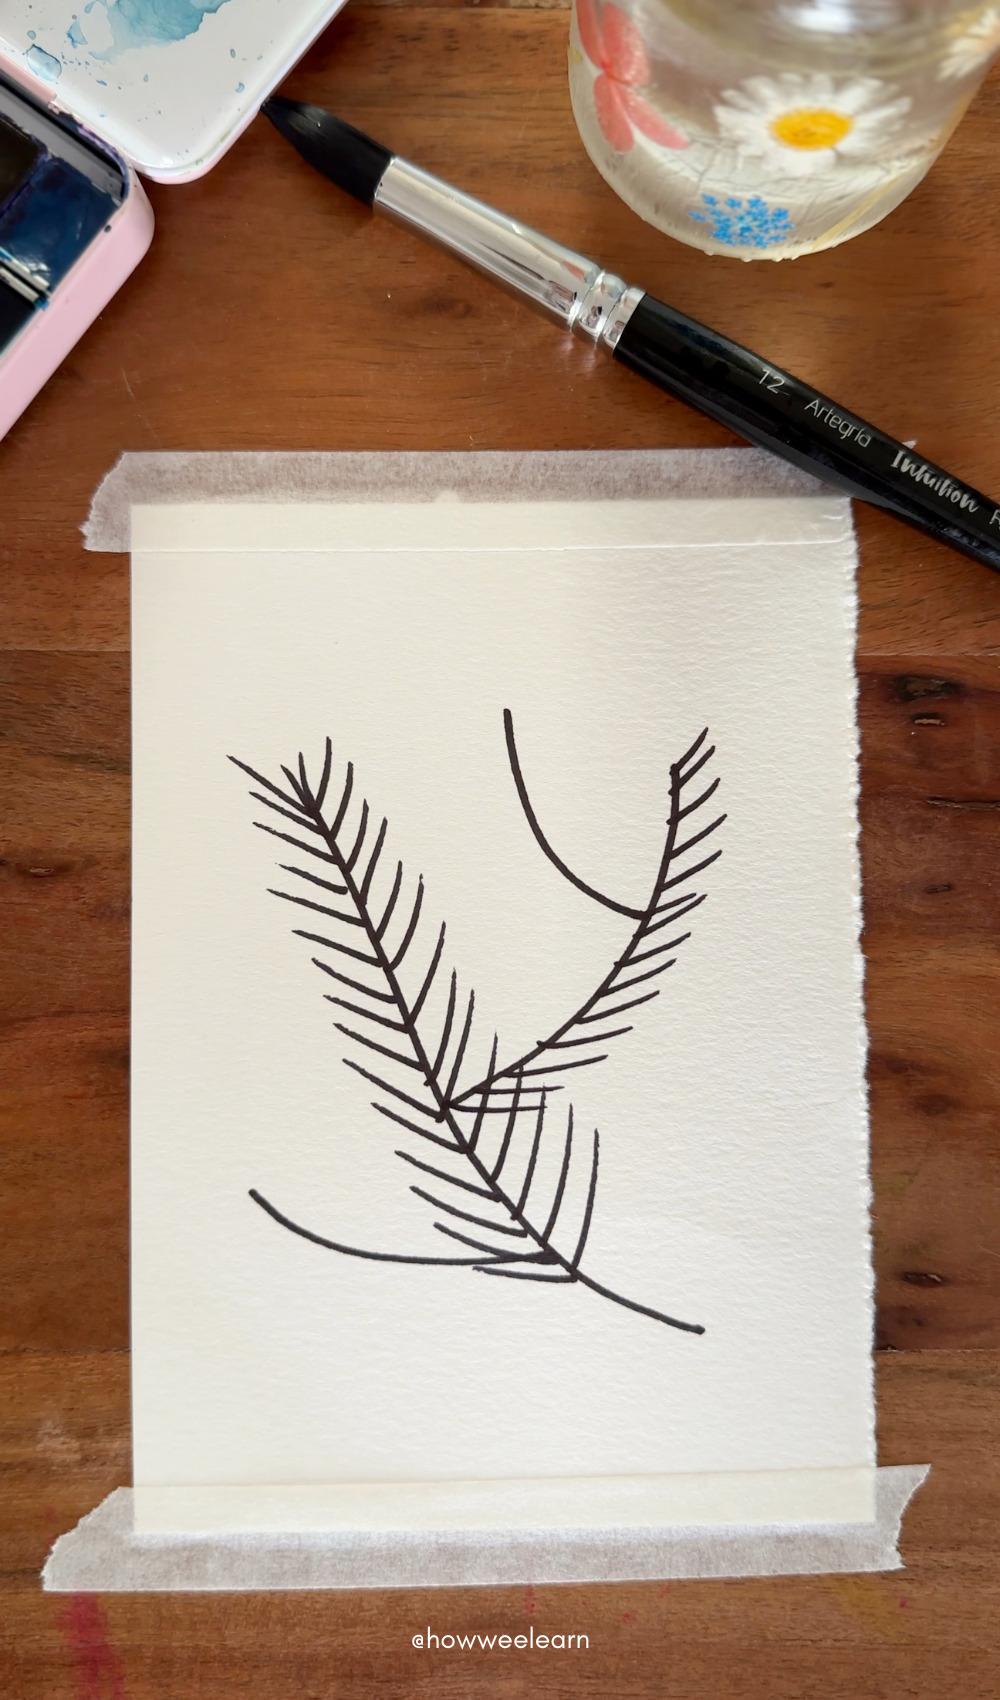
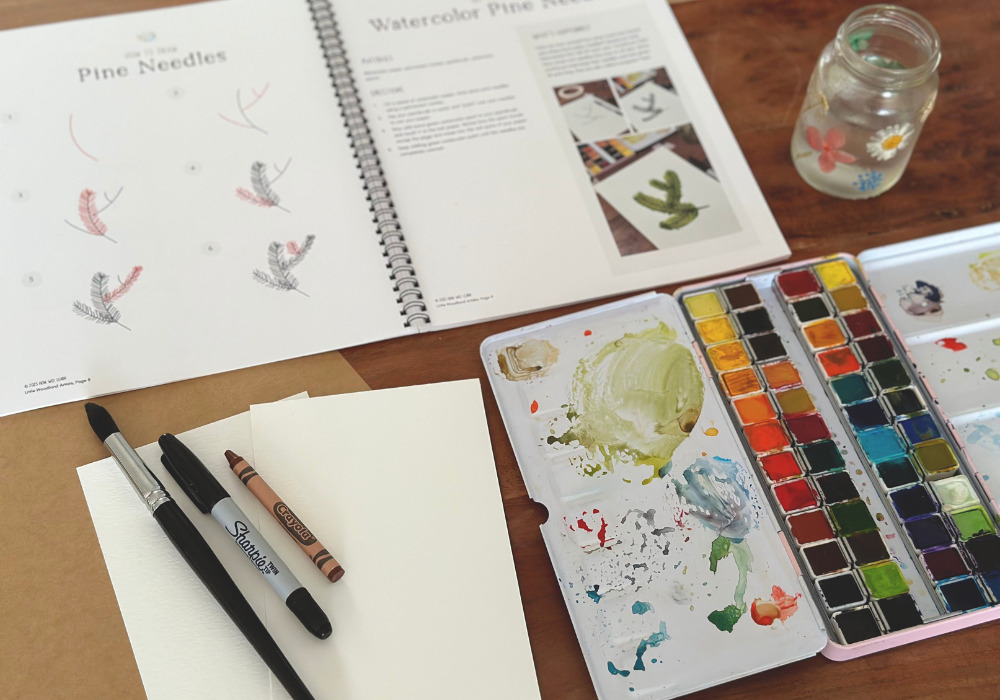
Let’s start by drawing our sprig of pine needles. In the middle of your page, draw a slightly curved line down the middle of the page. From there, you can add a few more lines branching off of it. This forms the stem for your sprig of pine needles.
 |
 |
 |
Next, draw a bunch of little lines down both sides of each stem for the needles. Don’t forget to add a couple of little needles at the top of your stems as well.
 |
 |
 |
And that’s it! Easy peasy!
You can practice drawing pine needles a few times; then, when you’re ready, you can move on to the art extension.
Art Extension: Watercolor Pine Needles Christmas Art Project
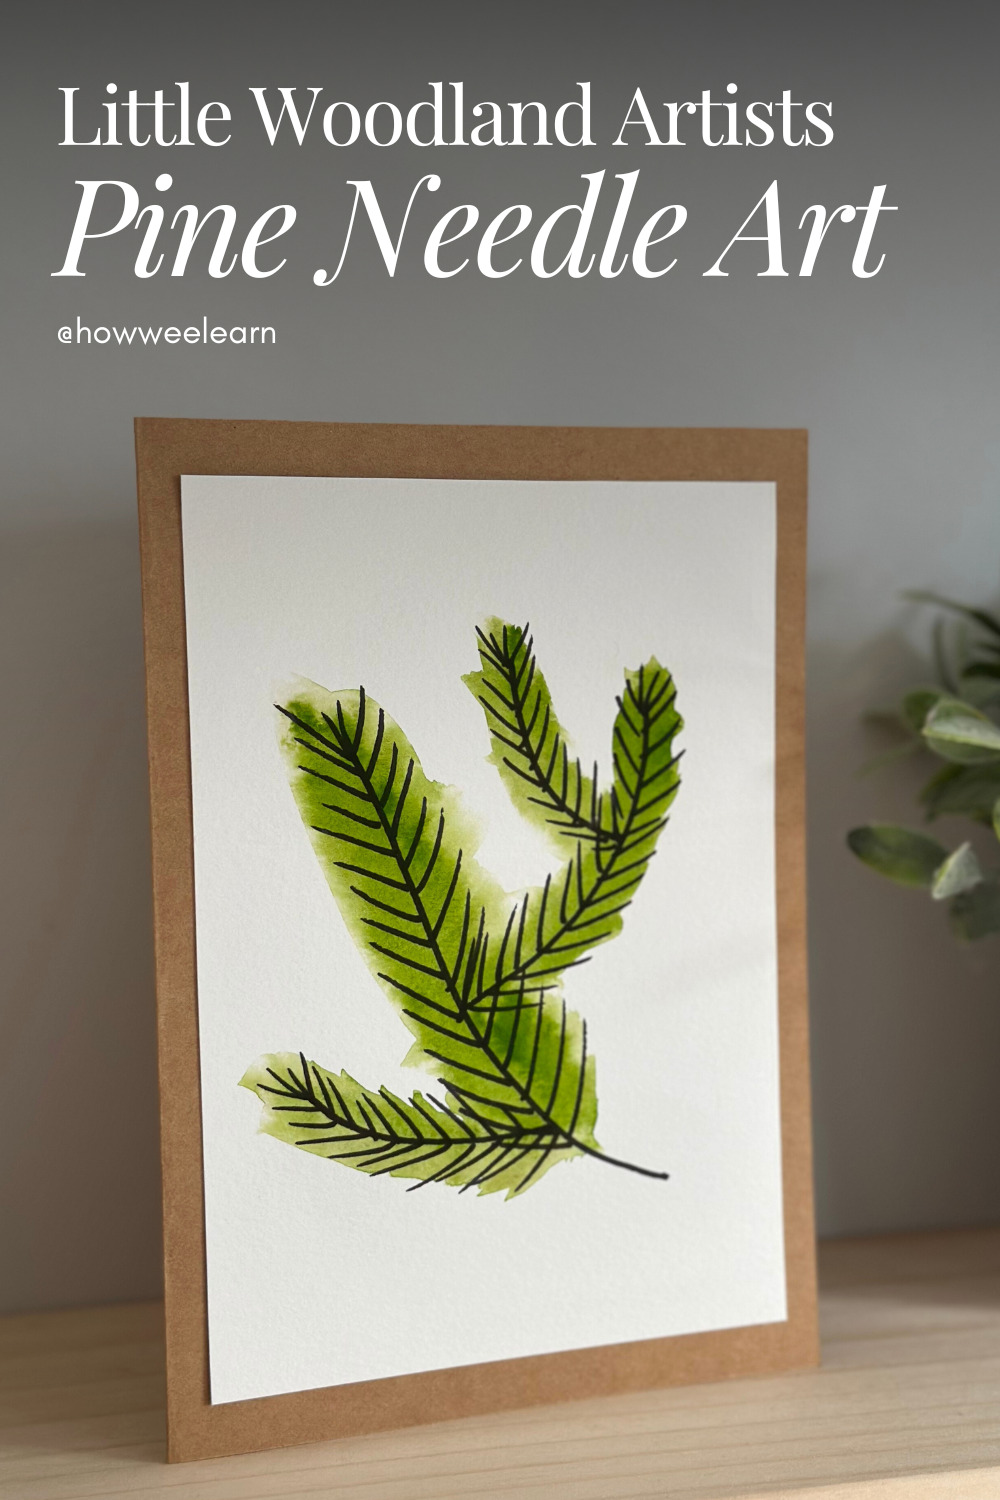
When you’re ready to make your watercolor art, draw your pine needles using a permanent marker on a piece of watercolor paper. If you aren’t comfortable letting your little one use a permanent marker, you can also use black, brown, or green crayons for a neat watercolor-resist effect.
Now dip your paintbrush in the water and “paint” over your needles to wet the paper. Add some green watercolor paint to your paintbrush and touch the wet paper. Notice how the paint travels across the page and mixes into the wet parts of your paper.
Keep adding green watercolor paint until the needles are completely colored. You can also experiment with adding touches of yellow or brown to your needles!
 |
 |
 |
Modification: Using Regular Paper & Paints
To use regular paper and paint, thin out some green paint (we want your beautiful pine needle art to show through!). Then, instead of wetting the paper first, simply paint a thin layer of green paint over your artwork. This method works wonderfully when you draw your pine needles with crayon, as you end up with a neat crayon-resist effect.
Ideas for Gifting Your Christmas Art Project
Now that your little one can confidently draw some beautiful pine needles, there are so many ways you can use the artwork!
You could:
- Pop it in a frame and gift the finished artwork to a loved one.
- Make a beautiful Christmas card featuring your pine needle art on the front.
- Lay out a roll of brown paper on the table and go to town drawing lots of pine needle sprigs to make some festive DIY Christmas wrapping paper.
I hope you and your little one enjoyed this Christmas art project!
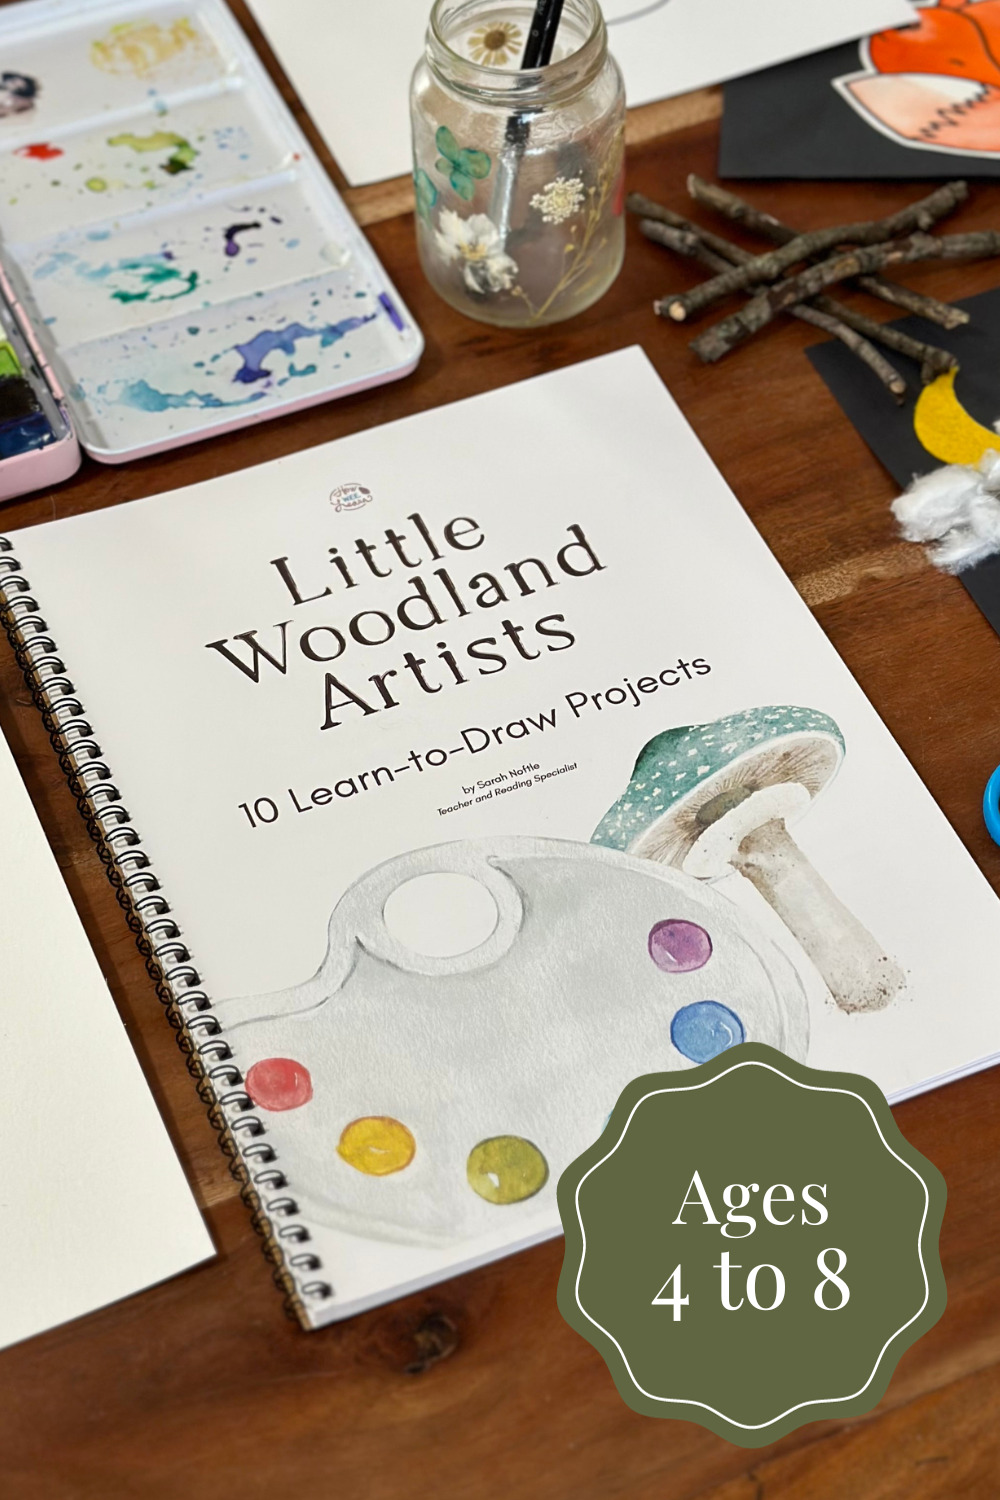
If you’d like to do more art projects like this, I invite you to check out Little Woodland Artists!
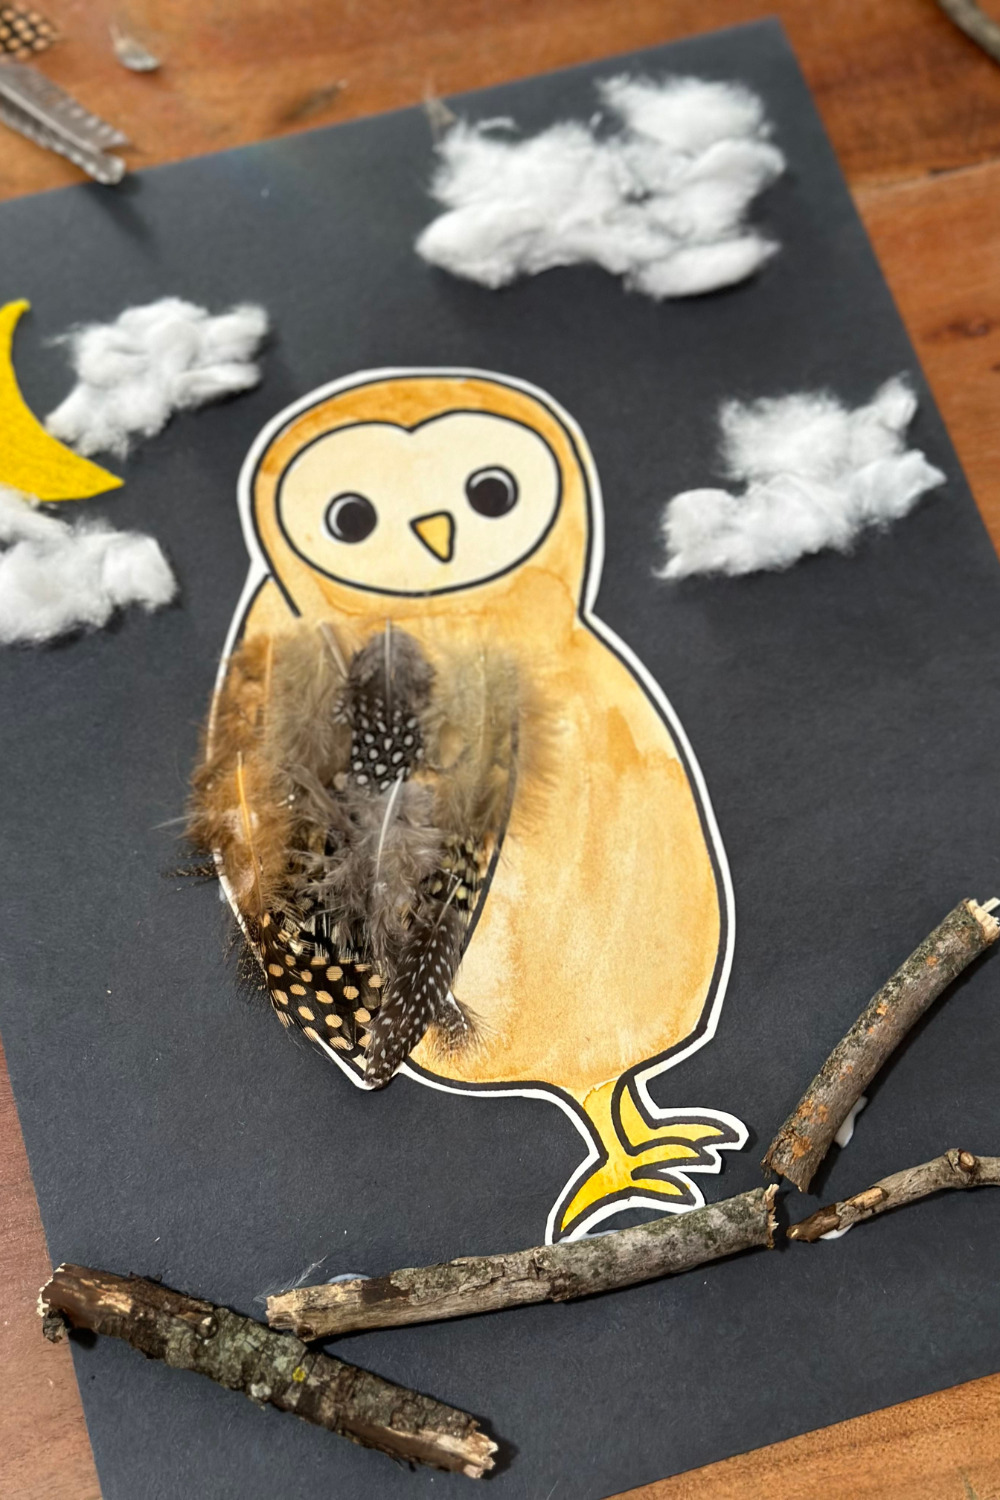
We start with projects that are nice and simple, like the pine needles, and progress into more complex art projects, like this wonderful sensory owl below. Take a peek and get your copy right here: https://shop.howweelearn.com/products/little-woodland-artists
 |
 |
Thank you so much for reading, my friend,
xo
Sarah


Leave a Reply