Learning about the seasons is a wonderful way to lay the foundation for a deeper connection to nature. There is so much connected to the seasons! From the weather, to the cyclical nature of life, to the adaptations that allow plants and animals to survive and thrive throughout the year… A good four season craft can spark so many conversations and learning opportunities.
You might even say that a four season craft acts as a springboard to a lifetime connection to nature.
I always fall for a good pun… I’ll try to keep them autumn-inimum, though… No? At a minimum? I thought that was a good one! Anywho… let’s get back to that amazing craft I’ve been promising.
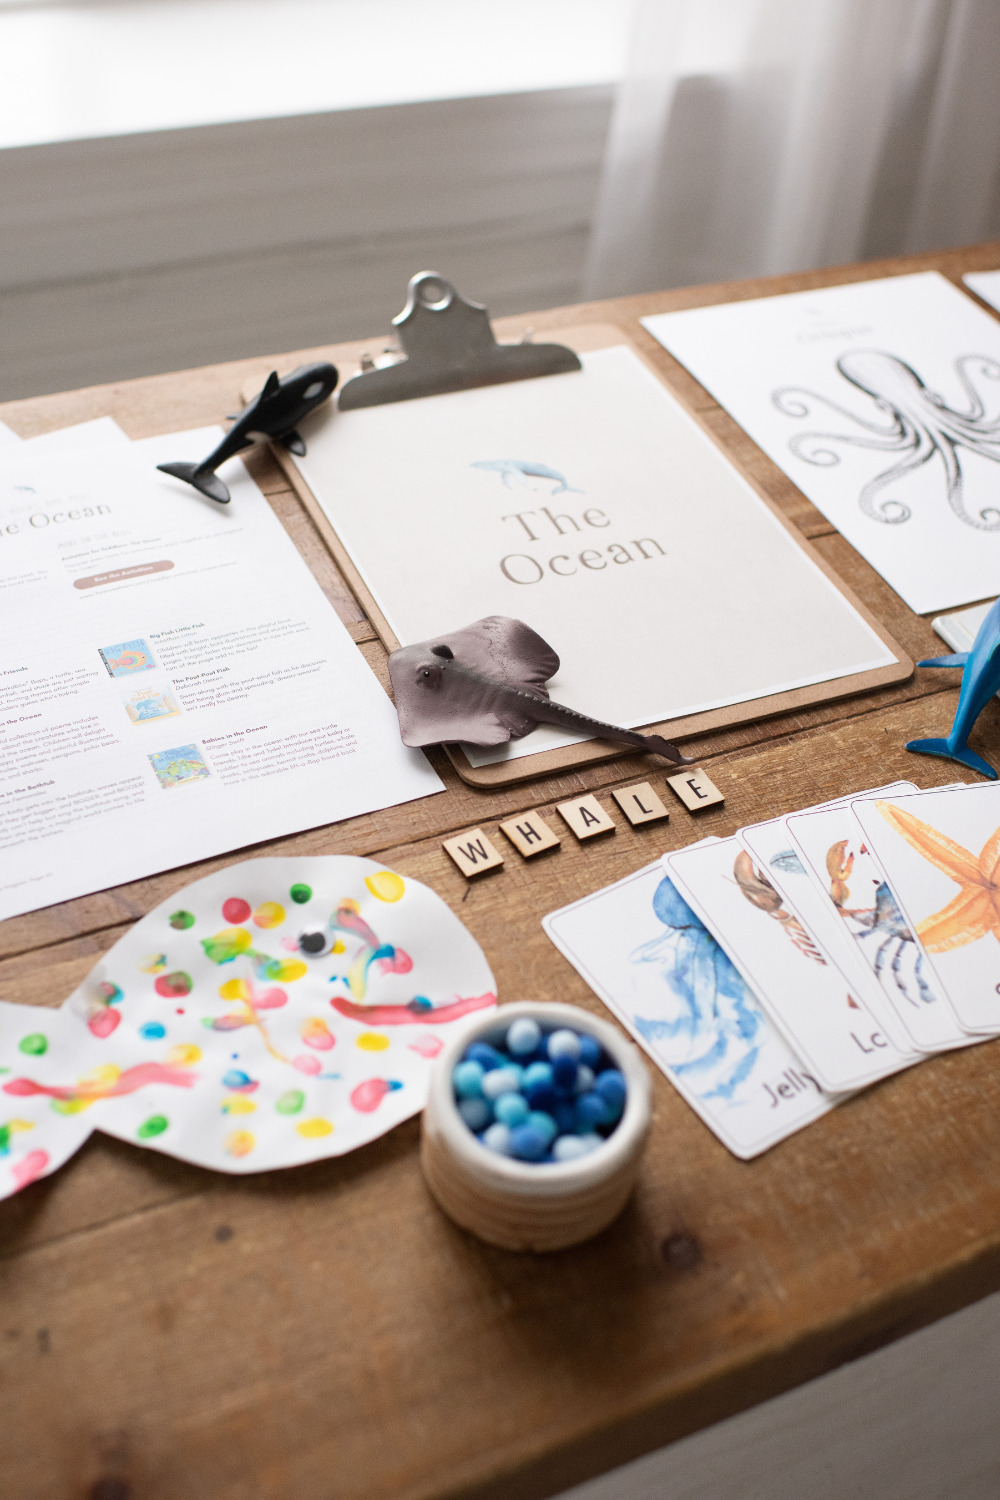
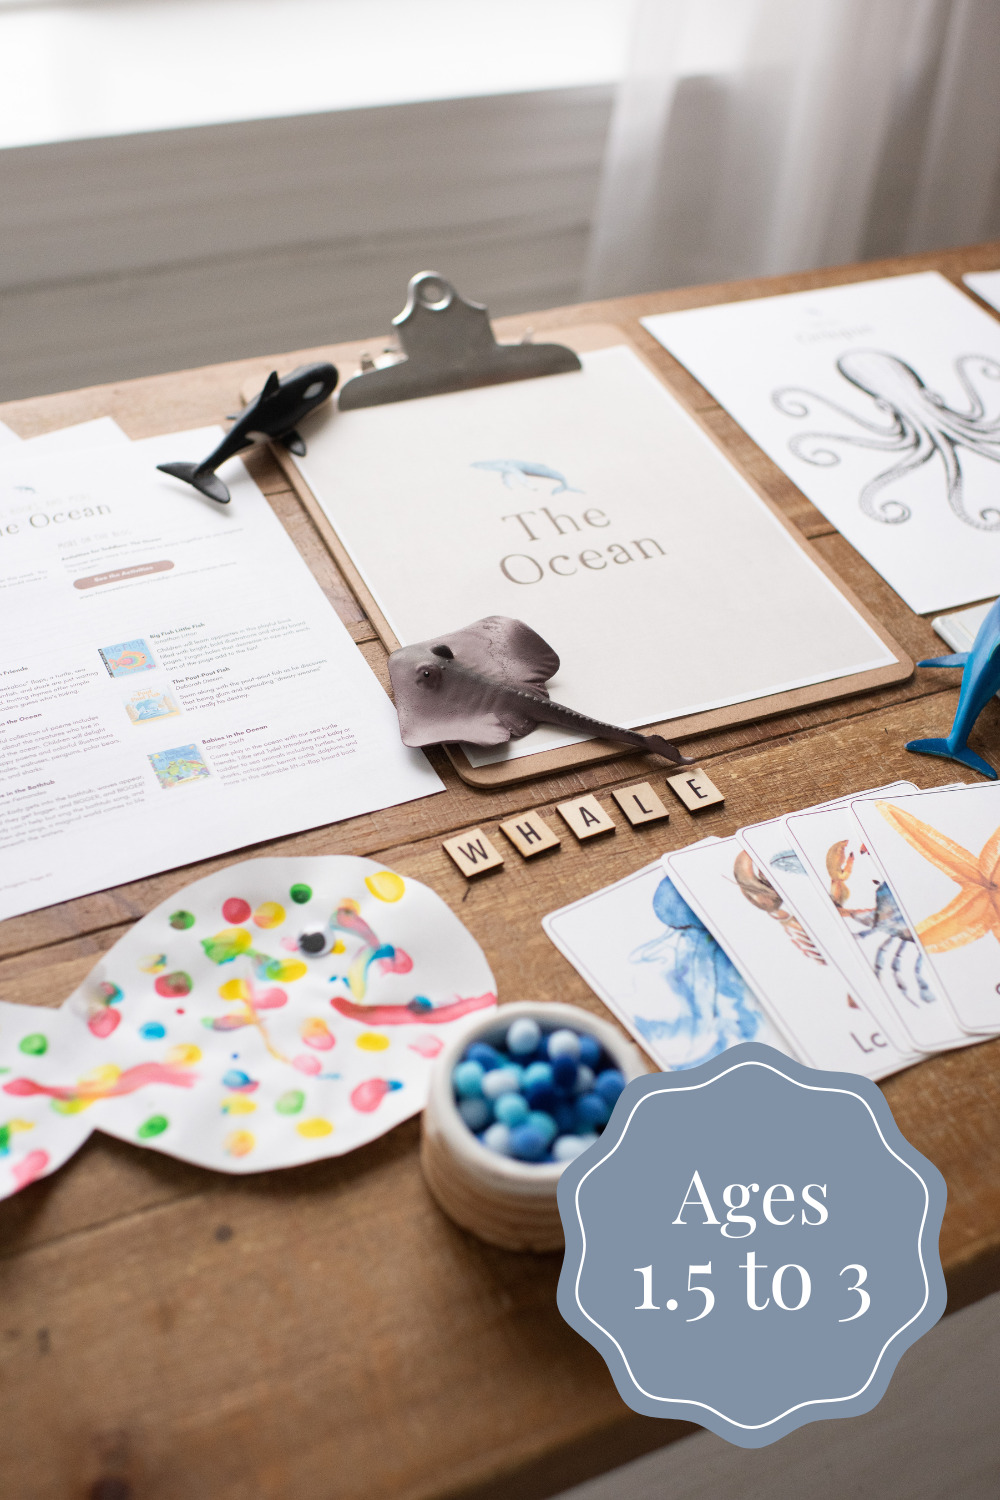
The four season craft I’m going to share with you today is from Playful Days, my toddler program. Playful Days includes one beautiful, simple craft or activity to enjoy with your toddler each and every day. You can take a peek and learn more about it right here: https://shop.howweelearn.com/pages/playful-days
 |
 |
 |
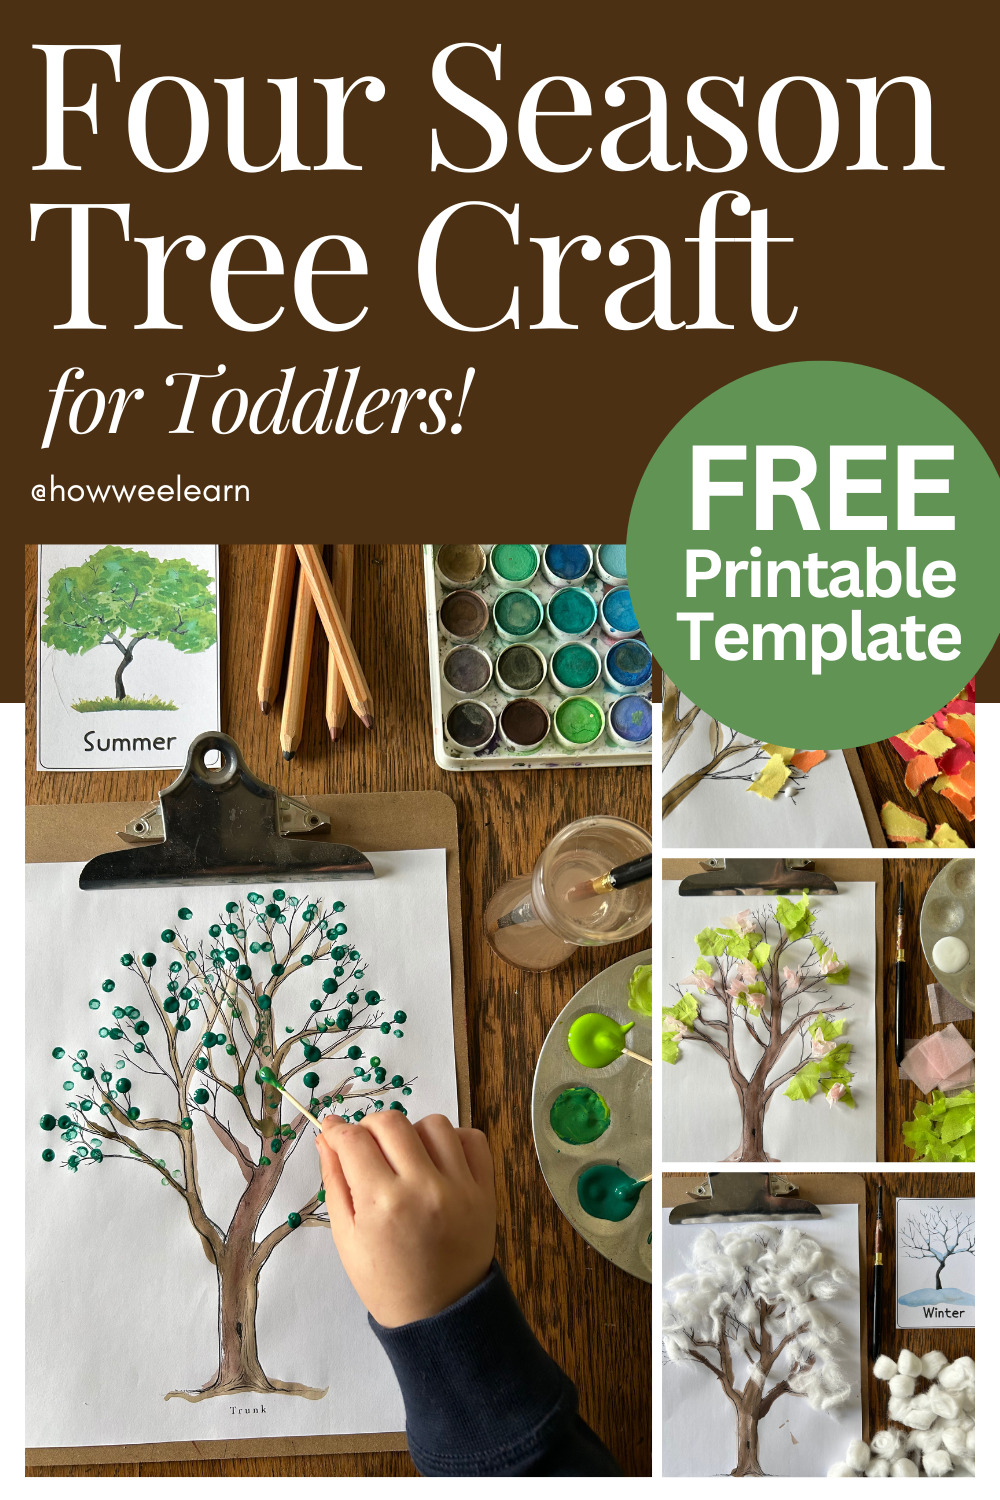
Four Season Craft for Toddlers
Let’s dive right in! Here’s how to make your beautiful sensory four season trees:
Supplies
For the winter tree, you will need:
- Paper
- Paint, crayons, or markers
- Cotton balls
- Glue
- Printable tree (optional)
- Small sticks and a hot glue gun (optional)
And for the rest of the seasons, you will also need:
- Spring: Pastel shades of tissue paper
- Summer: Green paint
- Fall: Red, orange, and yellow construction paper
Directions for Making Your Winter Tree
1. Prep your tree.
There are a few options for making your winter tree. You could:
- use the beautiful tree printable (you can grab that freebie up above in this blog post)
- make a tree using some little sticks and twigs and hot gluing them onto a piece of paper
- draw a simple tree with a marker
We decided to use the printable for our winter tree and do a bit of watercolor painting on it first.
Once you have your tree, you’re ready for the next step!
2. Make some “snow.”
Now, we’re going to add some fluffy white snow to the tree! Get out some cotton balls and have your little one gently pull them apart, stretching them out to look like snow.
This is such a wonderful fine motor and sensory activity for little ones as they use that pincer grasp to pull apart the cotton balls.
3. Glue the “snow” to your tree.
Once your child is happy with how their “snow” looks, they can add some glue to the tree and stick the snow to it.
Ta-da! Your winter sensory tree is done!
Extension: Make a Spring, Summer, and Fall Tree, too!
Ready for some more fine motor practice and simple sensory art? Let’s make trees for the rest of the seasons!
Spring Tissue Paper Tree
To make your spring tree, instead of using cotton balls as snow, we’re going to rip up little pieces of pastel-colored tissue paper and glue them to the tree to represent all of the beautiful leaves and flowers starting to bloom.
 |
 |
You could also have your little one scrunch up their tissue paper pieces before gluing them on to give your tree some lovely texture.
Pro tip! To glue the tissue paper pieces, put a bit of glue on a paper plate or paint palette (whew, that’s a tongue twister!). Your little one can dip a cotton swap into the glue and dot it on their page.
This is especially handy if you happen to also have a glue-happy child who enjoys squeezing out every last ounce of glue until their page becomes a goopy glue pool.
Summer Finger Painting Tree
To make your summer tree, get out some washable green paint and paint green leaves on your tree! You could use some cotton swabs to dot little leaves, or your toddler could have fun making fingerprints all over the tree for the leaves.
Pro tip #2! Add a little bit of dish soap to the washable paint to make clean-up extra easy.
 |
 |
Fall Construction Paper Tree
And last but not least, to make your fall tree, have your little one rip up pieces of red, orange, and yellow construction paper for all of those beautiful fall leaves.
To make this easier, you could cut the construction paper into thin strips then have your child rip those strips into smaller pieces. This would also be a wonderful opportunity to practice some scissor skills, snipping that strip of paper into smaller pieces!
Once all of your leaf confetti is ripped or cut, cover your tree with glue and sprinkle those leaves on. You could also add a bit of glue at the tree’s base for the fallen leaves.
And there you have it! A sweet four season craft to enjoy with your little one while strengthening fine motor skills and enjoying some different sensory experiences.
I hope you and yours enjoyed it!
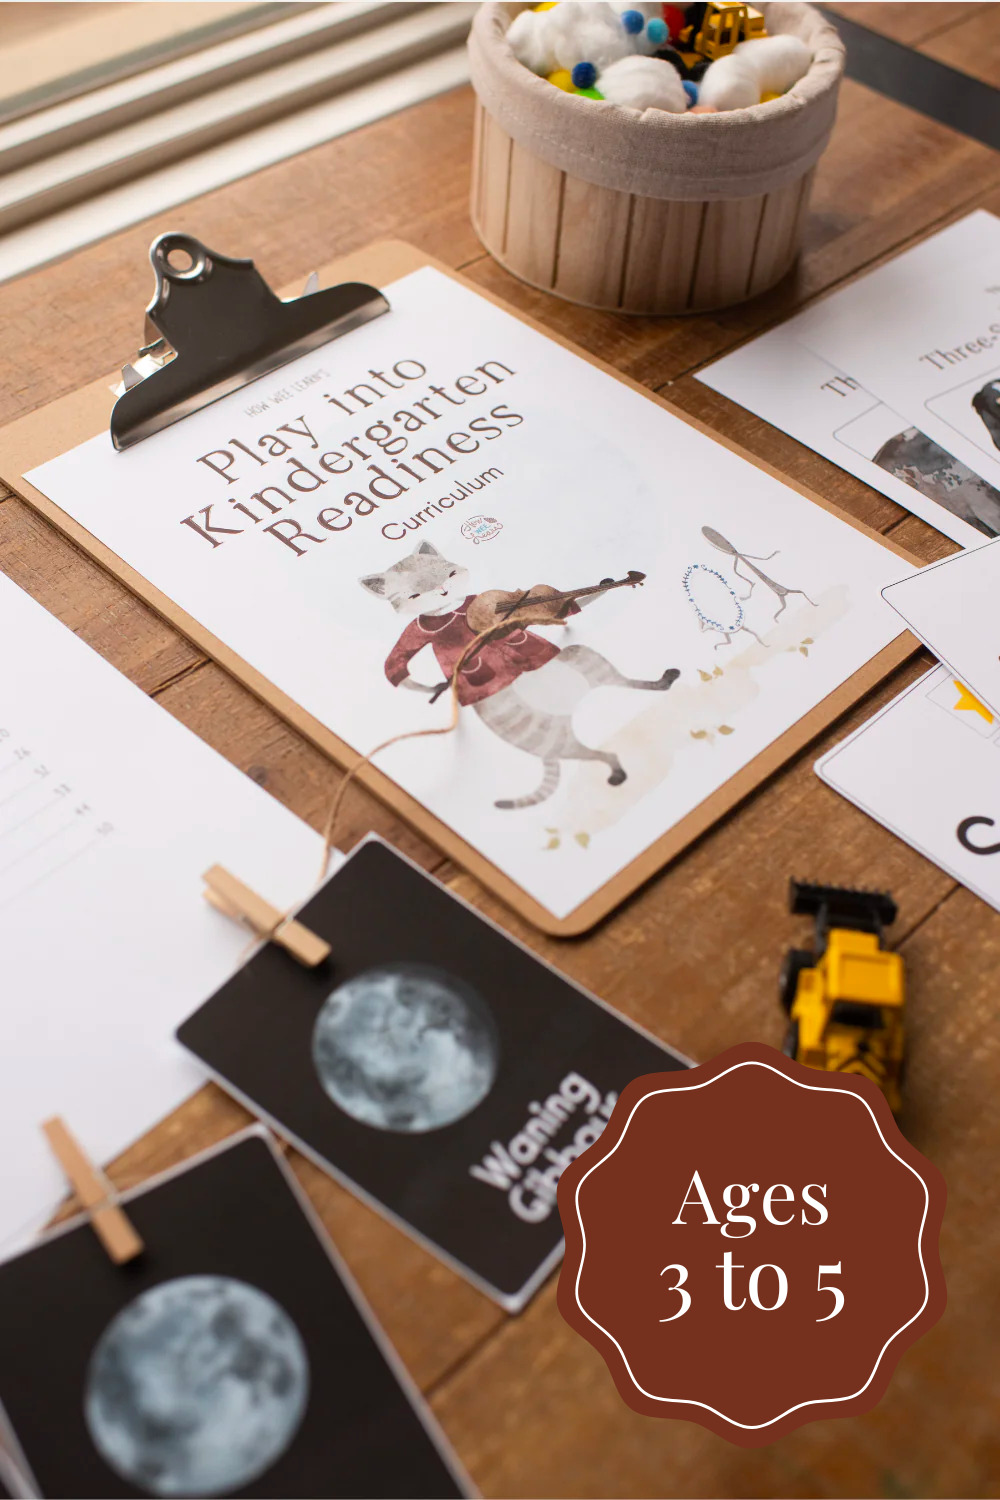
If you would like more simple crafts and activities like this, take a peek at Playful Days! It has one craft or activity to enjoy with your little one each day as you explore themes like The Seasons, Insects, The Ocean, and more.
Learn more about Playful Days right here:
https://shop.howweelearn.com/pages/playful-days
 |
 |
 |
Thank you so much for reading, sweet friend!
xo
Sarah



Leave a Reply