If you have been reading our blog for a little while, you likely know I enjoy nature learning and being outside. However, I feel just as strongly about nurturing my wee ones interests. Which brings me to … our Halloween Nail Art Tutorial 🙂
Madeline (11) absolutely loves creating and making art in many different ways. One of her favourite ways right now is through Nail Art. We teamed up to create these 5 adorable (and simple) Halloween designs a few nights ago – and I am so very glad we did. As we sat, quietly painting and chatting and creating, I discovered (well, re-discovered) what a wonderfully creative child she is.
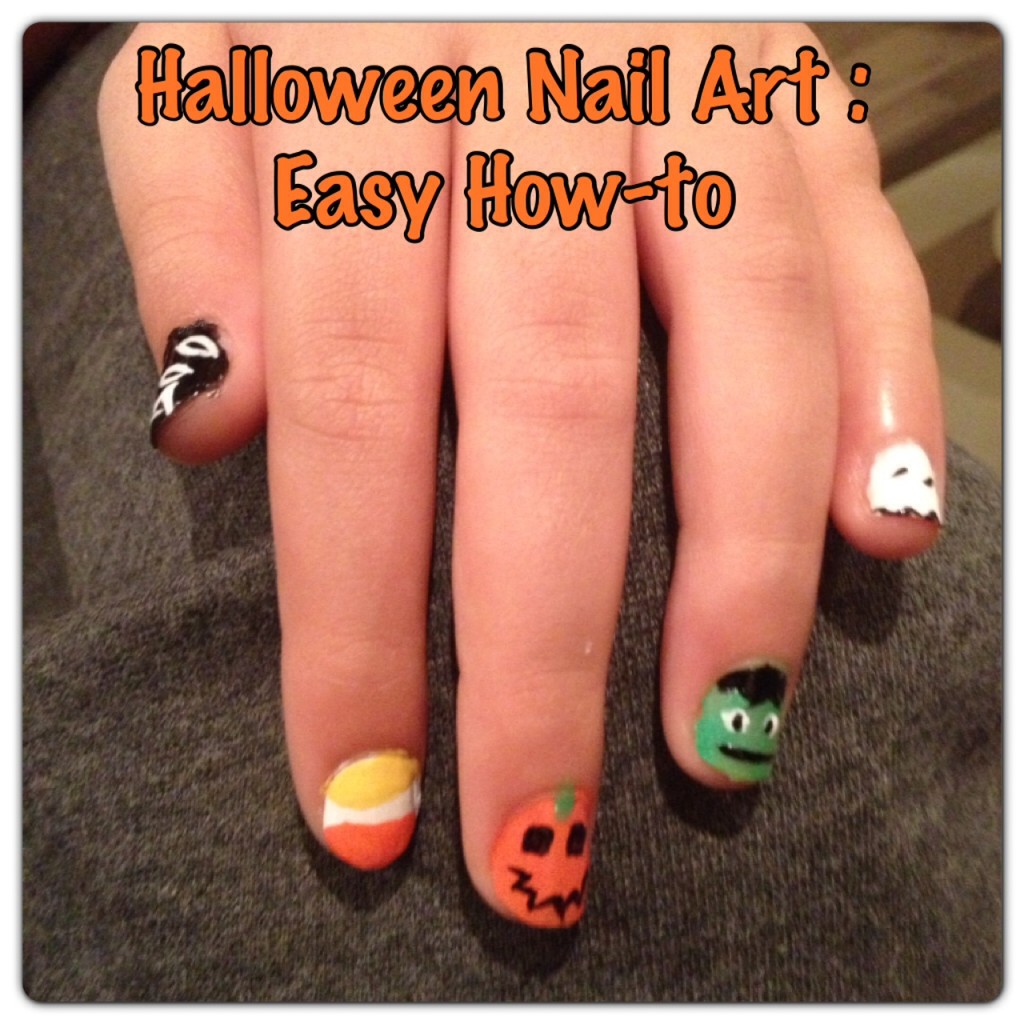
Together we created these 5 Halloween Nail Art Designs. They are simple enough for anyone to do! We used thin art paintbrushes for the tiny details. Here is what we did:
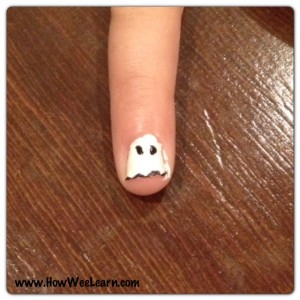
1. Cute-as-can-be Ghost
This little ghost was definitely one of the simplest designs. We completed him in only 2 steps:
- First, we painted Madeline’s nail all white
- Once that dried, we used the think art brush to draw on eyes and a black wavy line at the bottom to give the ghost some shape.
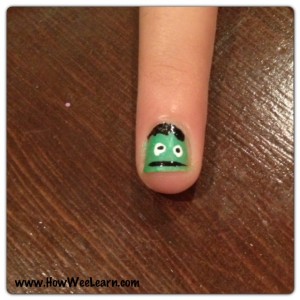
2. Adorable (I mean Spooky) Frankenstein
Don’t be frightened by the look of this little Frankenstein – he was very simple to design and create!
- First we painted the whole nail green
- Once the paint dried, we dotted on two white circles (step one for the eyes)
- After that dried, we dotted little black pupils in the white circles
- Finally we added a straight little line for the mouth, and a zigzag black hair line
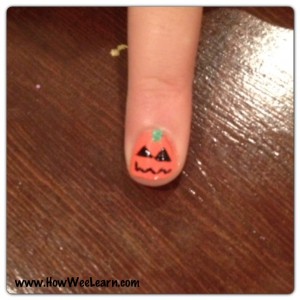
3. Little Orange Jack-o-Lantern
I think it would be very cute to paint 5 little jack-o-lanterns onto little finger nails to go with the 5 Little Pumpkin Song! Here is how we made our one little pumpkin:
- First we painted the whole nail orange
- Once it was dry, we added to little black triangles with the thin art brush and a zigzag little smiling mouth too.
- Finally, we dotted on a green stem at the top
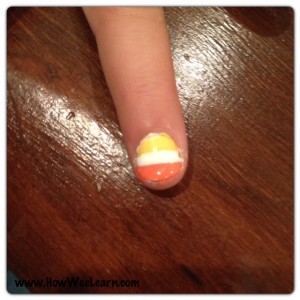
4. Candy Corn
This Candy corn, we later realized, is in the wrong order!! Our Candy Corn should have been white, yellow, and then orange. Next year we will get it right!
- We started by painting the whole nail white (since white was the lightest colour, we knew the other colours would cover it well)
- Once it was dry, we painted a yellow and an orange stripe on the top and bottom.
- After that was dry, we made a nice straight line of white in between the other two colours, just to even out the lines.
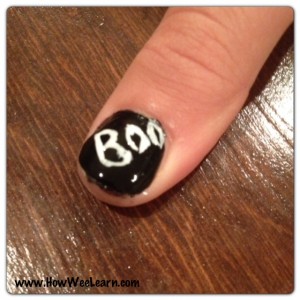
5. BOO
Finally, we wrote the word BOO – which clearly sounds like the easiest Halloween Nail Art design – but for me, it was the trickiest! I had trouble getting the brush to evenly go around in the “O” shape. Anyways, this is how we managed
- First we painted the whole nail black
- Then, with the thin art brush, we wrote the letters BOO with white
- It was easiest to start at the top of the letters, removing the brush frequently, instead of doing one big stroke. So for the “O” I first did a “( ” and then went back to the top and did another ” )”. Hmmmm … clear as mud?
Though this activity was a different form of creativity then I am used to it was certainly a lot of fun collaborating and creating with my Madeline. I think this will be a Halloween tradition!
These 5 Halloween Nail Art designs were truly very simple to make, but look very impressive. A wonderful Trick and Treat 🙂 !!
Should you be interested in a Natural Nail Polish for children, we like Piggy Paint. Please note this is an affiliate link, should you make a purchase, thank you for supporting our website. We like Piggy Paint because it is non-toxic, low odor, and nice and colourful!
Please consider following us on Pinterest and Liking us on Facebook so we can share even more creative learning ideas with you and your wee ones!

Wow this bring back memories for me, I loved doing my nails, although I am sure they never were THAT cute! So fun!!
Thank you Laura! I used to do my nails all the time as well. So fun getting to play all over again!!
Looks fun! I am a nail biter, but hopefully my daughter will eventually want some nail art 🙂 Thanks for sharing with Afterschool!
Thank you for hosting! Yes, we did have a lot of fun. A great way to make some memories
Very cute! I’m glad I have one daughter (she has three little brothers) so we can do things like this. Thanks for sharing at After School!