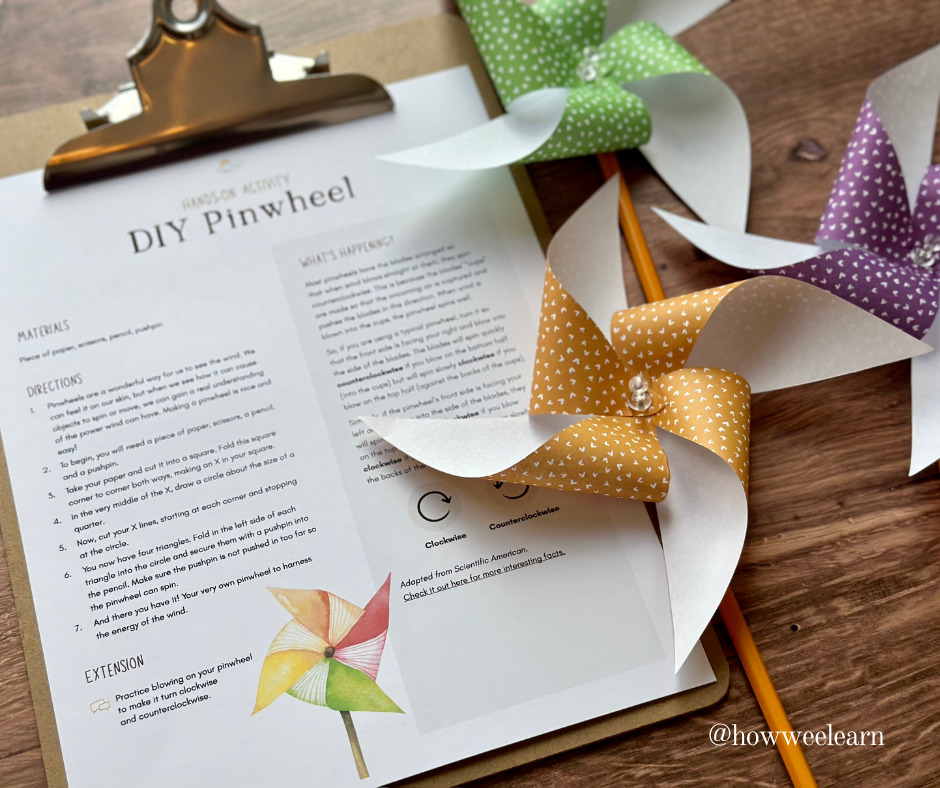
Want to make a super fun pinwheel with just a piece of paper, a pencil, scissors, and a pushpin? Yep, that’s all you need! Oh, and if you’re also curious about wind, forces, and maybe even a few cool experiments to try after, you’re in the right place.
We’re about to dive into the magic of making a classic pinwheel — a simple but awesome way to explore how wind works. You can feel the wind on your face, sure, but when we see how it can cause objects to spin or move, we can gain a real understanding of the power that wind can have. And that’s when the real learning (and fun) begins!
So grab your supplies and let’s get spinning!

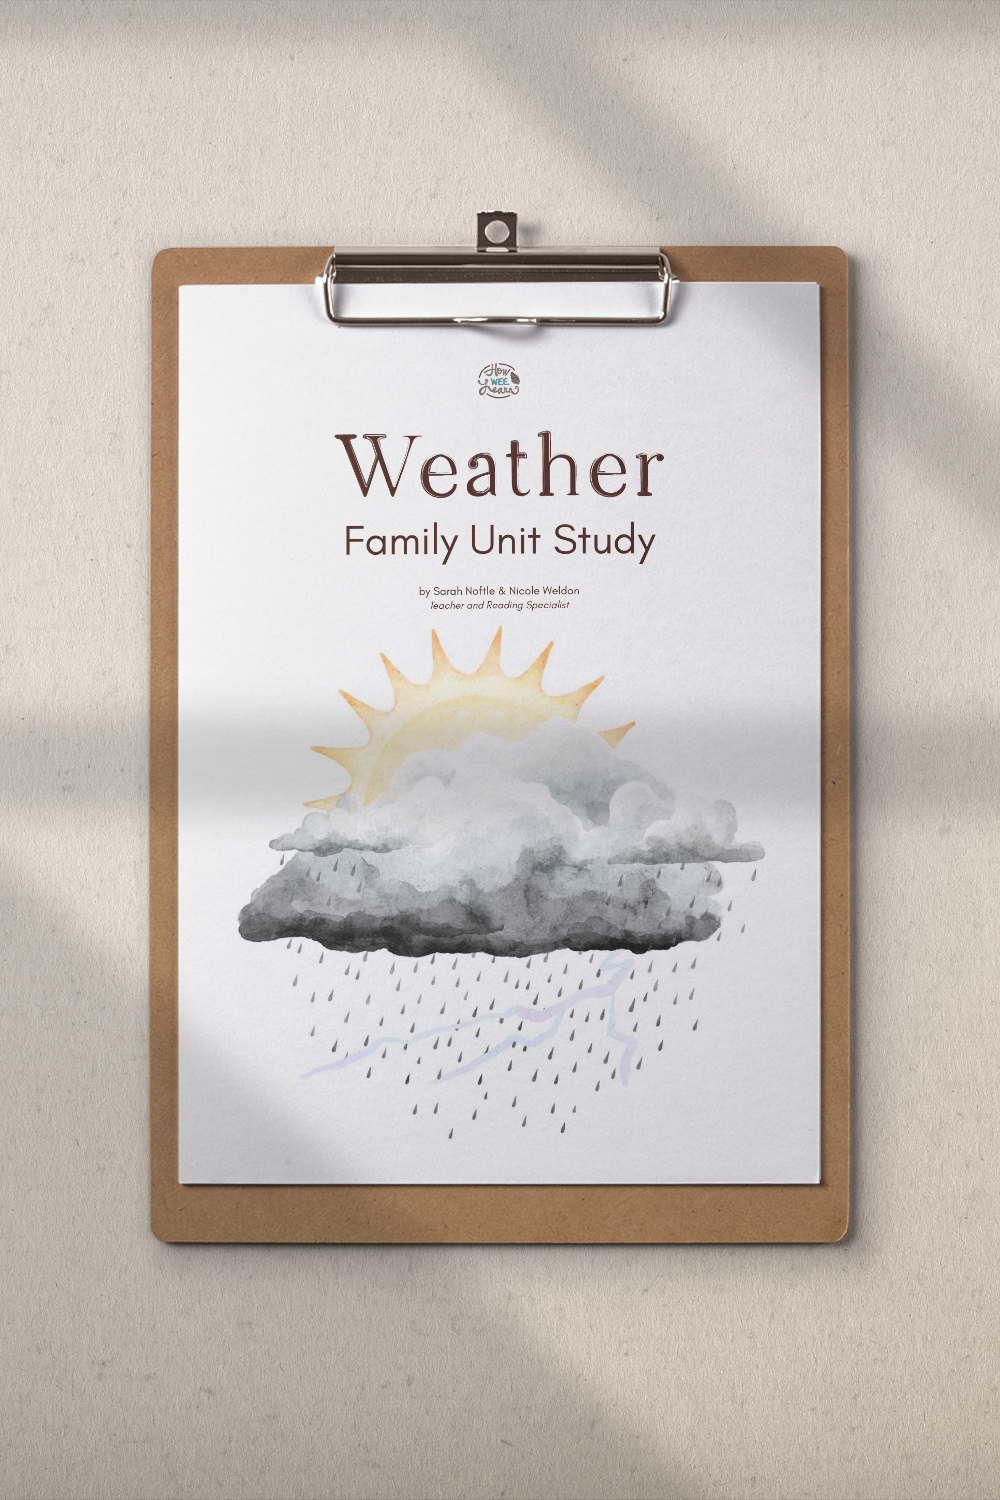
The Weather Family Unit Study
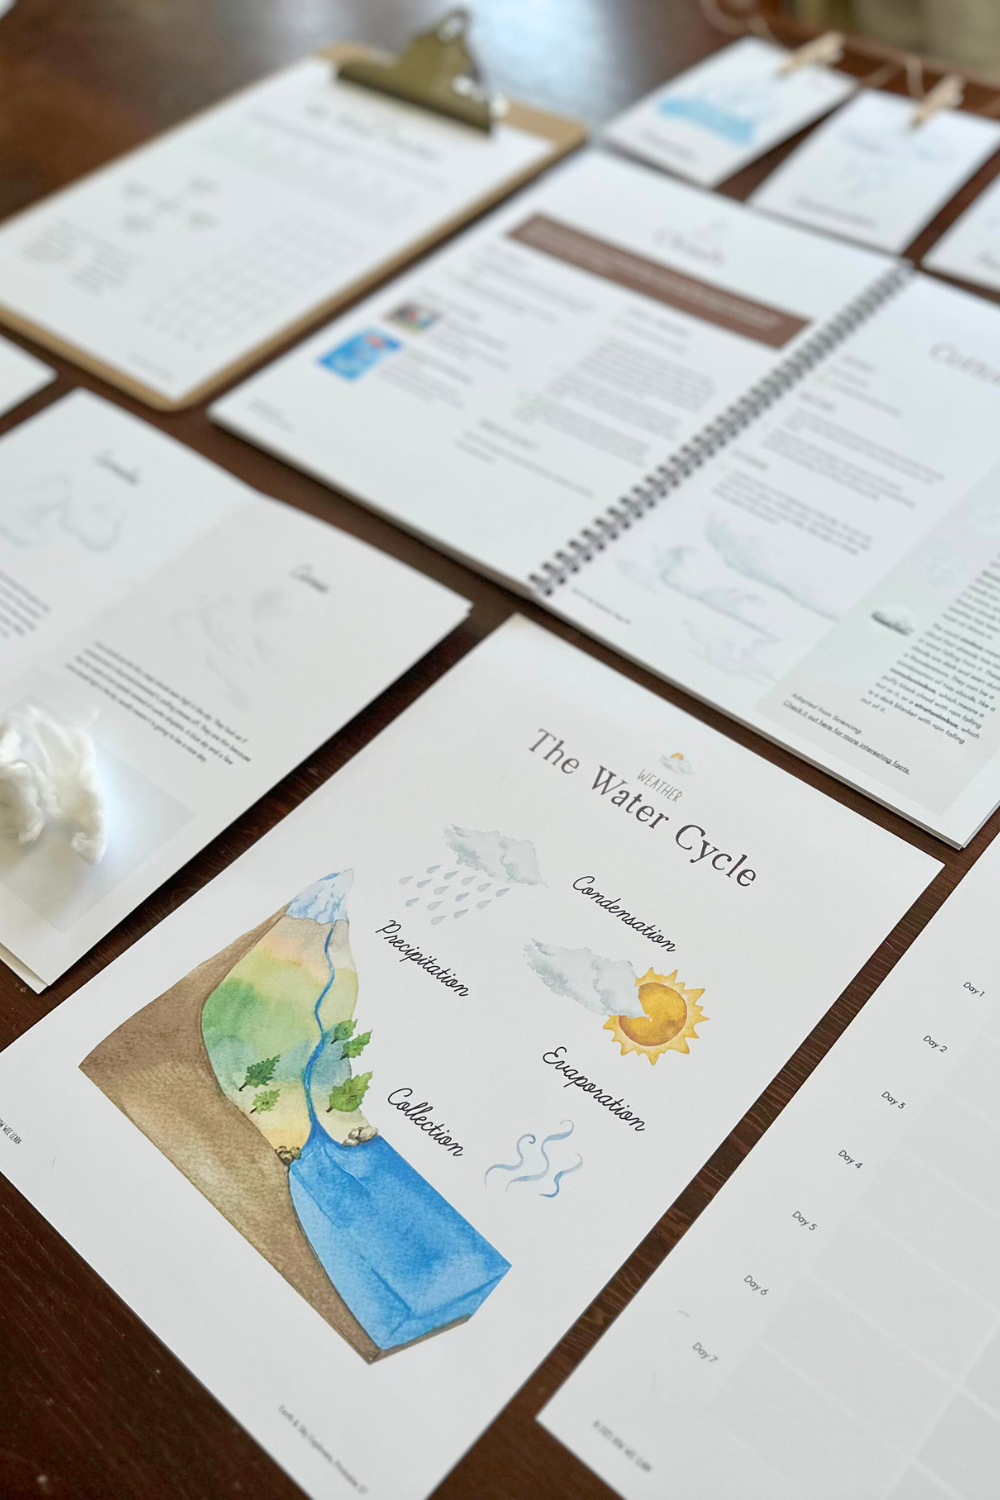
This activity is one of the hands-on activities from my Weather Family Unit Study! In my unit studies, we take one big topic, like the Weather, and break it down into 10 manageable, bite-sized learning topics. This format gives you the freedom to dive into learning at a pace that works for your family.
Want to take a closer look at a unit study? Download a sample right here:
How to Make a Pinwheel
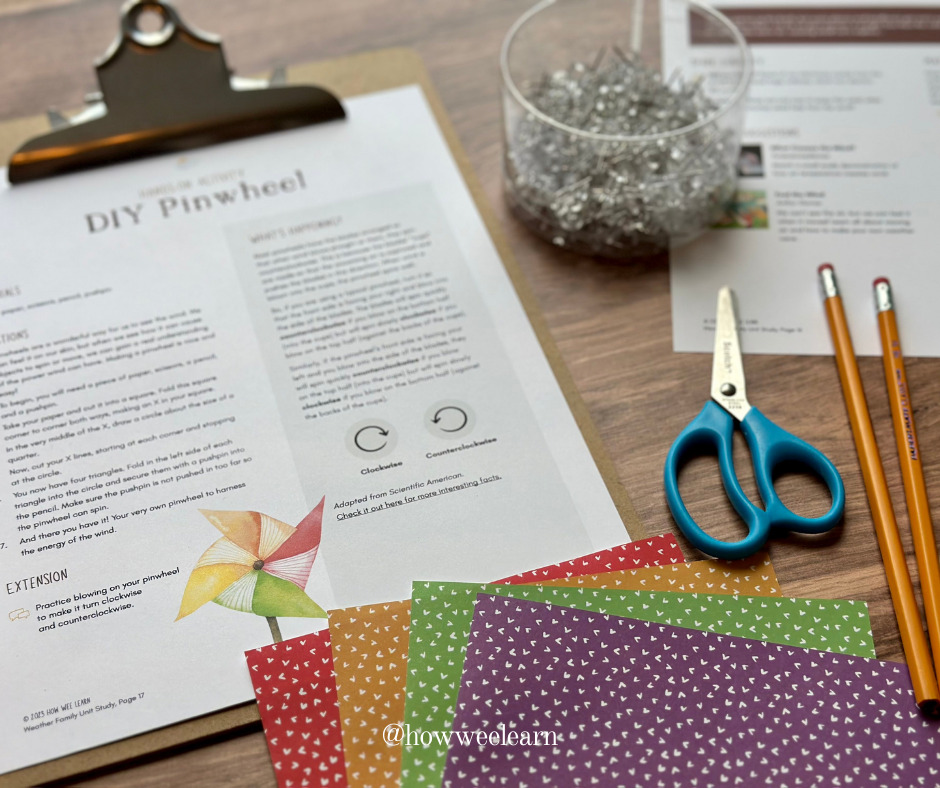
For the craft, you will need:
- A square piece of paper (I like to use origami paper)
- Scissors
- A pushpin
- A pencil (with an eraser on the end)
I have tried quite a few variations on the classic pinwheel over the years—bending a straight pin into the top of the pencil eraser, using a dowel, securing the pinwheel with a brad onto a straw, and all different types of paper—but I keep coming back to the classic.
This method is simple, easy, and I always seem to have the supplies on hand (which is often half the battle!).

Okay, let’s get to the step-by-step.
As I mentioned above, I like to use origami paper—it’s already square, and the size is perfect to use with a pencil.
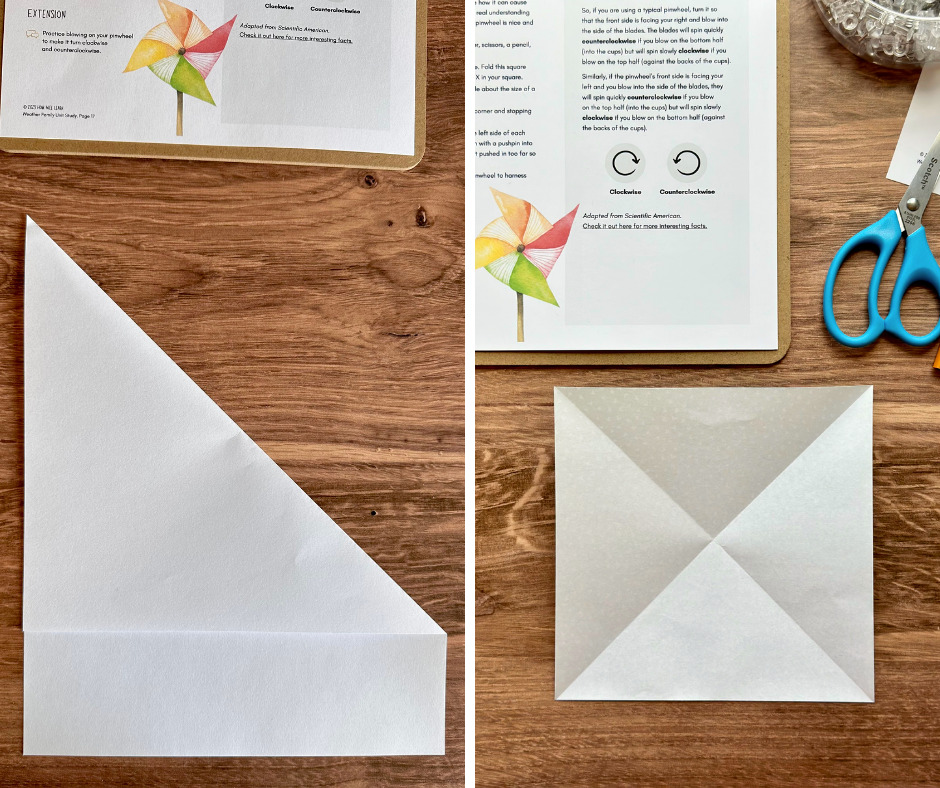
If you start with a rectangular piece of paper, simply fold one corner over, like in the photo below, then cut off the bottom.
Now fold your paper from corner to corner both ways, making an X.
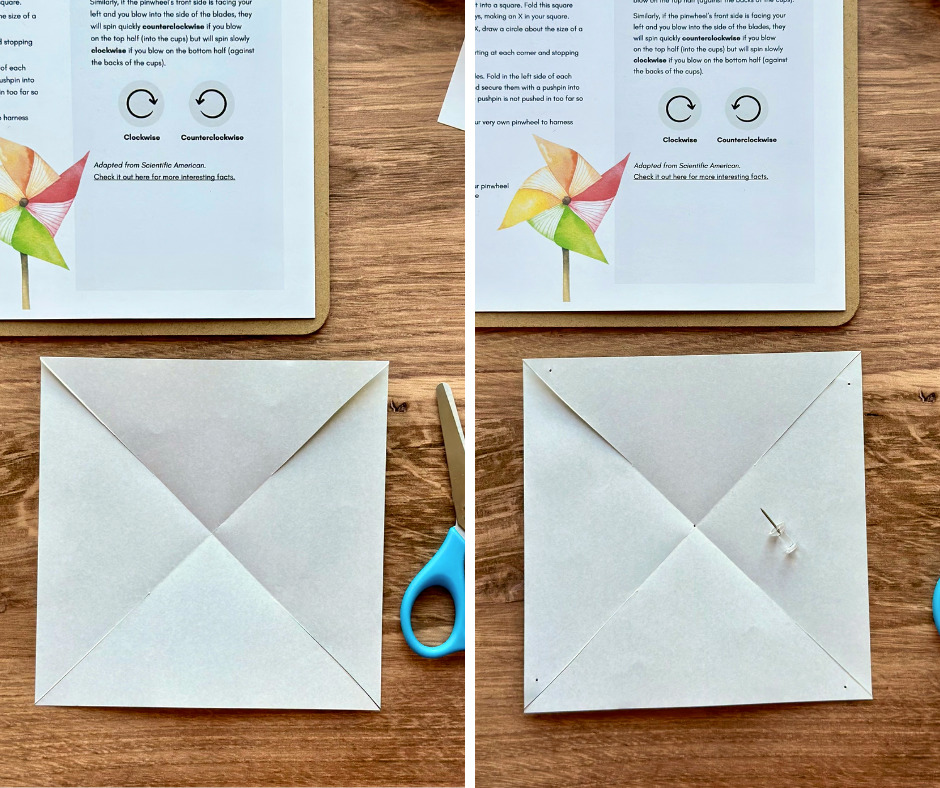
Cut down those fold lines until you are around an inch from the center. You don’t have to be too exact with that measurement; just make sure your cuts are each about the same distance from the center.
Next, I like to pre-poke holes for the pushpin. This makes it so much easier to bend the paper and hold everything together without it all slipping through your fingers. Trust me on that one.
So, poke a hole in every other point, as well as in the center of your piece of paper.
Carefully bend one of those points toward the center and put the pushpin through it. Bend the next point and put the pushpin through that hole as well (so it is under the first point). Keep going until all four points with holes are on the pushpin.
While holding those four points so they don’t fall off, put the pushpin through the center hole and into the eraser on the end of your pencil.
You’ll want to make sure it’s pushed in far enough that it won’t fall out, but loose enough that the pinwheel can still freely spin.
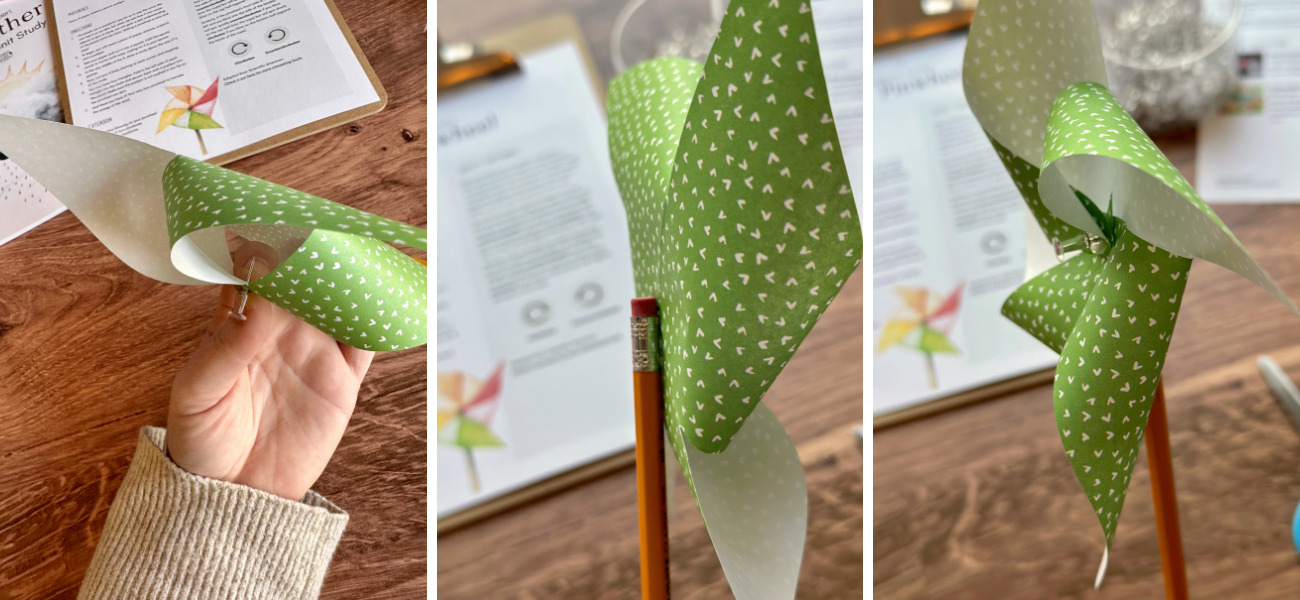
And that’s it. You did it!
Blow at your pinwheel, aiming into the cups to make it spin—or take it outside on a windy day and let the wind do its thing.
Pinwheel Extension Activities
Did you know that most pinwheels have the blades arranged so that when the wind blows straight at them, they spin counterclockwise? This is because the blades’ cups are designed to capture the oncoming air, which pushes the blades in that direction.
As your child tries out their pinwheel, you might ask:
- When you blow straight at your pinwheel, what way does it turn? Clockwise or counterclockwise?
- Can you make it spin in the opposite direction?
- What happens if you blow at it from the side?
- Can you find ways to make your pinwheel spin faster?
- What happens if you use a different-sized piece of paper?
I hope you and your little ones enjoyed this classic childhood craft that is packed full of learning opportunities!
If you’re looking for even more ideas like this—hands-on activities to learn about the weather—you’ll want to check out my Weather Family Unit Study. From the water cycle to tornadoes, weather forecasting, climate, and everything in between, your little meteorologist will love it!
See a Sample and Buy the Weather Family Unit Study:
https://shop.howweelearn.com/products/family-unit-study-weather
 |
 |
Thank you so much for reading, sweet friend,
xo
Sarah

Leave a Reply