Norah and I had so, so, so much fun with this seed craft for kids a few years back! So much so, that I simply had to share it with you again. Even though seed activities for kids are ‘sprouting’ all over this blog already…
I mean, we have done seeds in mason jars, seed art, a huge seed collage post… Do I really need to share ANOTHER fun seed craft for kids?
Apparently so, my friend. Apparently so.
Free Plant and Animal Life Cycle Printable
But juuust before we get into this seed craft, have you gotten your Plant & Animal Life Cycle Freebie yet!? This one includes life cycles for butterflies, birds, bees, frogs, and sunflowers AND gives you a sample from the Butterfly theme in Summer Camp at Home:
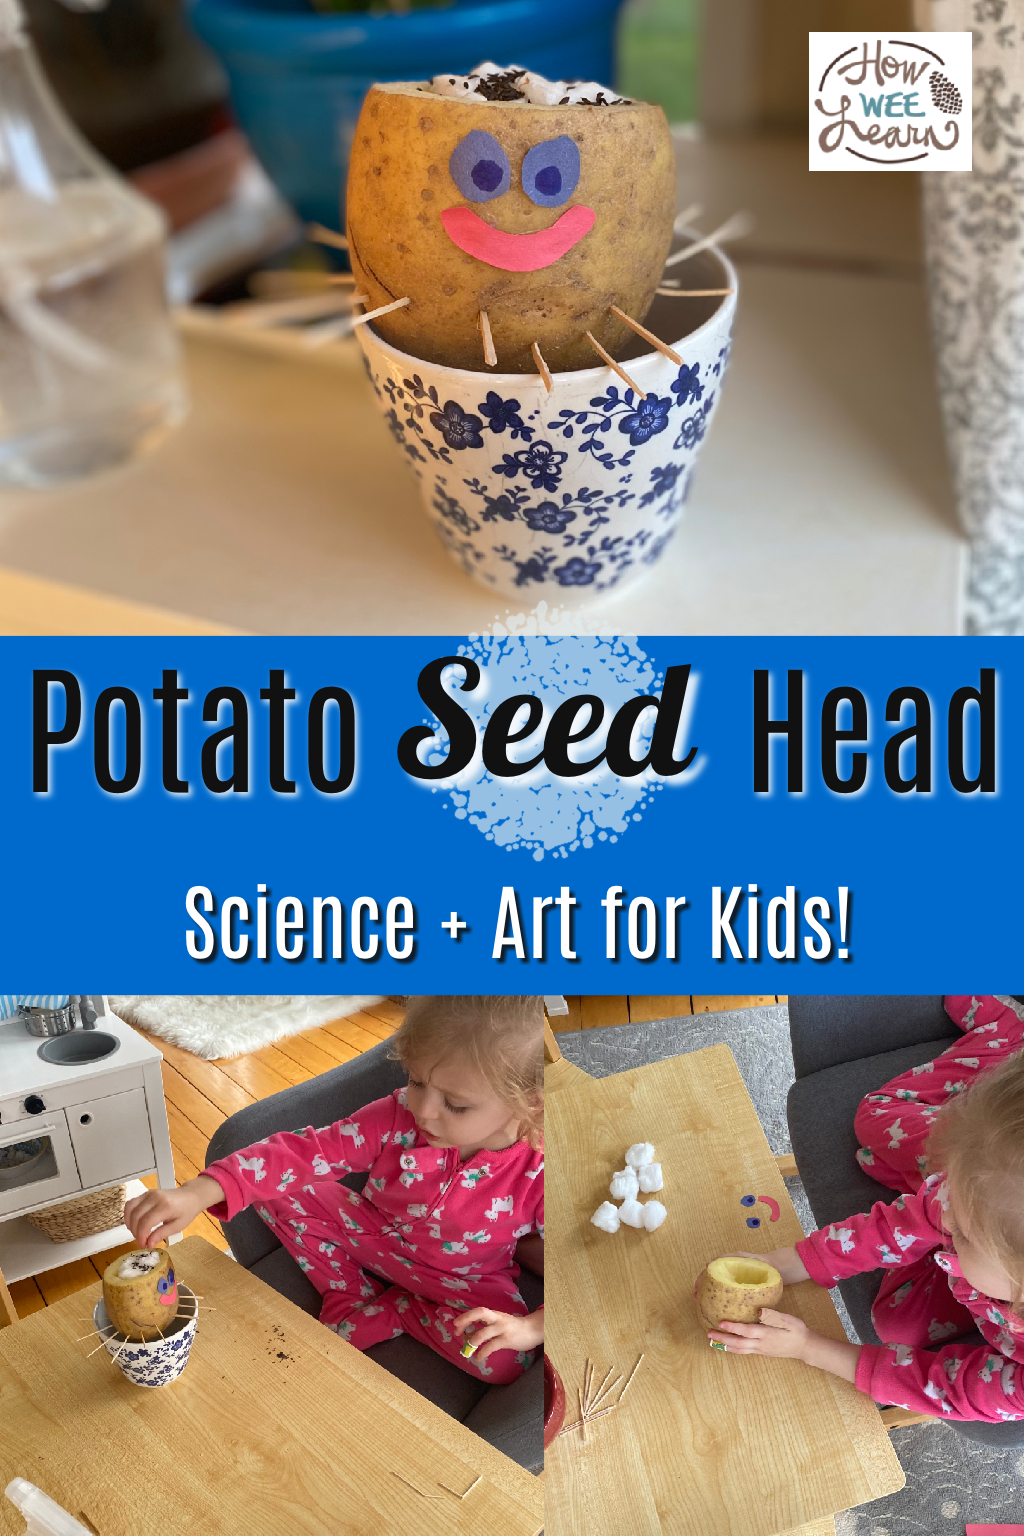
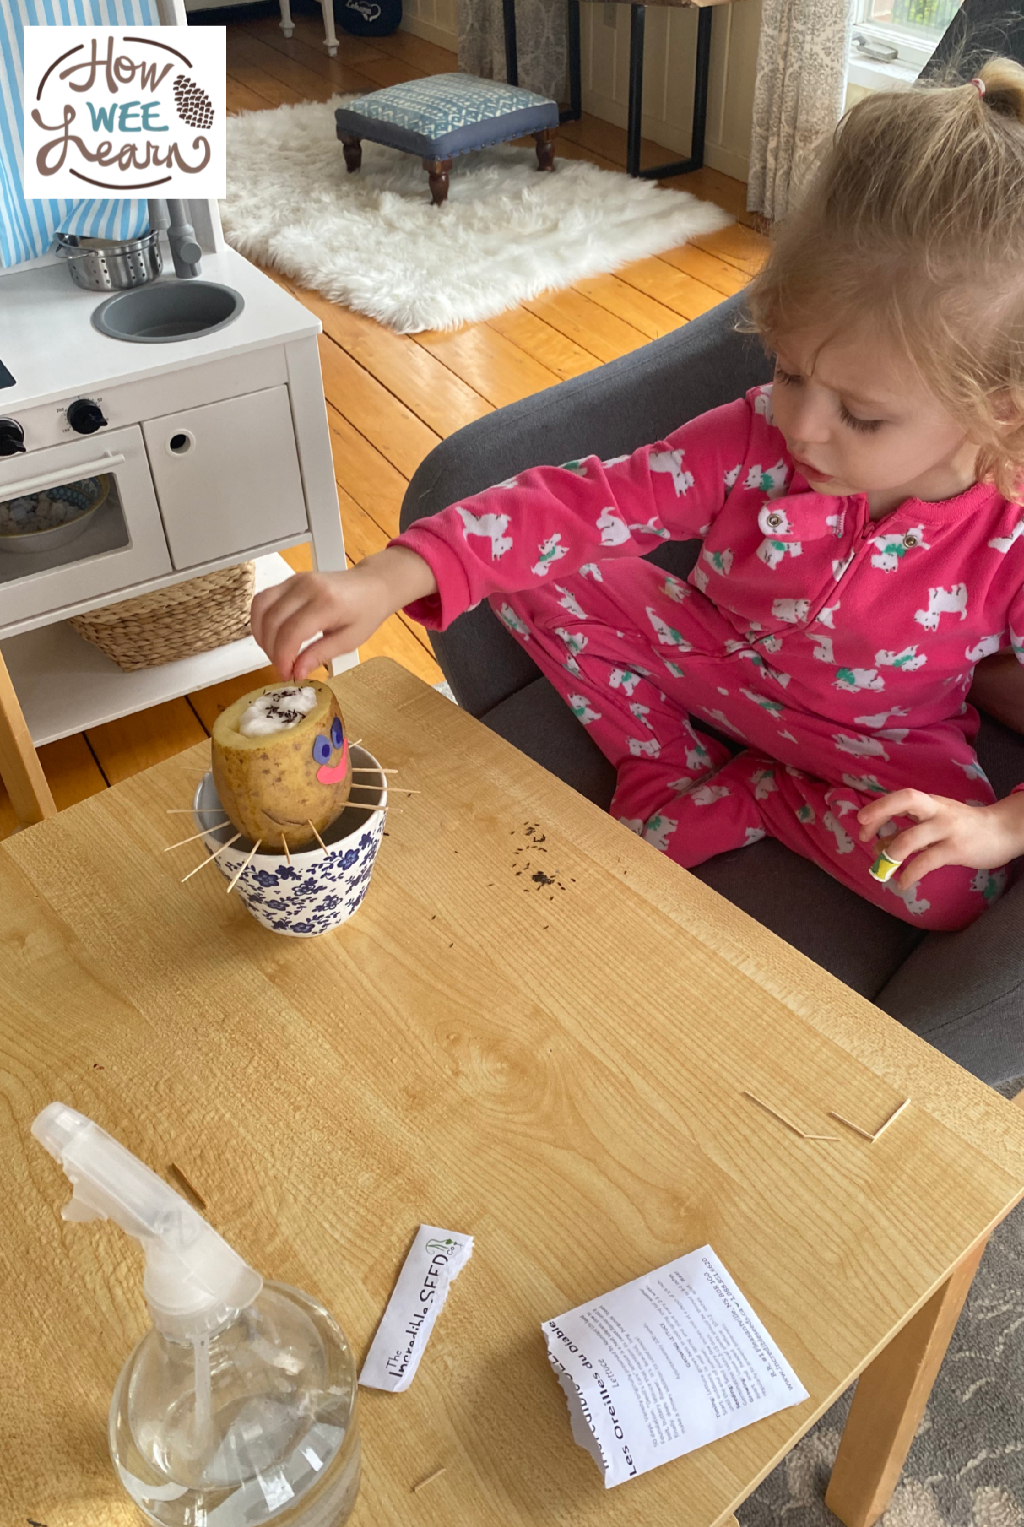
Mr. Potato Seed Head
Ready to make the sweetest little Potato Seed Head? Let’s Go!
This craft was super simple to make, could be done in a million different ways using what you already have on hand at home, and will keep children mesmerized awaiting those sprouts for days.
To begin, take a potato and cut the top off. Then, dig a little hole out of the top using a spoon. This was a little bit tricky to do, so I did this part. You could really use any vessel for this, I believe—a sweet potato, squash, rutabaga… whatever you have on hand. A carrot would be adorable! I think an onion would be stinky though. I wouldn’t recommend an onion…

Next, get that potato (or yam, or squash, or carrot…) in an upright position. We did this with lots and lots of toothpicks stuck around the middle so it would sit perched on a cup.
We ended up using A LOT of toothpicks for two reasons. First of all, Norah really loved sticking the toothpicks into the potato. Second of all, we used cheap toothpicks that kept breaking. A good quality toothpick would serve you very well. (There’s a sentence I never thought I would write! Who am I kidding… I write the weirdest stuff in this space.)

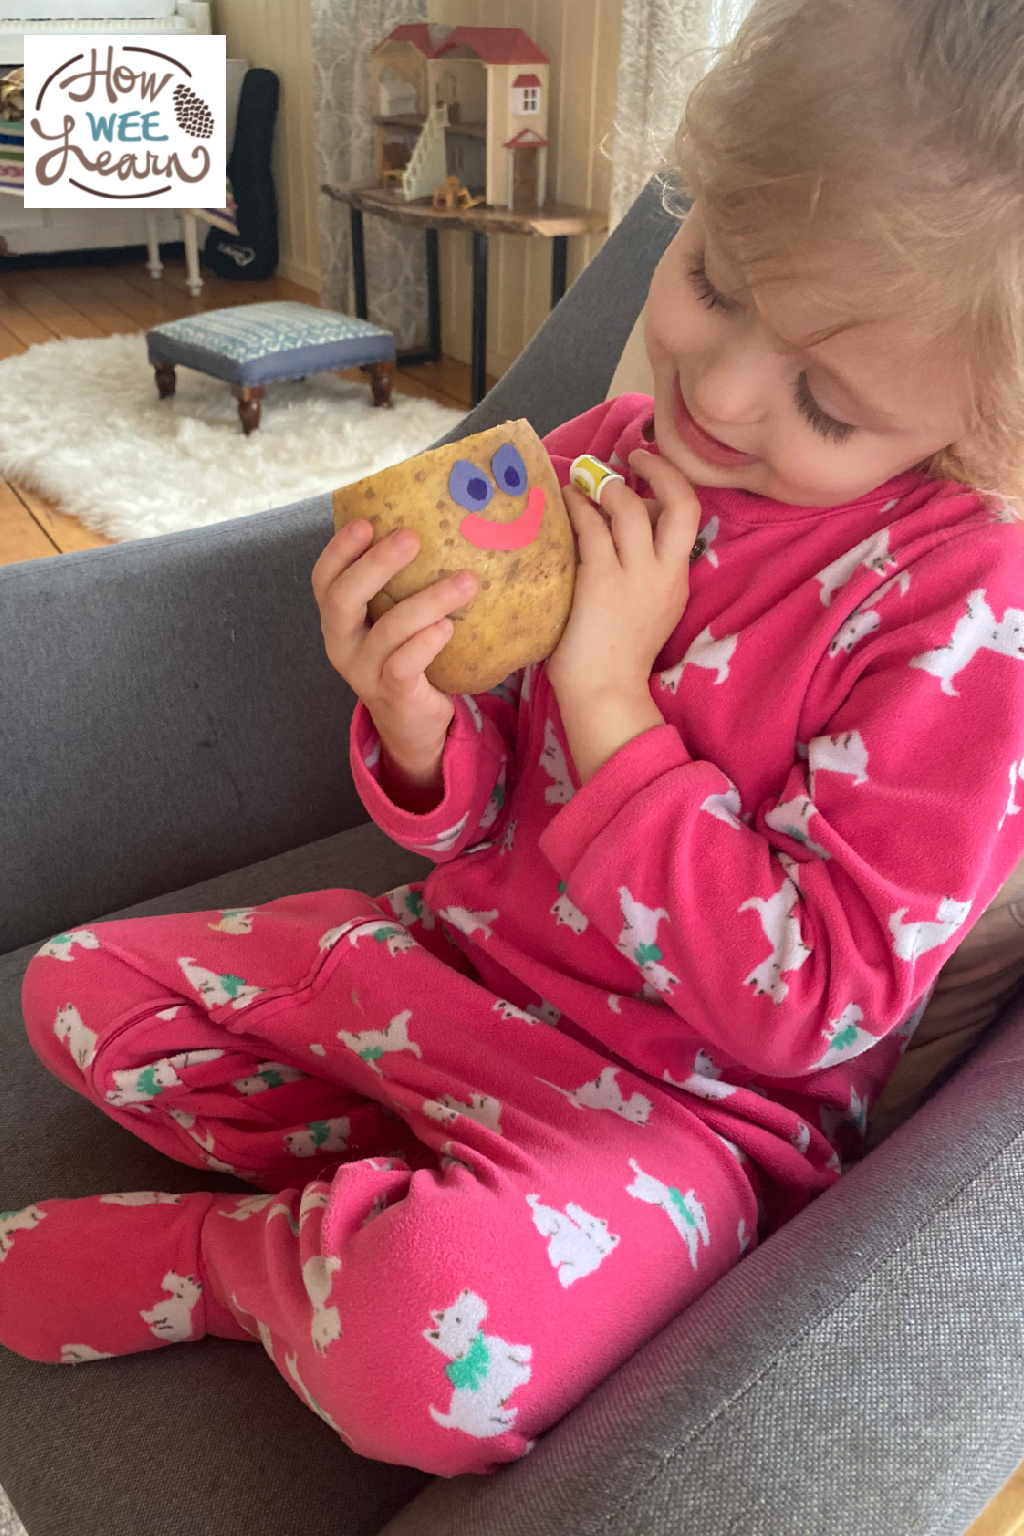
Okay then, we now have our veggie sitting in a snug and comfy position. Take a few moments to cut out an adorable little face from construction paper. We just did some eyes and a smile, but go nuts. Googly eyes would also be delightful! We used hot glue to stick these on so it would happen nice and quick.
(AND for those confused by why the photos don’t match these instructions exactly, it is because I took the photos, waited 4 long weeks to get the words out of my head and into a blog post, only to then realize that my recollection of the activity was not as spot on as I had thought it was. But you are gracious, so I know you will forgive me. Plus, the order really doesn’t matter. See? I even did it wrong, and it still worked!)
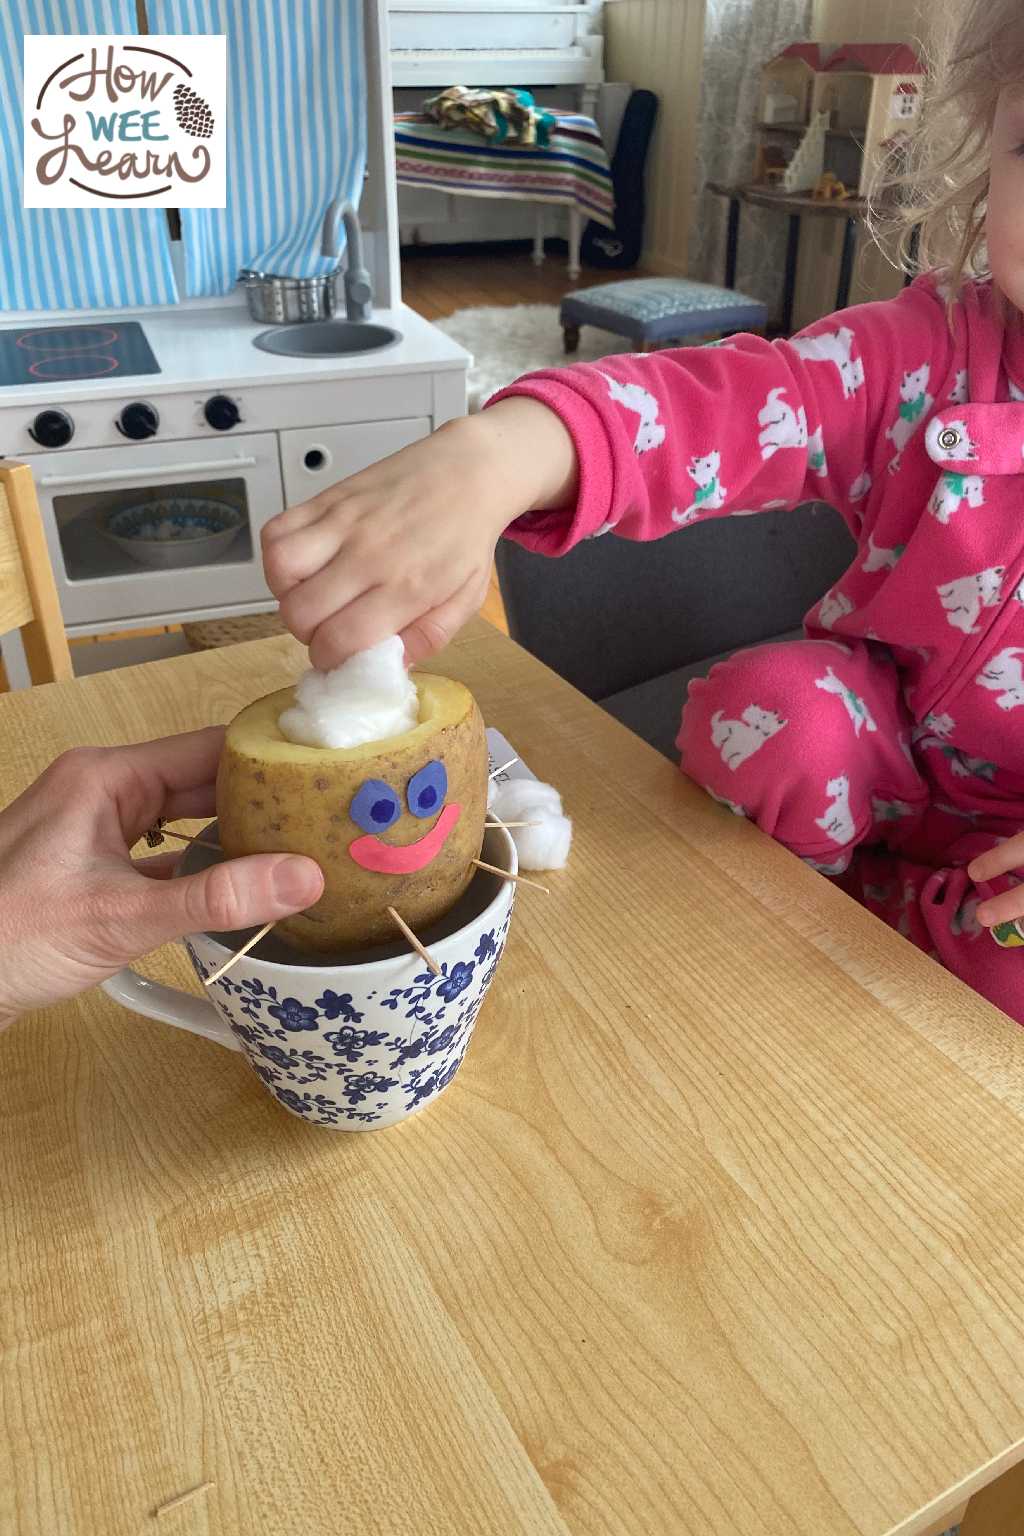
Next, pop some cotton balls into the hole you dug out of your veggie and moisten with some water. We used water in a spray bottle, because we are very, very, very independent right now, being three and all, so I wanted to avoid a lot of spillage.

Now, you are set to sprinkle in some seeds! Any fast-growing seeds will work. Alfalfa sprouts, grass seed, lettuce, radishes, or micro greens will do the trick.
potato seed head activity for kids
Place your Potato Seed Head in a sunny spot and spray with water every day. You will be amazed at how quickly that little guy grows his hair!

potato seed head activity for kids
And there you have it. Your very own little Potato/Carrot/Yam/Radish/Turnip/Squash/Zucchini Seed Head! I hope you and your little ones love it every bit as much as we did.
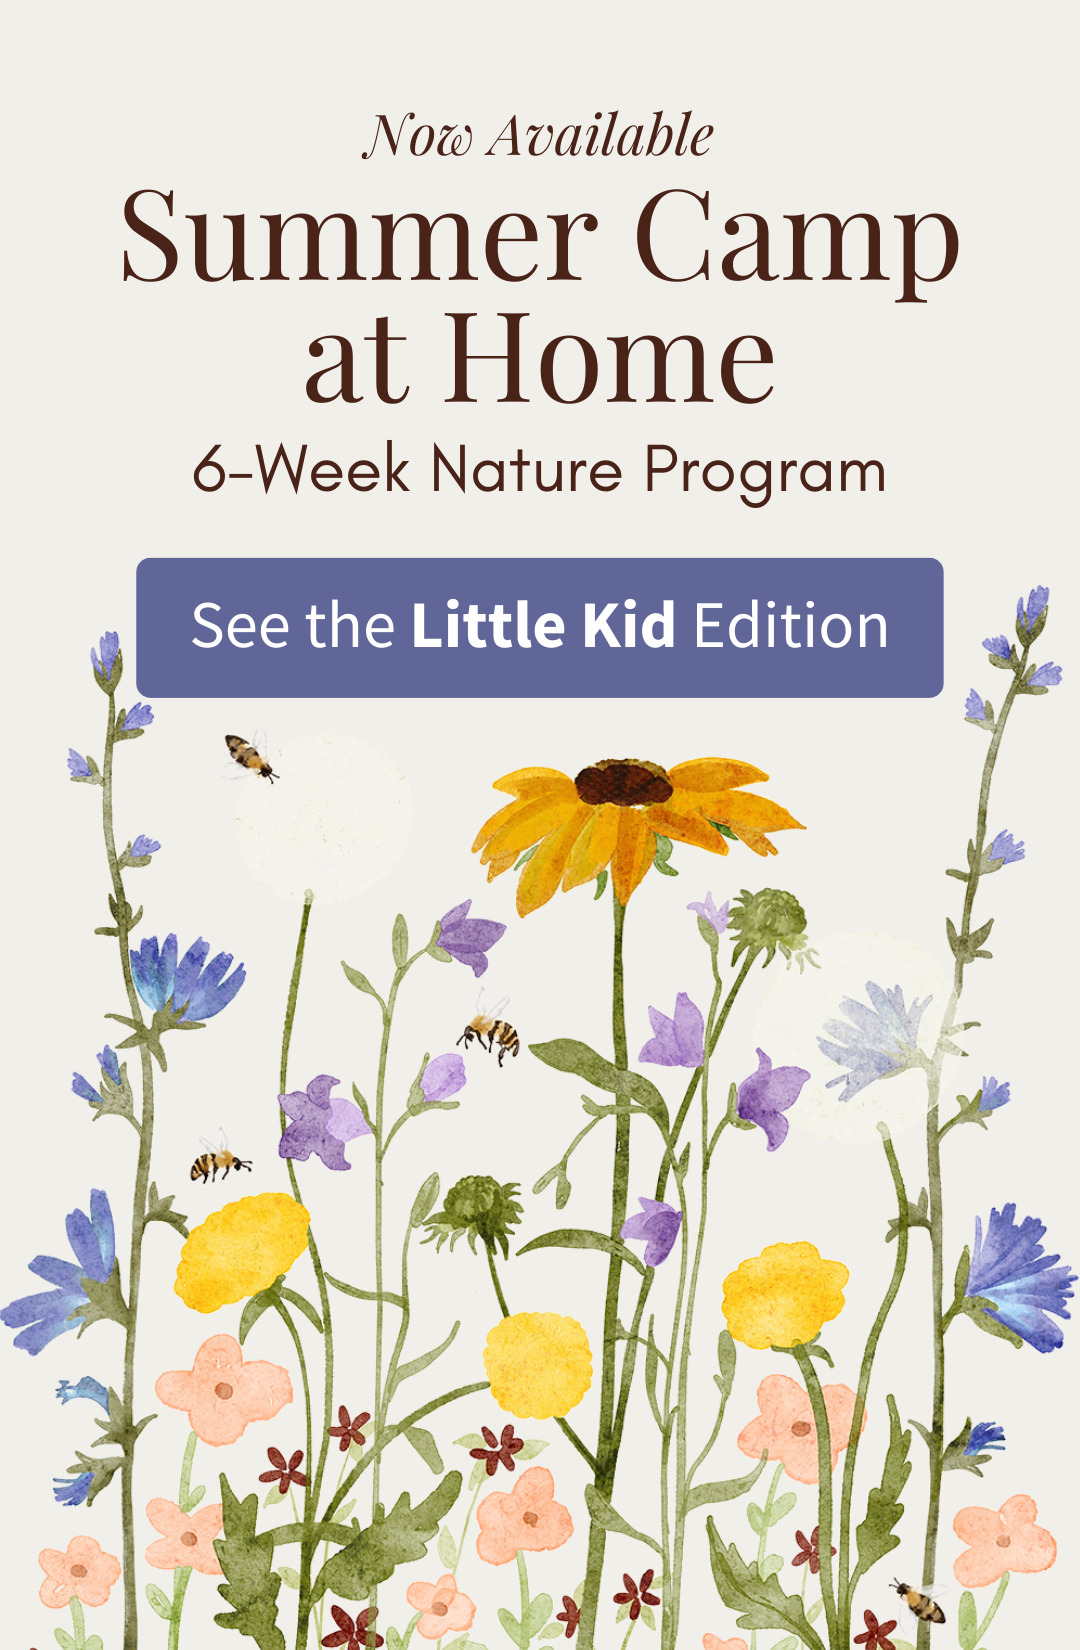
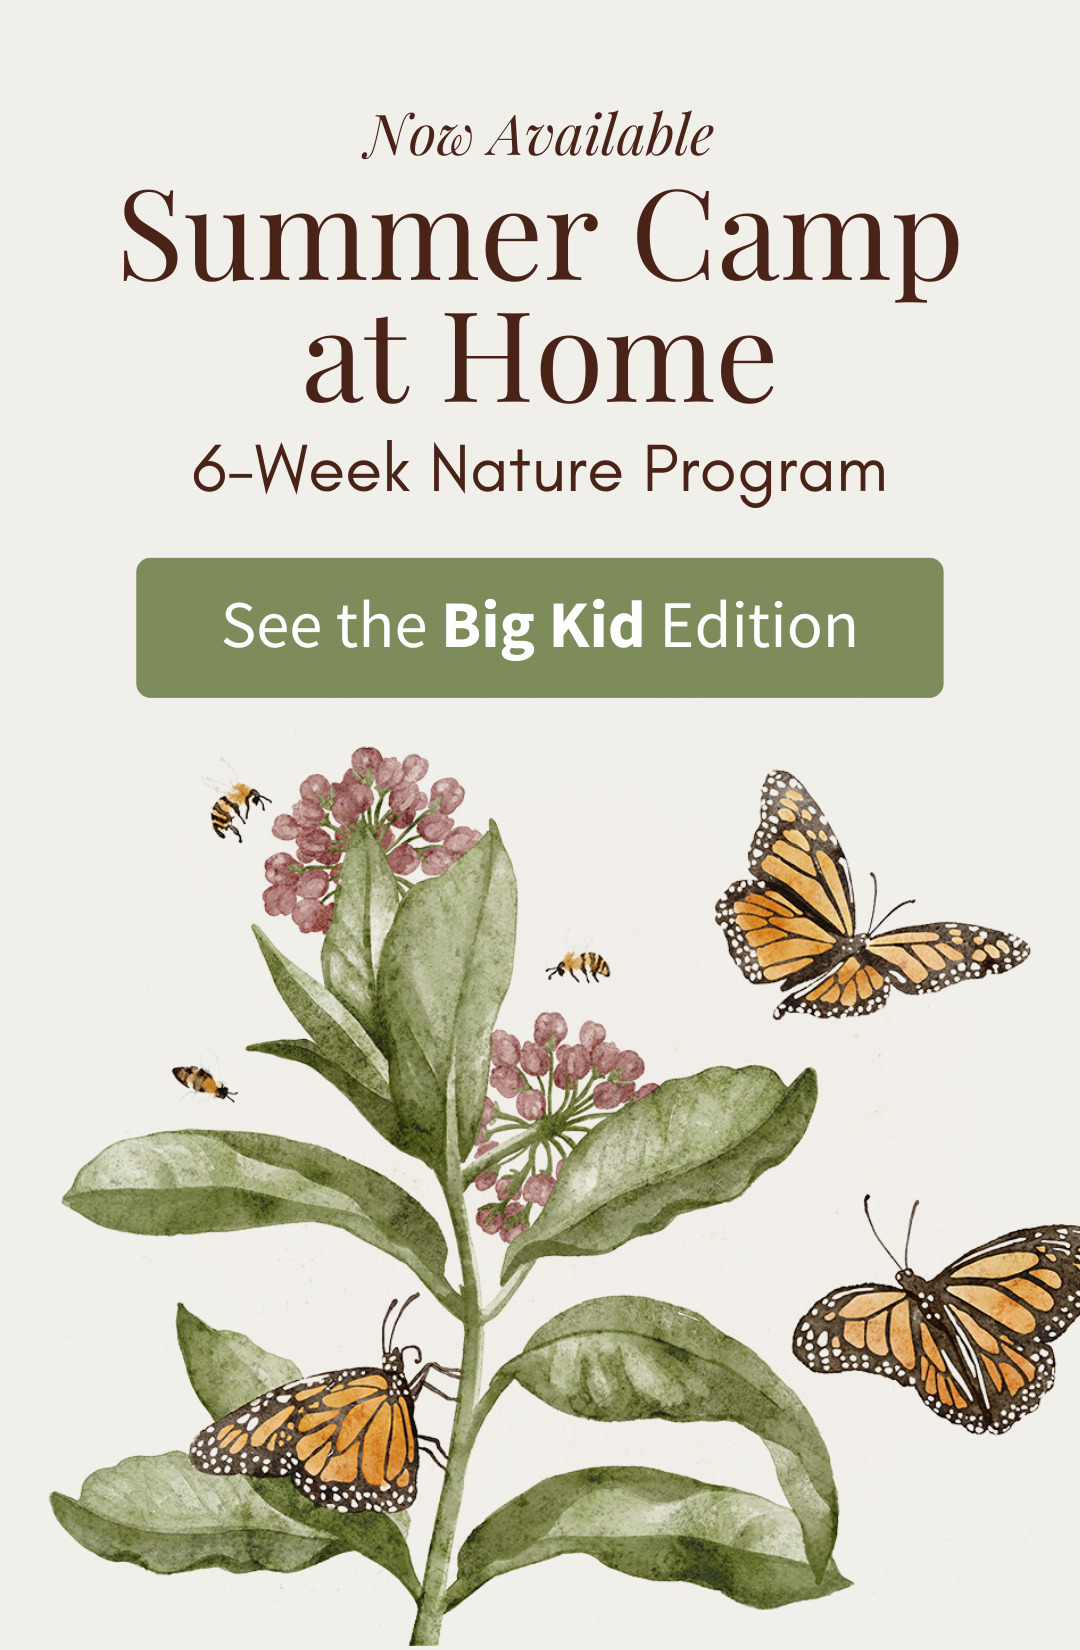
And if you’re ready to get those little minds ‘sprouting’ all summer long, you’ll want Summer Camp at Home! Over six weeks, you’ll explore Flowers, Butterflies, Birds, Frogs, Bees, and Stars and Constellations through whimsical stories and fun, hands-on activities!
Learn more and grab the Little Kid Edition of Summer Camp at Home here: https://shop.howweelearn.com/products/summer-camp-at-home
Or the Big Kid Edition here: https://shop.howweelearn.com/products/summer-camp-at-home-ages-6-12
 |
 |
Thank you so much for reading!
xo
Sarah