I was telling my little ones a story about when I was a little girl (and yes, I did feel exceptionally old in doing so) and I mentioned paper dolls. I used to make them all the time when I was little! When Madeline asked me how to make paper dolls, I was shocked that I had not made them with her yet. I explained how to make paper dolls then decided we best make some.
Just before we get started, have you downloaded my FREE Crafting a Bond mini ebook yet? It has whimsical craft ideas to enjoy with your child for each season. Grab your copy right here:
Okay, back to those paper dolls! We did a twist on a typical paper doll cut out by using contact paper (a sticky, clear paper – also called shelf liner). I do love my contact paper! We have used it for an alphabet board, a sticky snowman, and so many other awesome things. Yes, it makes me very happy. So combining contact paper and a sweet childhood memory? This was a great craft.
We can start right at the beginning so I can relive this craft with you!
How to Make (Sticky) Paper Dolls
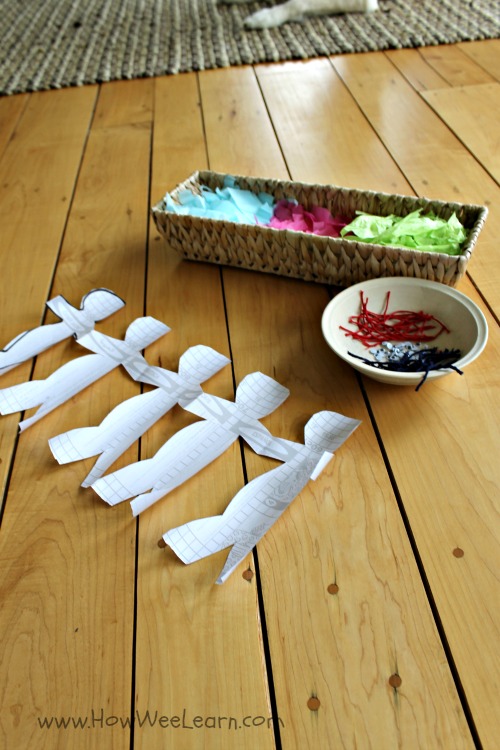
First, I took a roll of contact paper and cut it in half – right through the middle of the tube. Then I unrolled one half and folded it accordion style.
On the front of the accordion fold, I drew the shape of a person. The only trick is to keep the arms extended all the way off of the paper (so the hands will hold).
Next, cut out the paper doll completely, but do not cut where the hands would be. Just down the arms and off the paper.
Finally decorate!
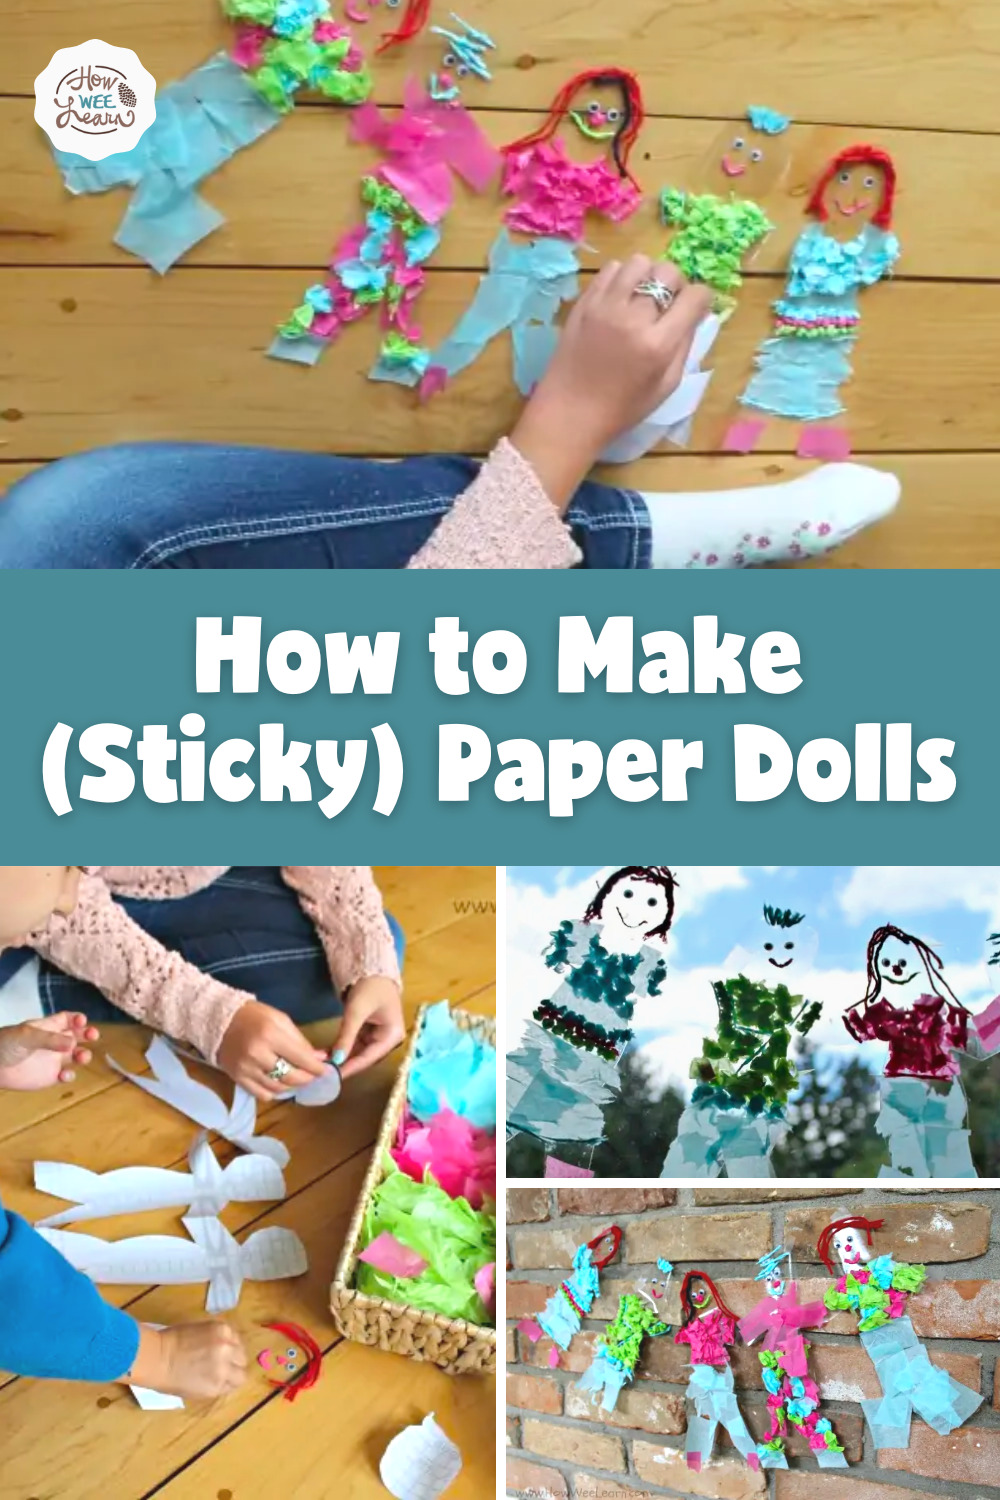
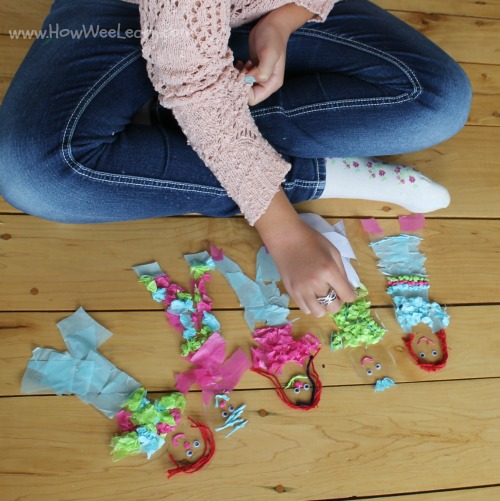
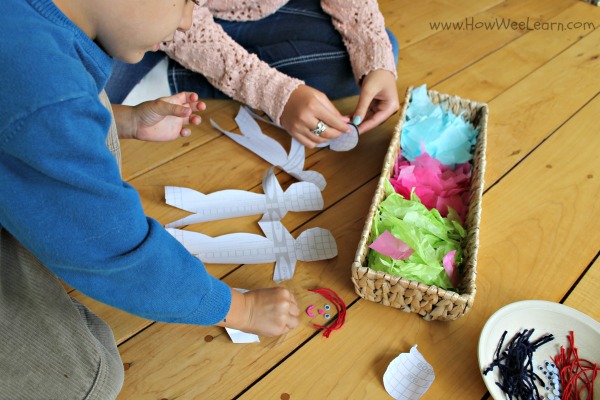
Madeline and Sam created this paper doll craft together. Madeline spear headed, but Sam got to express his creativity. Her only rule was that each person could only have two eyes. Sam has been know to have a love for the googly eyes. We used ripped up tissue paper, cut yarn, and googly eyes to decorate the paper dolls.
We decided to only peel a bit of the contact paper at a time, which actually worked out very well. We peeled the backing off of the head shape and decorated the head. Then, we peeled the ‘shirt’ backing off. Finally, we would peel the ‘pant’ backing off. Decorating each piece of the doll one at a time before moving on to the next one.
Lots of fine motor skills were being practiced: peeling, rolling, and sticking the tissue paper, and concentration and collaboration too.
This paper doll craft held my little one’s attention for a very long time. And it looks so pretty in the window! We have plans to make them tomorrow outside on the easel. There is talk of grass hula skirts, leaf dresses, and clover hair (and the kids have some ideas too) I will share once they are created – and if you make some, please share them with us!
xo
Sarah
P.S. Don’t forget to download your FREE Crafting a Bond ebook!



What a cute childhood story Sarah..and great memories too and love the part about making the rules to Sammy that each Doll should only have two eyes… Made me smile… and with the Dolls finally in their proper place they look so very cute….ox