It’s that time of year – the time when I begin to wonder why on earth I did not start my holiday crafting earlier. Good grief! This Mama will be busy for the next few weeks. Here is a post I did last year on making felt numbers. I was aiming for the alphabet for my boys this year, think I’ll make it in time? Hmmm …
Anyways, here is how I made them last season in case you want to join me for the mad dash.
~~~
I really like homemade gifts. I love receiving them, and I really like giving them. Financially of course it is beneficial, but it is also so much more.
Creating homemade gifts is a lengthy process, meaning I am thinking of the little ones (or big ones!) I am creating for, for quite awhile. Time is spent thinking, planning, and of course creating. This year I am going to try very hard to give homemade gifts at Christmas time.
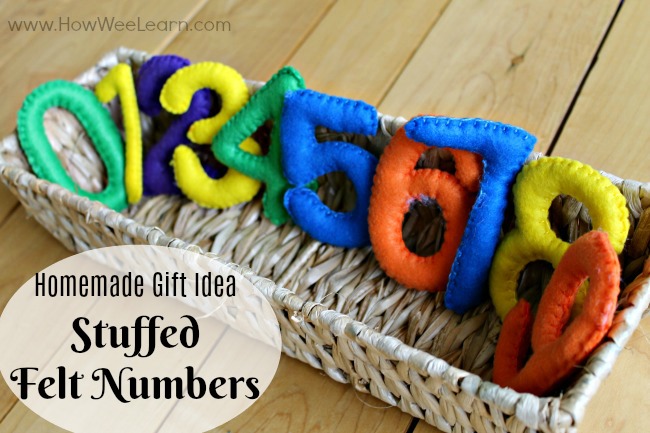
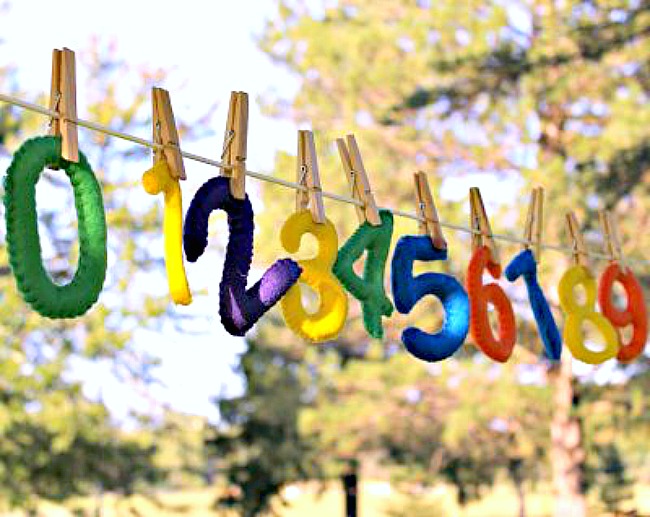
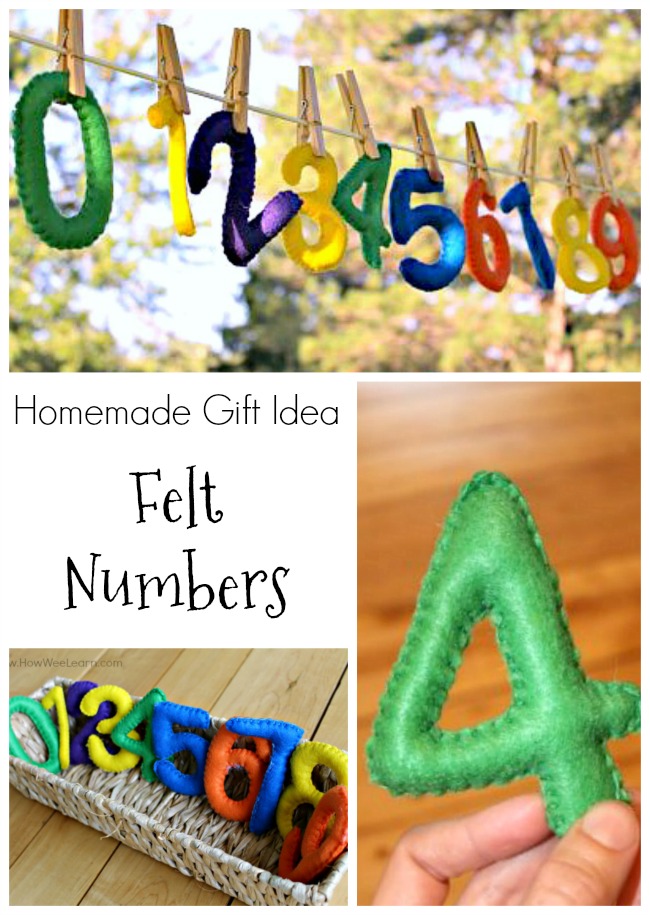
I also tried last year, though not with complete success. I was going to make these beautiful felt letters created by Buggy and Buddy for each of the little ones in my life. While I did not accomplish that last year, I am off to a great start this year! My twin nephews just celebrated their first birthdays so I decided to make them some stuffed felt numbers as practice.
These stuffed felt numbers were very, very simple to make – they just took a bit of time.
To begin, I chose a font I liked on the computer, and printed the numbers 0-9 in a large size.
Next, I folded my felt in half so I was cutting through 2 layers, and I cut out each number. This way, I had two identical pieces of felt for each number.
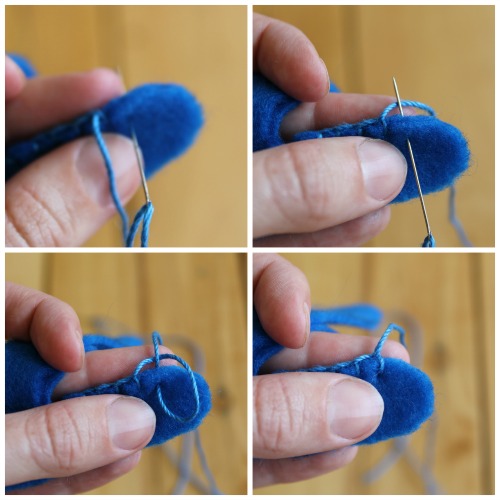
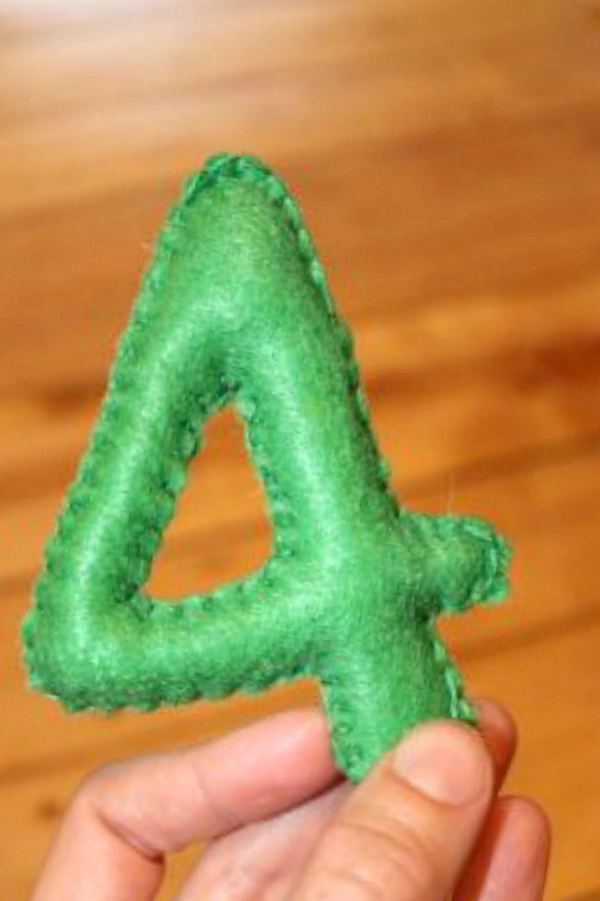
After, I began sewing. I used a very simple stitch that makes a very pretty finish. I believe it is called the blanket stitch (?). I put my needle through the 2 pieces of felt, wrapped the thread behind my needle, and pulled the needle through. Then I came back to the front, put my needle through, wrapped the thread behind my needle, and pulled the needle through – and so on. Here is a much more detailed (and clear) tutorial for this stitch.
I sewed the entire back of each number, and then alternated between stuffing and sewing. So (for example) the number 3, I sewed the entire back of the number 3. Next, I sewed the bottom curve of the number 3 and stuffed it. Then, I sewed the middle curve of the number 3 and stuffed it. Finally I sewed the top curve almost all the way, stuffed it full, and did my last few stitches to close it completely.
I used a chopstick and an un-sharpened pencil to help me with the stuffing.
The stitching is quite strong and I am quite confident these felt numbers will hold up over time. I am working on a second set now for my own little ones, so I will soon find out their strength!
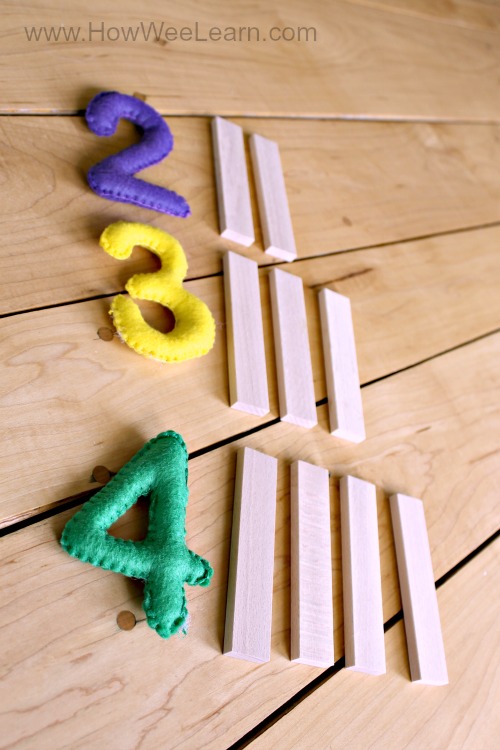
I really do adore homemade gifts. These sweet little felt numbers are perfect for learning and play – nothing at all better than that!
Thank you so much for reading friends.
Please consider liking us on Facebook so we can share more creative learning activities with you and your little ones! Thank you.

Loving this idea! Seriously considering making some myself. Thanks for the inspiration! (“,)
Thanks Rachel! I wanted to do it for far too long – and it really didn’t take me very long once I actually set out to make them!
Love this tutorial! Wondering how much felt you used for these size of letters total? Trying to get an idea of how many yards or part of a yard I would need. Thanks!!
Thanks so much Kasha! I used a bunch of different colors – but for the numbers 0-9 I likely used about half a yard in total. Good luck with your numbers!!
Also what size of font is this??
Shucks – I don’t remember! I just played around with it, and I believe it was around 400. Sorry!