We are at the mid-way mark for our 5 Days of Construction Paper Christmas Crafts, my friends! Welcome to DAY 3! Today we will be making one that is loads of fun for older crafters… but don’t you worry, I have our little crafters covered as well!
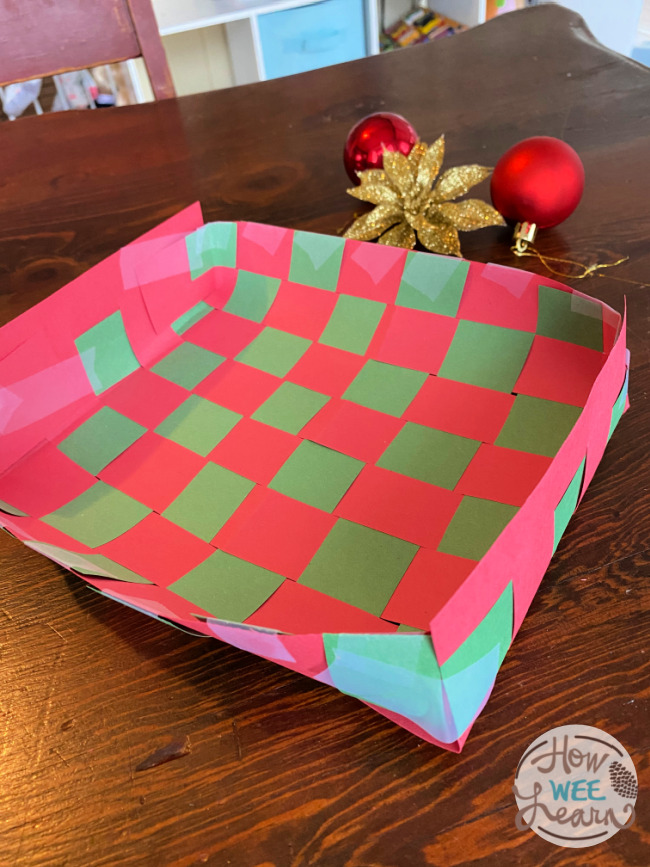
Today we are making paper Christmas baskets or boxes—perfect for wrapping up a homemade gift!
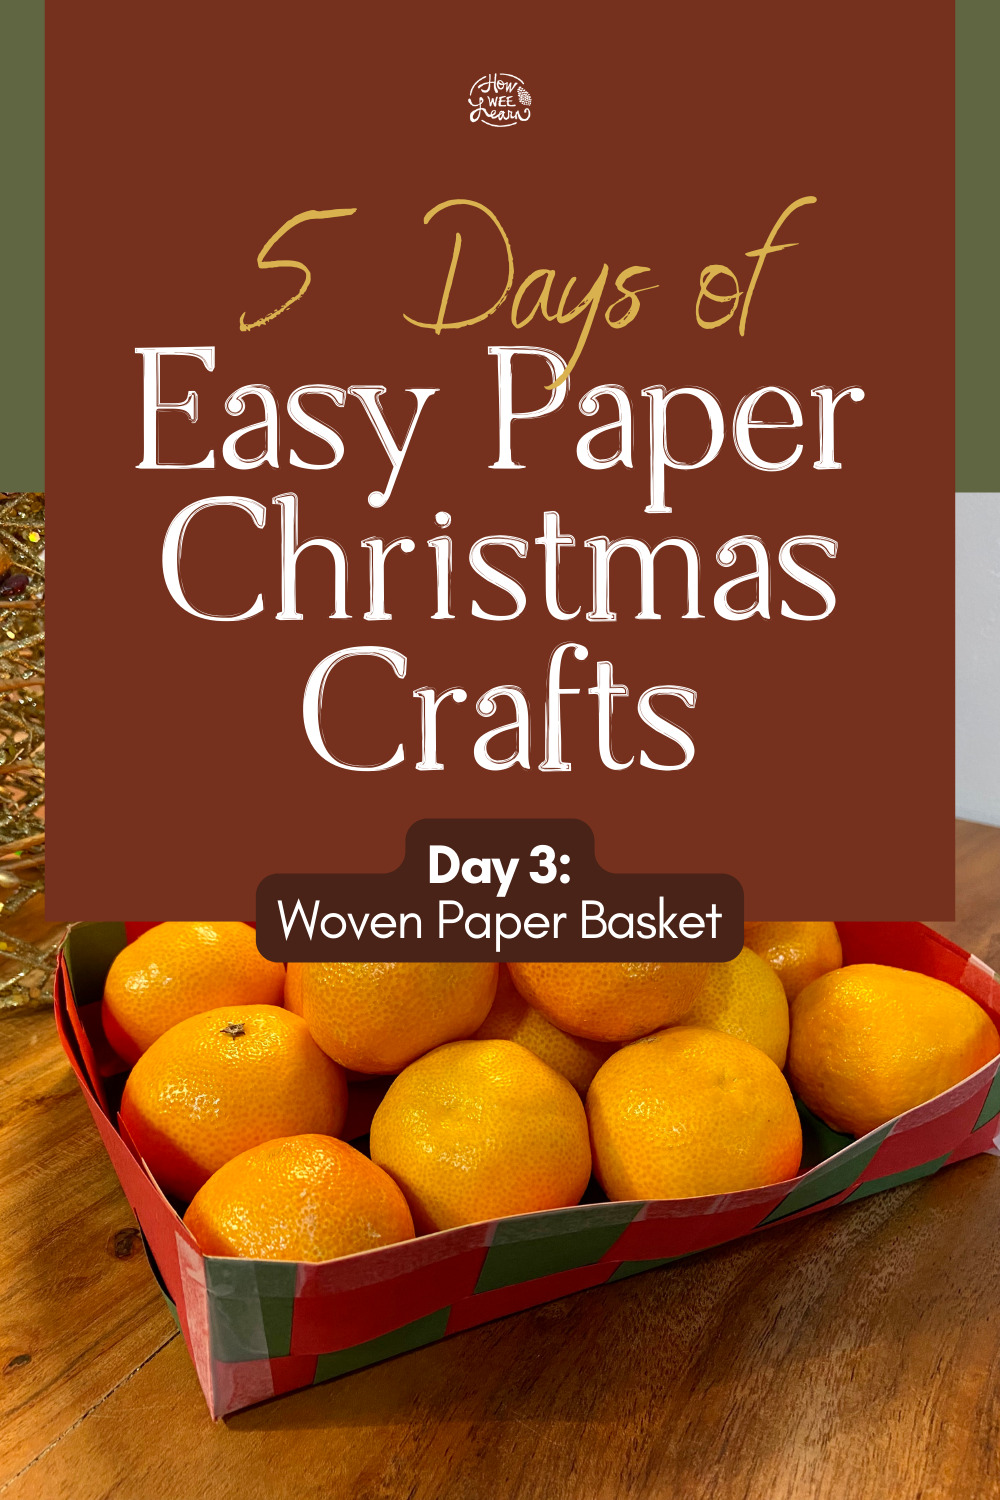
These little baskets are slightly addictive to make! They can be easily modified to make them nice and deep, long and thin, or even to have a top. I know that my 10-year-old is going to love making these!
Here is how to make these paper Christmas baskets (a big kid version AND a little kid version):
[mv_video doNotAutoplayNorOptimizePlacement=”false” doNotOptimizePlacement=”false” jsonLd=”true” key=”vby6wbvol49wtsa0evyt” ratio=”16:9″ thumbnail=”https://mediavine-res.cloudinary.com/video/upload/vby6wbvol49wtsa0evyt.jpg” title=”Weave a Paper Christmas Basket for Kids” volume=”70″]
For little ones, instead of weaving the basket, simply have them cut up strips of green paper into small pieces (or rip them up) and use a glue stick to glue them onto red construction paper. They can also use markers and crayons to colour and decorate. Have them do this on both sides of the piece of construction paper. This piece of construction paper will be folded into a basket!
Older children (likely about age 5 and up) can do some weaving before turning this craft into a box.
First, fold a piece of red construction paper in half, short side folding to the short side. Start at the fold and cut one-inch strips in the paper, stopping one inch before the edge of the paper.
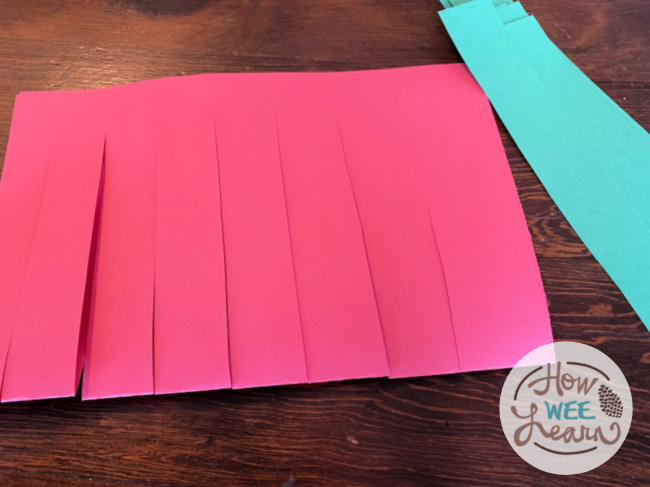

Now cut one-inch green construction paper strips.
Then have your children weave! Take a strip of green construction paper and go over one red strip, under the next, and so on. For the next strip of green construction paper, start with going under first and then over, and so on.
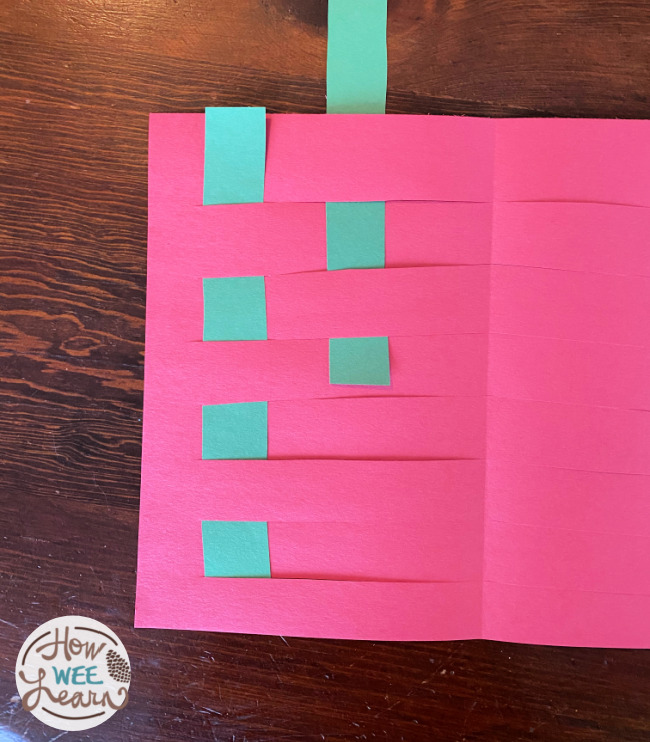
When done, you can tape or glue all of the ends of the green construction paper to the red.
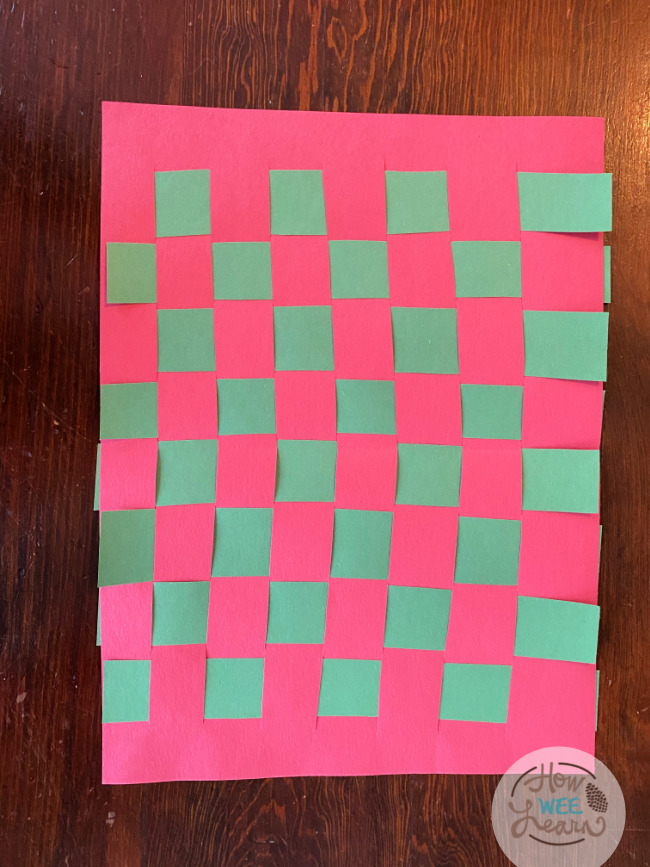
Okay – weaving accomplished!
Finally, we turn this weaving (and younger children’s decorated paper) into baskets or boxes. It only takes 4 snips.
Cut a one-inch line, one inch from the edge of the paper like this:
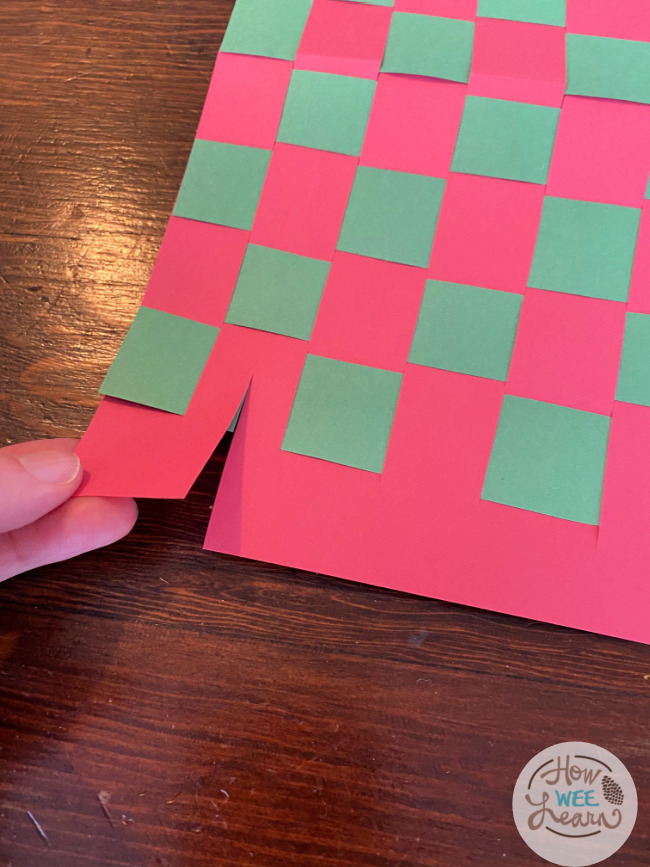
Bend the one-inch cut strip inside the basket, securing it to the basket’s edge with some tape. Tape any weaving that might have come loose while cutting as well. That is your first corner. Repeat for the remaining 3.
You can use glue if you want your basket to look a bit more polished, but tape is nice and quick otherwise.
If you want this to be a deep basket, make your cut 3 inches from the edge of the paper 3 inches long.
You can turn these baskets into boxes by making a second one with the cuts slightly larger than the first. This will allow it to slip on top like a lid!
There you have it—Christmas Craft #3!
I hope you are enjoying these little Christmas Craft challenges. Be sure to come back tomorrow for Day #4!
Thank you so much for reading,
xo
Sarah

I wasn’t sure if we’d do this today but my daughter started pretending to do a craft after dinner, so I thought we’d try it out. I did the weaving, she “pushed” the paper, glued and colored. And then of course she said our basket needed a handle ? At the end she said “I love weaving!”
Love, love, love Kahlee!!! And how amazing that your little one declared her love of weaving after. What a sweetie!! That basket looks perfect. xo
After the big excitement of the day – first snow!- and spending the whole morning outdoors with her two buddies, my daughter was not really into crafting today. But I didn’t give up to motivate her 😉 She cut the strips and did the weaving, then she left it to Mom and went back to her Legos and invented all sorts of machines. She thought a deeper basked would be more useful, because she wants to put presents in it and put it under the Christmas tree. She loved the basket and while waiting for dinner, she decorated it with some stickers.
Team effort!!! I love it. And what a full, fun-filled, perfect childhood day ?
This is an adorable craft and I love seeing what/how others made theirs! So much fun! Here’s ours! Gonna put candy in it! But until then we made cute candy canes out of these colorful pipe cleaners!
Too cute and fun fun fun! I love this, spending quality time with my granddaughter and making crafts/ memories together! Thank you for these!
Looks so great Amy!!! And those candy canes – so much fun! I am thrilled you are enjoying these crafts. xo
My kids liked it the ones that can do it on their own. In the end of the craft only 3 completed it but still a great craft. I had one older one which is in grade 1 she had a blast with the craft.
Awesome Kerry!!! Thank you for joining me!!
This one was a hit too!
Well my 5 year old was not in the mood for this, but I left the stuff on the table incase he feels like tackling it again. (One just to glue the ends & a simplified one to weave). But my 2 year old liked weaving with my help & really got good at gluing the ends down! We decided to turn it into a “bin” to keep her little dog figures.
I am literally craft challenged! Haha. Good thing my little is 2.5 and didn’t notice the difference. She was still thrilled of the outcome!
Oh Brooke this is so wonderful!! How amazing that you would try something out of your comfort zone for your little one. You are amazing!!! xoxoxox And your basket looks fabulous!
Wow, it’s a great activity for little ones.
This was a great activity! We both want to make more 🙂 thank you!
Woohoo! Awesome Sara, way to go! Thank you so much for sharing. I see you have some Pokemon fans – me too!
Well my 5 year old was not in the mood for this, but I left the stuff on the table incase he feels like tackling it again. (One just to glue the ends & a simplified one to weave). But my 2 year old liked weaving with my help & really got good at gluing the ends down! We decided to turn it into a “bin” to keep her little dog figures.
So adorable! And such a great idea to leave a craft out when it is not a hit at first, sometimes I little time is all it takes. Brilliant, Mama!