Happy (almost, kind of, sort of) Easter! With so many Easter crafts on the blog already, I was almost going to let this season go without adding another Easter egg craft for kids to this space. I mean… how many Easter egg crafts do we really need?!
Turns out at least one more.
This one might just be my favorite! I love it so much because it is perfect for children of literally all ages. My three-year-old enjoyed it every bit as much as my twelve-year-old. Of course, the outcome looked entirely different for both, but the craft itself was equally enjoyable.
Before we dive into this craft (of which the verdict is still out if it was actually needed… just kidding… it definitely wasn’t!), I want to make sure you have yourself all prepped for Easter.
First up, grab your FREE Easter Egg Hunt Clues—there’s an indoor and outdoor version included; all you have to do is print, cut, and hide the clues:
Next, make an amazing Easter basket filled with frugal homemade goodies to hide at the end of your scavenger hunt.
And finally… take a peek at these fun new ways to decorate Easter Eggs!
Alright, now please humor me by reading my 76,592,345th blog post on Easter craft ideas for kids. I don’t know what it is about this holiday! Must be a weird, blogger version of spring fever.
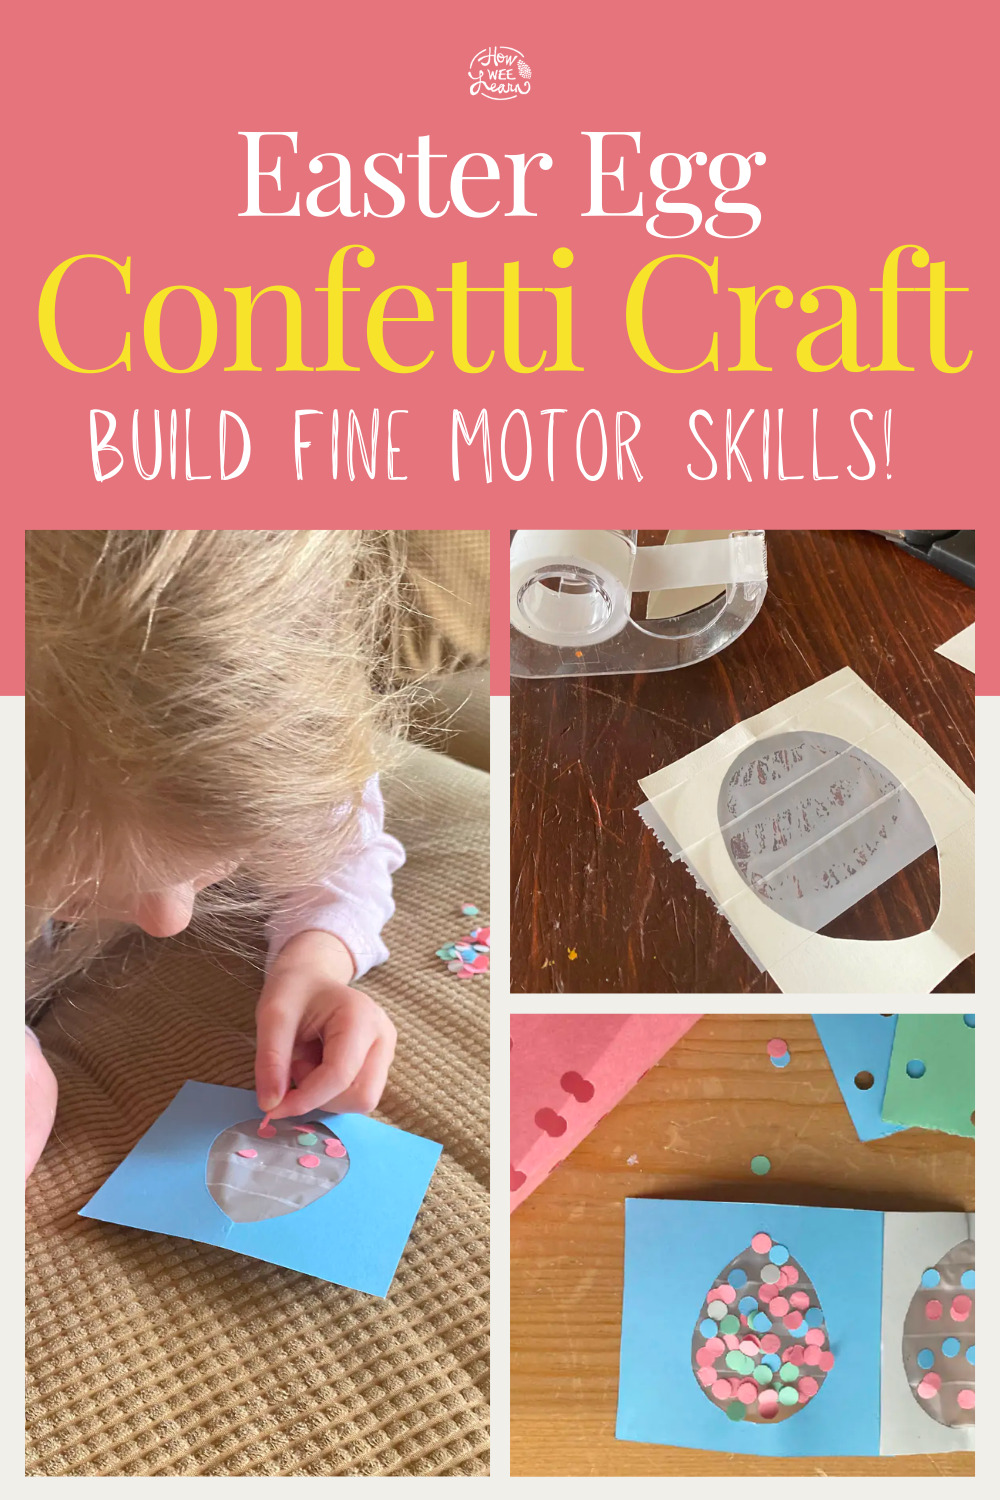
This Easter egg craft for kids is as easy as it could be and it is AMAZING at building hand strength and fine motor skills in those little crafters. All you need for this craft is:
- some pretty, colored paper
- hole punch
- tape
- scissors
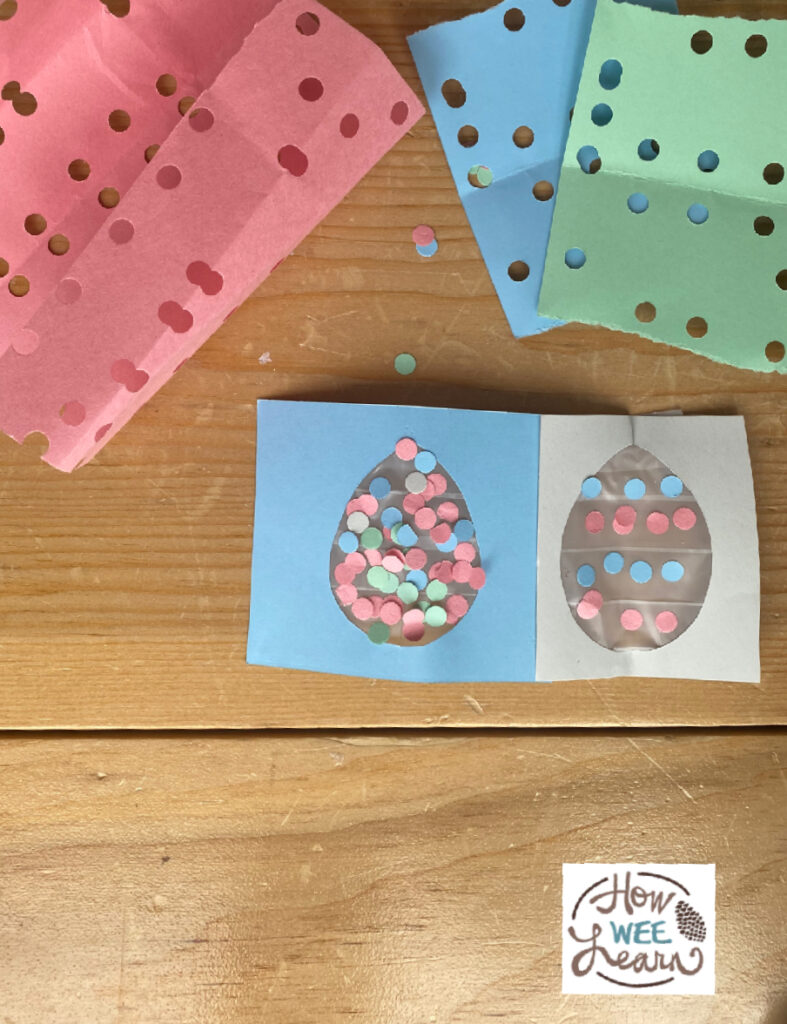
Begin by folding up some pretty, colored paper and making as many holes as you can with the hole punch. We opted for a big 3-hole punch so my youngest could easily help. A handheld hole punch is also excellent for helping to strengthen hands in children, but it was a bit too tough for Norah.
Next, we dumped out all of that pretty, magical confetti on the table. Honestly, this would have been enough for Norah. She was thrilled with this confetti!
But this Easter craft was not really about her, so we soldiered on. (I’m KIDDING!)
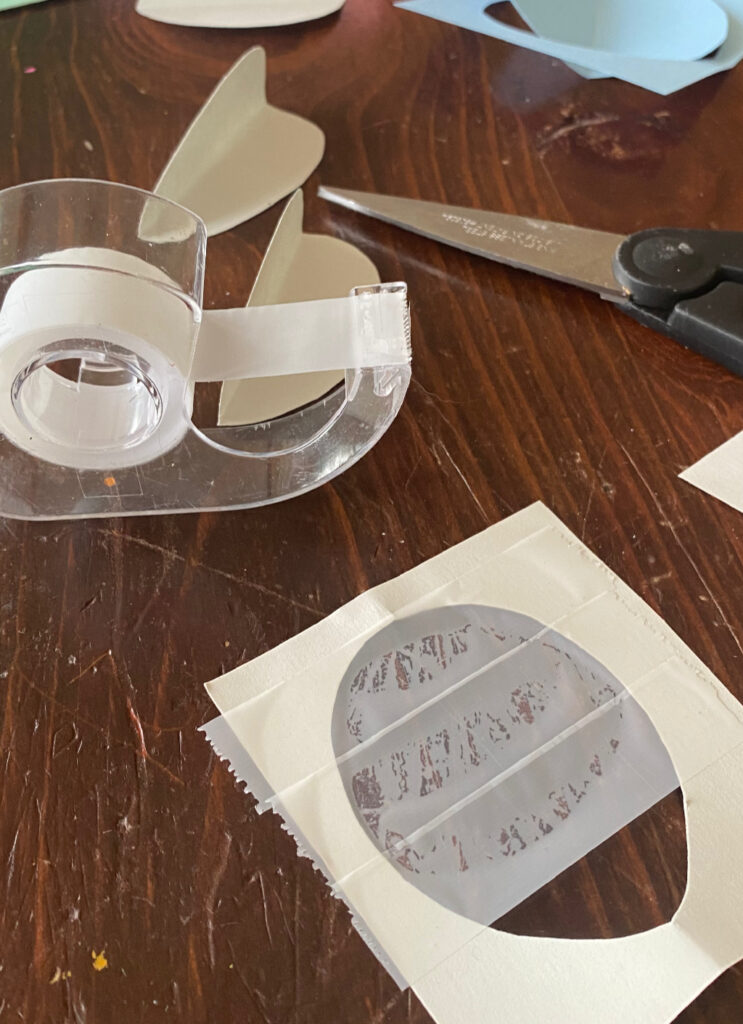
I then took a small square of paper and cut out an egg shape. I did this by folding the paper in half, then cutting half an egg from the folded line. This left me with an egg shape in the middle of the square of paper.
Now we added some sticky clear tape (we call it scotch tape, but I have learned from my years of blogging that every country tends to have a wide variety of names for their crafting supplies, so I am going to leave it at “sticky clear tape”) over the egg-shaped hole.
When we flipped it over, we revealed a sticky egg, perfect for decorating with confetti!
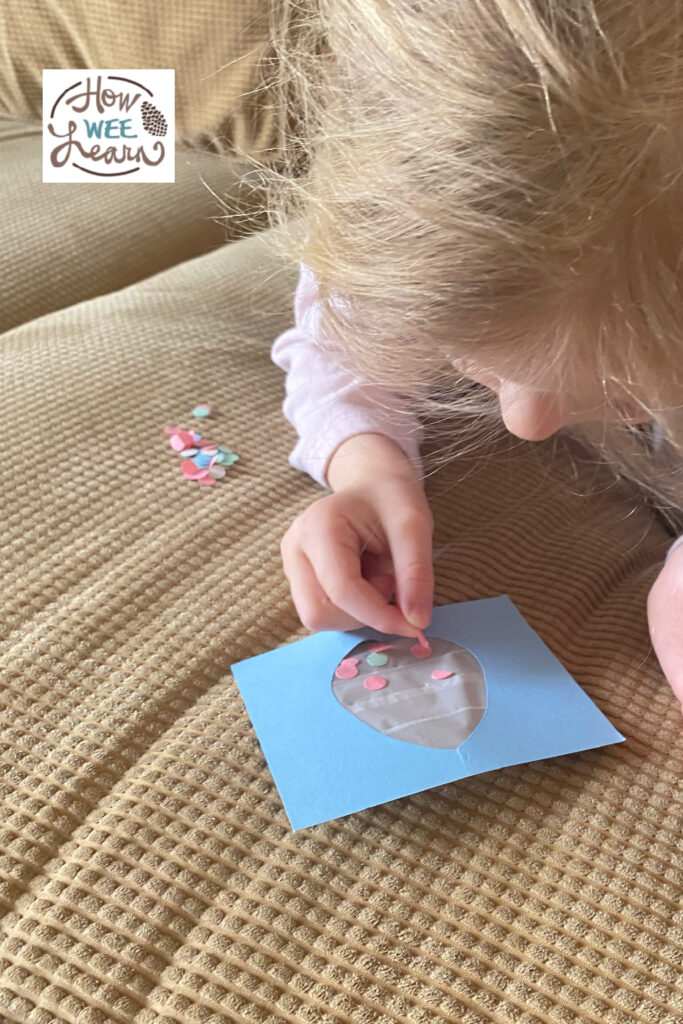
Norah really loved placing her confetti on the sticky egg one by one. By the time she was finished, the whole egg was covered! This was one of those activities that really engaged her. When she had filled her egg, she decided to keep going, making more and more eggs.
The boys made some neat designs and lines on their Easter eggs. I always find it so interesting to look at how crafting develops and changes as children develop and change. These rather open-ended crafts are perfect for seeing this natural crafting development (not really a thing, I’m quite sure).
And there you have it. The 76,592,345th Easter craft blog post on How Wee Learn. And you were here to see it hatch! How egg-citing!!! (You didn’t think I’d write one of these posts without a cheesy ending, did you?)
Thank you so much for reading, my friend,
xo
Sarah
P.S. Don’t forget to grab your FREE Easter Scavenger Hunt Clues!

Leave a Reply