I really like my chickens. A lot. Really a lot. And my little ones really like them a lot too. So when I was thinking of what I might knit next, after successfully having done some hats, chickens came to mind.
This really shouldn’t surprise anyone, chickens always come to my mind.
The thing is, I am barely a knitter. I haven’t knit since I was very young, but this winter I thought I would pick it up again.
My Mama taught me and all my siblings to knit when we were little. And she is a master knitter. Watching her knitting needles fly is dizzying. Also a bit frightening (you know, what if she lost her grip on one? Those around her would be in extreme danger).
But no one is in danger when I am knitting. No sir. Sloooow and steady.
It took me a good month to knit my little ones some hats. And that was about my skill level. A normal stitch, a little decreasing, and that is all.
So when I decided to make a chicken, I knew it needed to be very simple. And I found a way to make it so.
First of all, I had to choose my yarn. This was probably the trickiest step. Who was I going to knit?
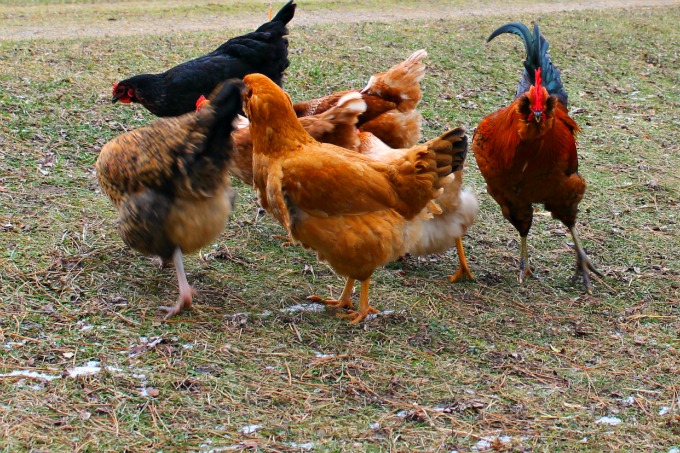
Each of the chickens are so lovely 😉 And since I know you are aching to see them …
You may notice our Rooster Chirstopher on the far right looking rather intense. He doesn’t really like the camera – feels he needs to protect the ladies from it. He is actually one of our tamest chickens though – all bawk, no fight.
These pictures were taken early winter, before the mounds of snow. Our ladies were still happy. Now they are rather miserable – I can relate.
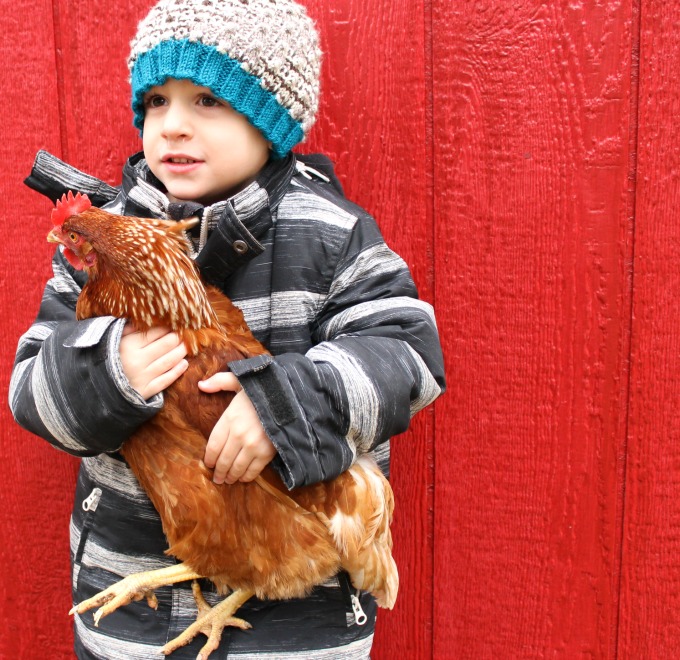
We settled on Henny Penny. She was our first lady to actually lay an egg, and a pretty sweet and extra special girl. Plus she is one of the only ones the kids can catch.
I decided to simply (I very often decide something based on simplicity in fact) knit a rectangle. I figured if I knit a rectangle, then I could fold it in half, and sew in a bit of a curve to our chicken.
Worked great!
I knit a rectangle, with the length twice the width. I think it was about 35 stitches across, and 70 rows long.
Then I folded it in half, and sewed the middle and two sides together, making a “U” shape. Then I turned it inside out.
At the top, I stuffed in some stuffing, and sewed the top pretty much straight across.
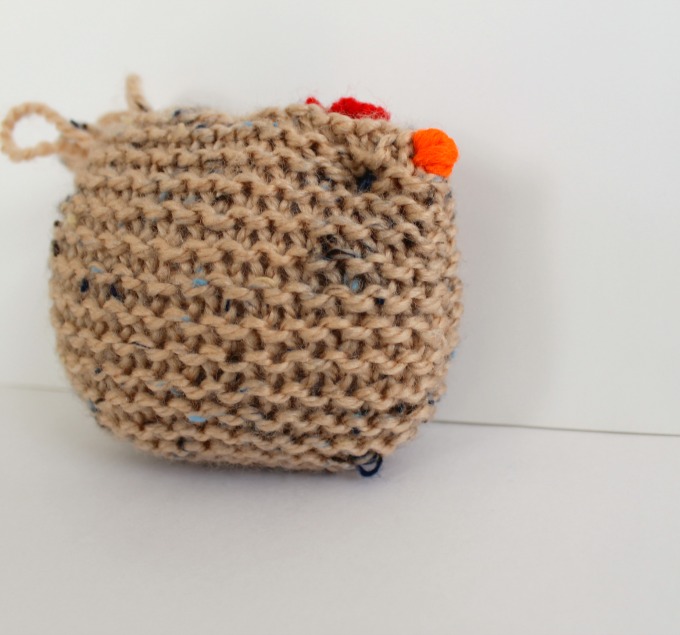
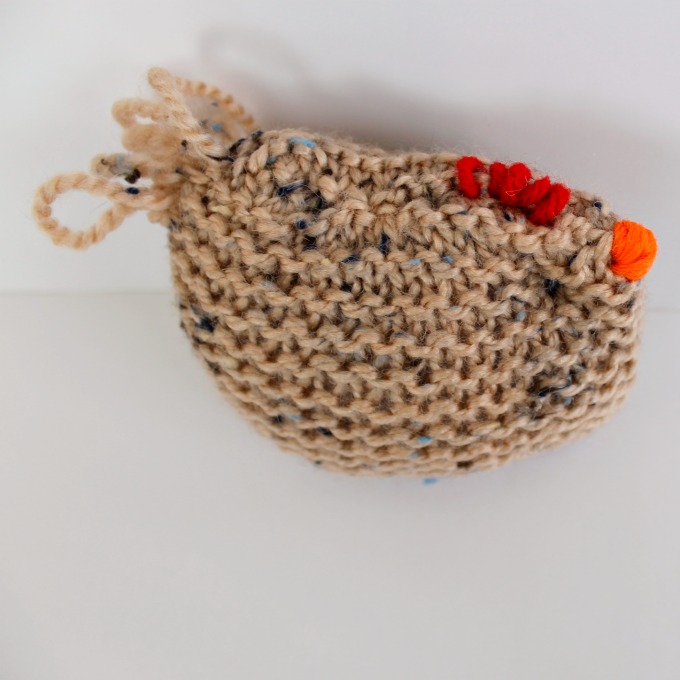
I pinched one corner to make a little beak, and wrapped sewed some orange yarn around it. I also added eyes, by sewing right through bot sides of the knitting, just above the beak.
I added a little comb and then some tail feathers by using loops of yarn. I simply sewed into the body, out the other side, and then back in the original spot, being sure to leave a nice big loop of yarn.
I am very happy with the way Henny Penny turned out. I am also very happy with how quick she was to make! I do have trouble keeping my focus on projects like this (just ask the 8 year old 1/4 made quilt in my closet).
Nice and easy, and speedy to complete – that is the handmade project for me.
Please consider liking us on Facebook so we can share more creative learning activities with you and your little ones! Thank you!


adorable!!