Have you ever met someone, in real life or online, and think …”Wow. This person has some awesome ideas! I kind of want to be adopted by them so I can do those crafts too!”?
Well, let me introduce you to my new friend Morgan. I know Morgan from the Oak Meadow Facebook group. She shares some of the neatest ideas I have ever seen. Simple, but very cool.
I asked her if she had a blog, and when she told me she did not, I asked her if she would like to share an idea or two here once in awhile. And guess what ….
She said yes!
So without further ado, I bring you a post from Morgan the Magnificent! (No, that sounds too magician like … we will work on a nick name.) Here she is:
With the calendar pages flipping to September I can’t help but immediately think of all the wonderful Autumnal activities we can participate in! Number one on our list of fall activities is a trip to the apple orchard.
When we arrived we spent some time exploring and examining the trees themselves. Always in the past we’ve gone straight for the apples, picked what we wanted, and left. Now that we’re homeschooling I made a conscious effort to dive a bit deeper and talk about the tree too! How is an apple tree different from the trees growing in our yard? Does it feel different when you rub the bark with your bare hands?
It was really neat to see them pay such close attention rather than just pick the fruit and move along to the next activity we had planned. Due to the drought this year we didn’t get to pick any apples the day we went, but my Big Kid managed to find one on the ground and scooped it up, examining it closely to try and figure out what type of apple it was.
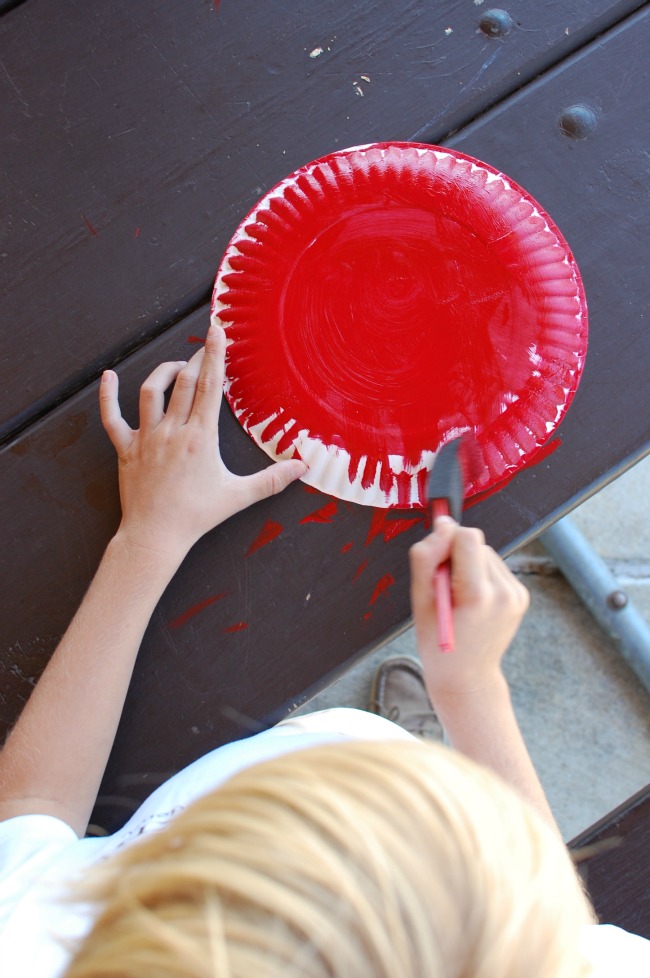
After the orchard we headed to the park for a craft: paper plate apples! We began by painting the surface of the plate red, as the body of our apple. We chose to paint the bottom of the plate so it would have the rounded look of a real apple. Make sure you paint the whole plate, those little grooves on the side can be tricky. Painting of the fingers is ok too 🙂
While the red paint dried we moved on to our apple “leaves”. The kiddos took turns painting each others hands with the green acrylic paint and stamping them on to a piece of white card stock. Keep those fingers together to form that natural leaf shape! 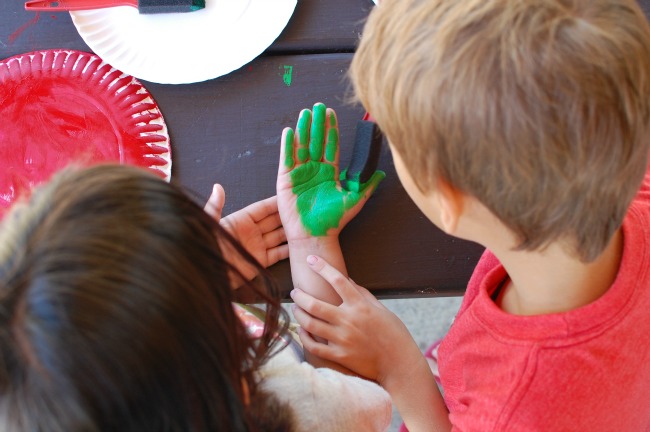
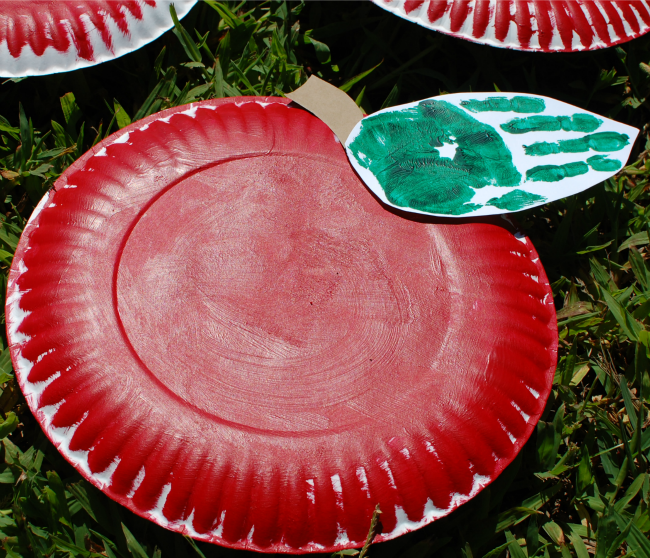
Once the green hand print leaves were dried an adult cut them out in the shape of a leaf and the kids taped them to their apples, at the base of the stem. You could even take it a step further with smaller ones and punch some holes in a plate or two and practice threading “worms” through your apple!
Last but not least, mini apple pies! We read the sweetest apple story book, How To Bake an Apple Pie and See the World. We stumbled across it at the library and fell in love, it’s now a part of our home library and is read often.
At the end of the book there is a very simple recipe for apple pie, we modified it a bit to make individual pies in a muffin tin. There’s nothing better than pie, except your own personal mini pie that you don’t have to share with your brother!
I used store bought pie crust from the freezer section, thankfully it’s egg and dairy free (we have a little buddy with some food allergies) and used the lid of a Mason jar to punch out smaller circles from the large crust.
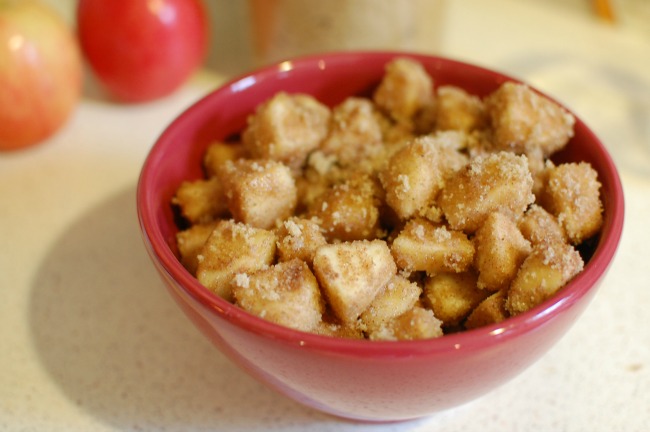
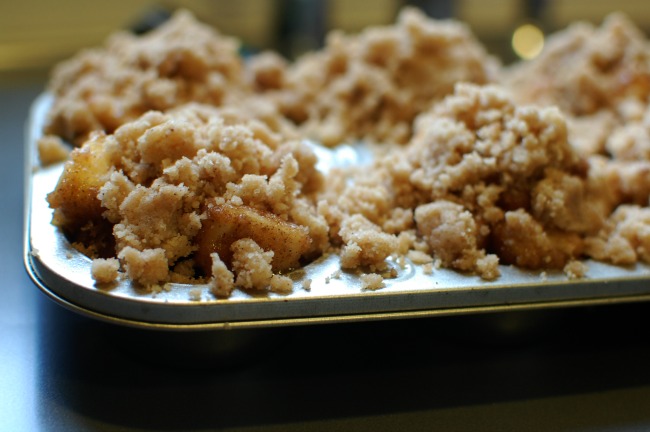
Spray the muffin tin with non-stick spray and squish the crust down inside the cups. I followed the filling recipe from the book, simply dicing the apples in smaller cubes to fit inside the tin cups and made a quick crumb topping from a recipe handed down from my grandmother.
We modified the crumb topping to use dairy-free butter, and it worked really well. Mix 1/2 cup brown sugar, 1 tsp. ground cinnamon, 3/4 c. flour, and 1/3 cup room temperature butter (dairy-free in our case). Stir with a spatula or spoon and it crumbles naturally.
Fill the muffin tins with the apple mixture, packing it in well as they shrink during baking, top with the crumb mixture and bake at 425 for about 20 minutes, or until the filling bubbles and the tops are slightly brown.
Unfortunately I don’t have any “after” photos of our mini pies, dropping the muffin tin upside down into the pre-heated oven doesn’t bode well for photos, or the sanity of the baker making these with very excited children.
We scrapped the first batch and tried again the next morning, they were gobbled up faster than I could grab my camera. Fruit is acceptable for breakfast, right? Even in pie form, as a treat!? It certainly made up for the disappointment from the night before.
There you have it friends – some fun ways to play after a trip to the apple orchard brought to you by the Marvelous Morgan (closer … but too superhero like …)
Hope your week is going well friends, thank you for reading!

Leave a Reply