String art always turns out so pretty. This craft we did for Valentine’s Day quite a few years back, and I am excited to do it again this week. Here’s the post from 9 (!!!) years ago. Please feel free to ‘awww’ at my tiny babes.
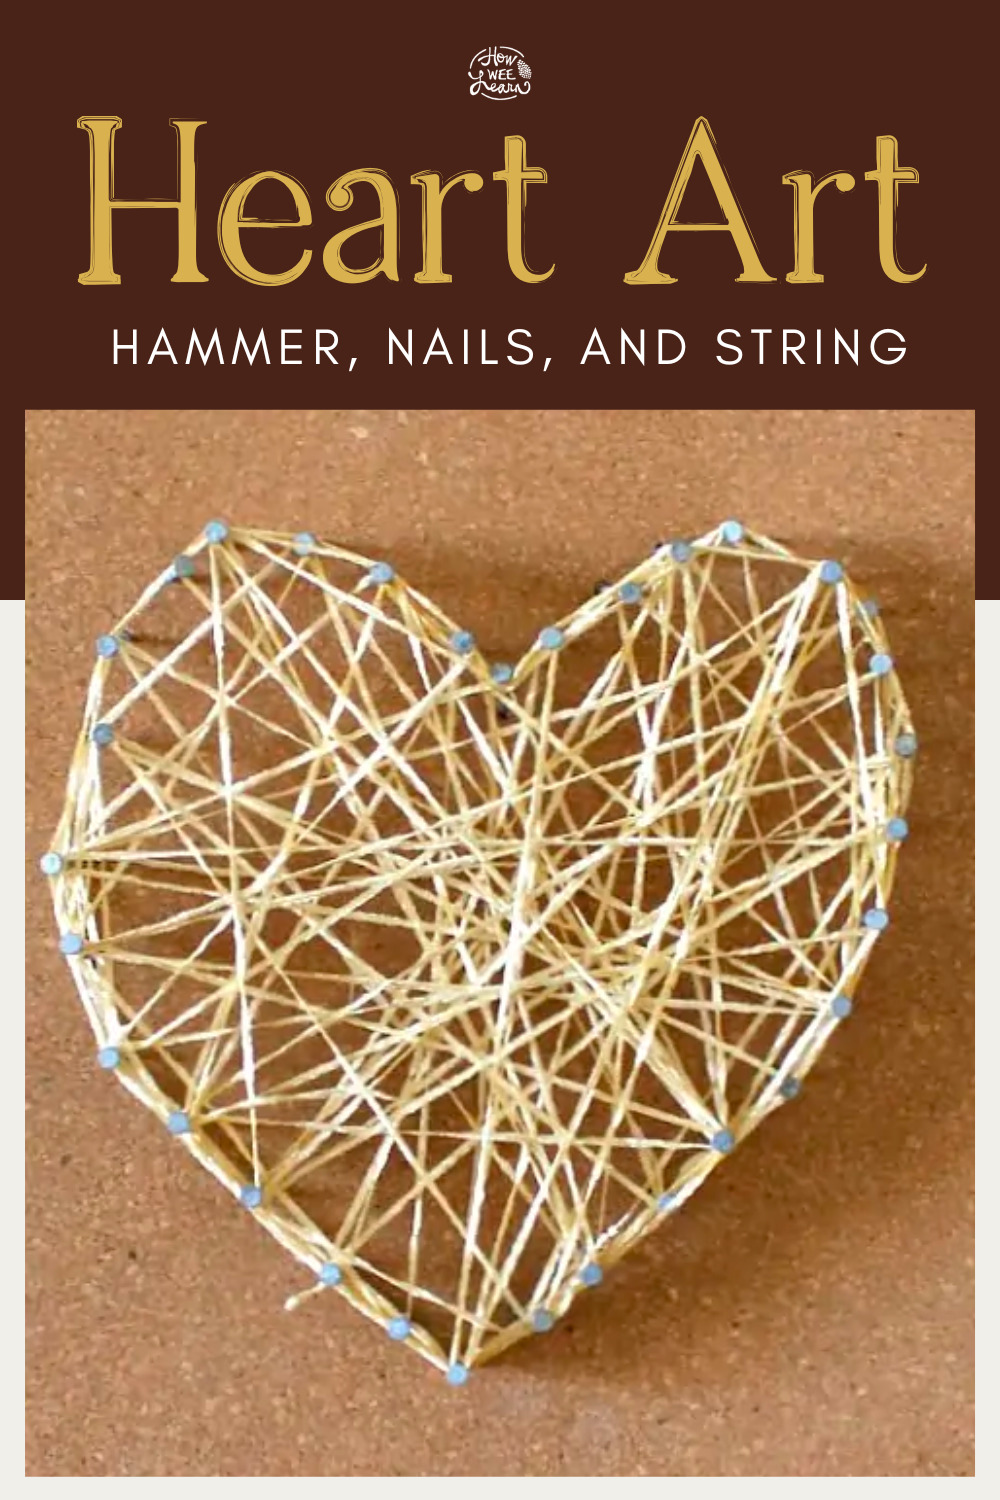
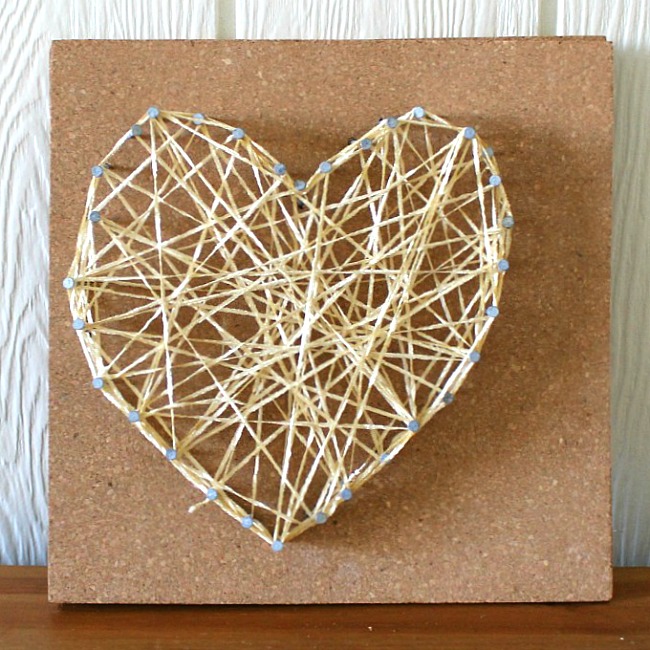
With Valentine’s day coming up, we have been making some crafts full of love. This string heart art project was a hit with all 3 of my kids! They all loved using the hammer and nails—especially my 3-year-old. This Valentine’s craft is sure to be a hit with your little ones too!
Do you know what else they would love? The activities in this FREE Valentine’s Day Activity Pack! It’s filled with coloring pages, mazes, dot-to-dots, symmetrical drawings, and more—PLUS a 14-day countdown calendar with one simple activity to enjoy with your little one each day as you countdown to Valentine’s Day. Grab yours here:
Okay, now back to the string heart art!
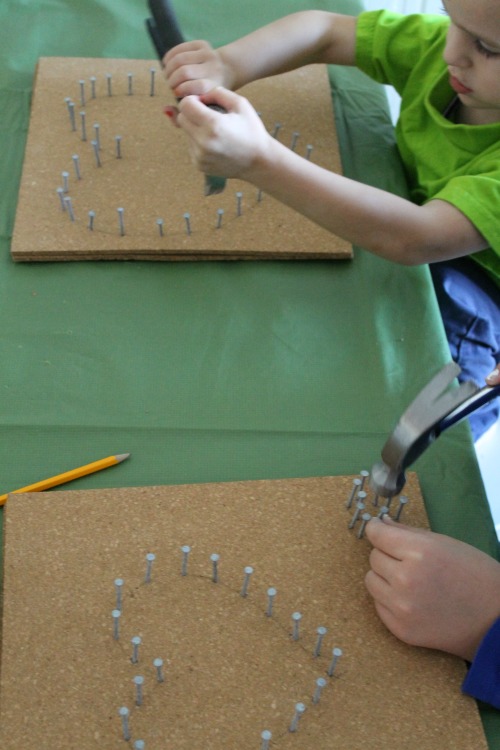
For this string heart art activity, we bought corkboard squares at our local Dollar Store. I chose the corkboard over a regular piece of wood because I could easily start the nails for my preschooler and toddler. I could push the nails into the cork, and they could then hammer without any risk to little fingers (and by that, I do mean my little fingers!).
To make this string heart art:
Materials:
Corkboard or wood
Nails
Yarn or string
Instructions:
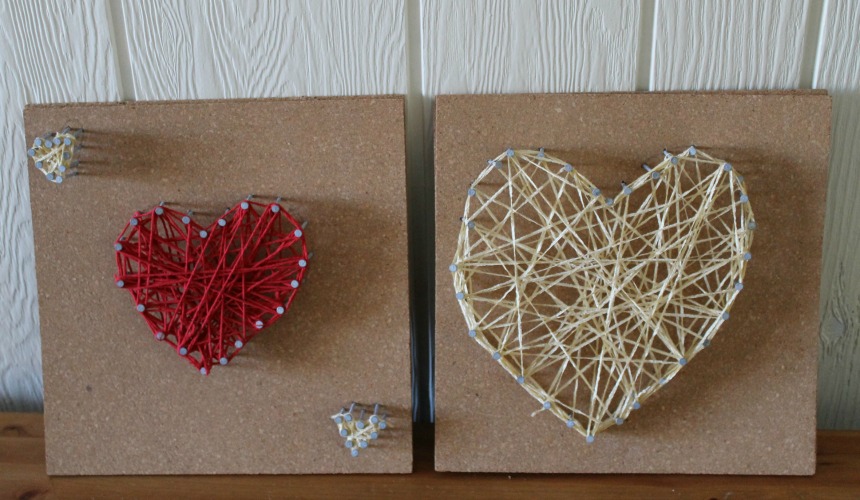
I began by sketching a heart shape onto the cork with a pencil. Madeline chose to sketch one big heart and two little ones in two corners.
Next, I stuck in a few nails on the heart outline, and Sammy hammered them in further. Madeline was successful all on her own. Benjamin, at 15 months, had quite a few turns with the hammer (as I tried to hide my cringes and fright). The nails held very well—we didn’t have any trouble with the nails pulling out when being wrapped by the yarn.
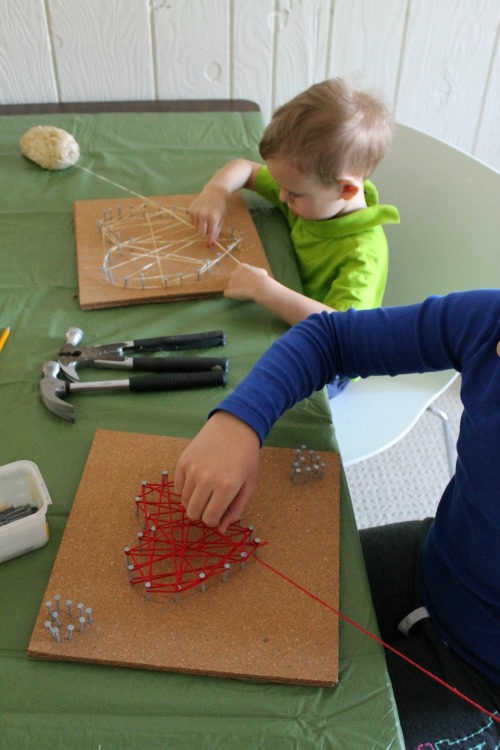
Then, we tied the yarn around one nail and wrapped it randomly all around the nails. Up and back, across and down. No pattern or plan—just random wrapping. Near the end, we made sure that the edge of the heart had been wrapped at least once—to give the heart its shape.
That’s it! To finish our hearts, we tied a knot around one of the nails and trimmed the excess yarn. And our string heart art was complete!
As you may know, I love to focus on the process of art with my children, much more than the end product. That being said, I do love it when the end product looks lovely. This string heart art will make it into the family room on the mantle—a place of high art honor in our home!
I love that this activity involved gross motor skills (hammering) and fine motor skills (wrapping and tying yarn)—both are such important skills to develop in preschoolers.
Happy Valentine’s Day!
xo
Sarah

I love it! This activity is so much learning and such beautiful piece of art! 🙂
This is terrific, Sarah! So many great skills practice and a beautiful product.
Hi
I found your site by chance
Tis fabulous
I’m looking forward to the time when my Grandchildren are old enough to have a go at the various fun crafts with me
Thank you
Eileen
Well I am so glad that you found us Eileen! We will be here whenever your little babes are big enough to play!! Looking forward to you joining the fun.
Hi, I love this craft and know my 4 yo would love hammering nails. Did you have any trouble with the nails going through the cork? I’m guessing you used short nails. Also did you use 2 PC of cork or was your on the ticket side. Thanks!!!
Hi Megan, so happy you are going to give this a go! We used the dollar store think cork so doubled it up. We did use short nails as well and had no trouble at all with the nails going through the cork. You’ll love it!
I can remember doing something like this as a kid and it was so fun- I’m so glad I found your post! Do you know if you used 1/4″ or 1/2″ thick cork tiles? The 1/4 inch tiles are much cheaper, but I’m wondering if they would be thick enough to hold the nails. Any guidance would be appreciated!
Hi Pamela – great question. I actually hot glued three of the thin ones together. It was nice and inexpensive, while being sturdy.